A well-structured cash sale receipt template simplifies transactions, ensuring clear records for both buyers and sellers. Choose a format that includes all key details: date, seller and buyer names, item descriptions, price, and payment confirmation. This approach eliminates confusion and provides a professional touch to every transaction.
For small businesses and freelancers, a printable or digital template saves time. Look for customizable options with pre-filled fields to streamline the process. PDF and Excel formats are popular for their flexibility, allowing easy edits and storage.
Accuracy is essential. Double-check totals, taxes, and payment methods before finalizing the receipt. Keeping consistent records improves bookkeeping and simplifies tax reporting. Whether you’re selling goods or services, a properly formatted receipt adds credibility and ensures a smooth transaction.
Here is the revised version without redundant repetitions:
When creating a cash sale receipt template, focus on clarity and accuracy. Include essential details such as the date, buyer and seller information, and itemized list of products or services purchased. Each entry should be clearly labeled with quantities and prices to avoid confusion.
Ensure that the template has space for both payment method and total amount. This will help the customer easily track the transaction. Make use of distinct sections for each of these data points to maintain an organized structure.
| Item | Quantity | Price | Total |
|---|---|---|---|
| Product A | 2 | $10.00 | $20.00 |
| Product B | 1 | $15.00 | $15.00 |
| Total | $35.00 | ||
After finalizing the template, review it for consistency and ensure that all mandatory fields are included. This helps to prevent any missing information that could lead to misunderstandings during or after the sale.
- Cash Sale Receipt Templates
For businesses managing cash transactions, using a reliable receipt template can simplify record-keeping. Here are key features to include in your cash sale receipt template:
- Date and Time: Always include the date and time of the transaction for reference.
- Receipt Number: Assign a unique number to each receipt for easy tracking and audits.
- Business Information: Clearly display the business name, address, phone number, and email for customer contact.
- Customer Information: If applicable, include the customer’s name or identifier.
- Itemized List: List each item or service sold, along with its price. This ensures clarity for both the business and the customer.
- Total Amount: Include the total sum of the transaction, clearly showing the breakdown of taxes or discounts.
- Payment Method: Specify whether the payment was made in cash or another method.
By customizing the template with these elements, you ensure every transaction is documented and easy to reference in the future.
Ensure the receipt includes the business name, address, and contact details. This helps customers verify the purchase source and contact you if necessary.
Clearly state the date and time of the transaction. This ensures accurate record-keeping and is crucial for returns or exchanges.
Provide a detailed list of items sold, including descriptions, quantities, and individual prices. This prevents confusion and clarifies the total cost.
Show the payment method used, whether cash, card, or another form. This helps both you and the customer confirm how the transaction was completed.
Include tax details, specifying the tax rate and the amount applied. This ensures transparency in pricing and complies with tax regulations.
Offer a unique receipt number for easy reference in case of future inquiries. This simplifies tracking and retrieval of transaction records.
Clearly state the total amount paid. This helps customers verify that they have paid the correct amount.
The most convenient formats for printable receipts are PDF, PNG, and JPEG. PDF is ideal for business use because it ensures the receipt layout remains consistent across devices and printers. It supports multiple pages and high-quality resolution, which is essential for clarity. PNG is a great choice for visual-heavy receipts, as it supports transparent backgrounds and preserves image quality. JPEG, while compressed, is more suitable for smaller files but can sacrifice some quality. Depending on the type of receipt, consider using PDF for professional needs and PNG for simple, image-based receipts.
To customize a receipt template, focus on adjusting the layout and details to match your specific needs. Start by modifying the company name, logo, and contact information at the top of the receipt. This makes the receipt look professional and aligned with your brand identity.
Update Payment and Transaction Details

Next, customize the payment section to include transaction-specific data such as item descriptions, quantities, prices, and totals. Ensure that the receipt reflects any taxes or discounts applied. Use clear and legible fonts for easy reading.
Add Custom Fields

If necessary, add extra fields to the template for things like customer notes or terms and conditions. Make sure these additions don’t clutter the layout, keeping the design clean and organized. Adjust the font size and positioning to maintain balance.

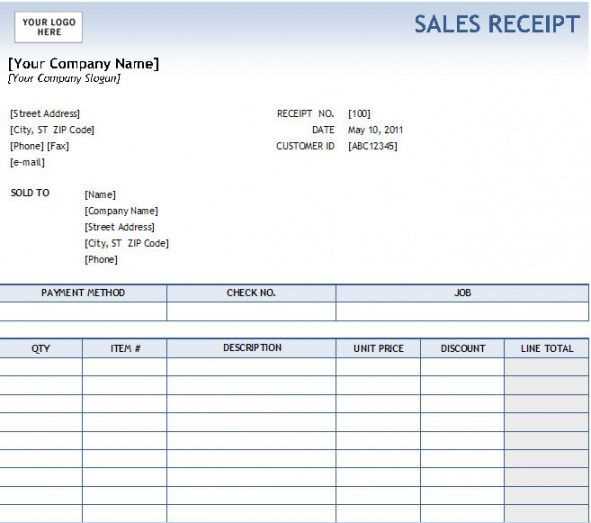
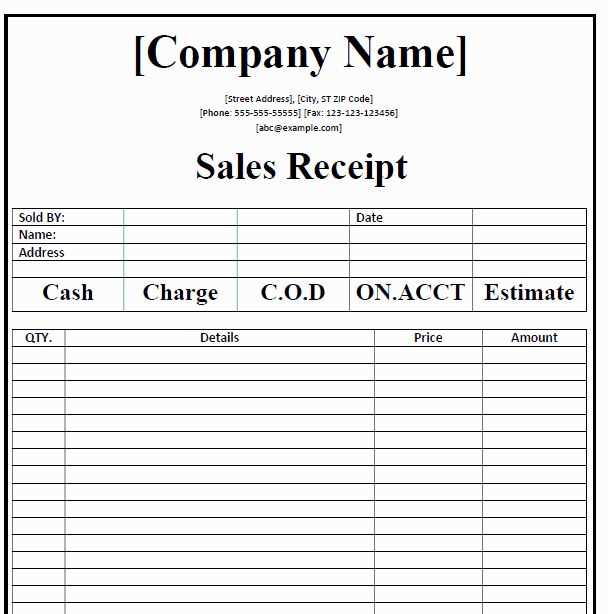
Ensure the layout of your cash sale receipt template includes clear, concise fields. Begin with a title at the top, such as “Cash Sale Receipt,” followed by the date and receipt number for easy tracking. Provide sections for the buyer’s name and contact details, as well as a breakdown of purchased items, quantities, and prices. The total amount should be clearly visible at the bottom, along with the payment method (e.g., cash, card). Include space for the seller’s signature or company stamp to validate the transaction.
Keep the font legible and simple, using a layout that highlights important information. Organize sections using bullet points or lines to create separation between details. By focusing on simplicity and clarity, you ensure the receipt is user-friendly and serves its purpose effectively.