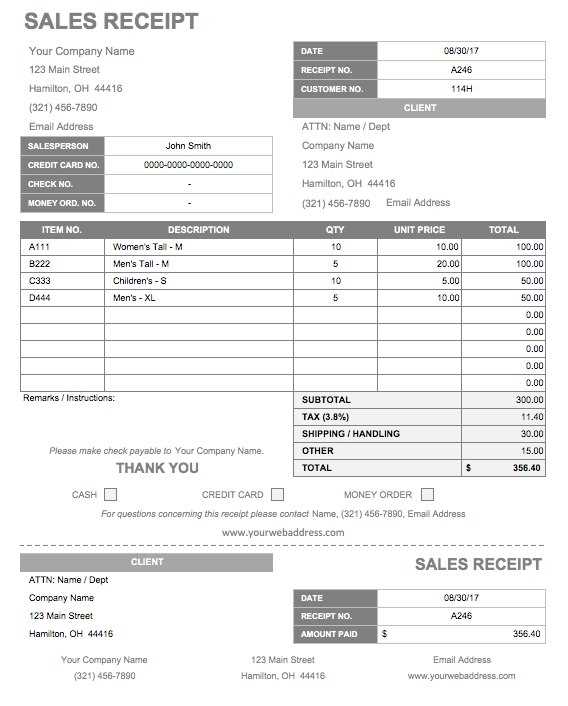
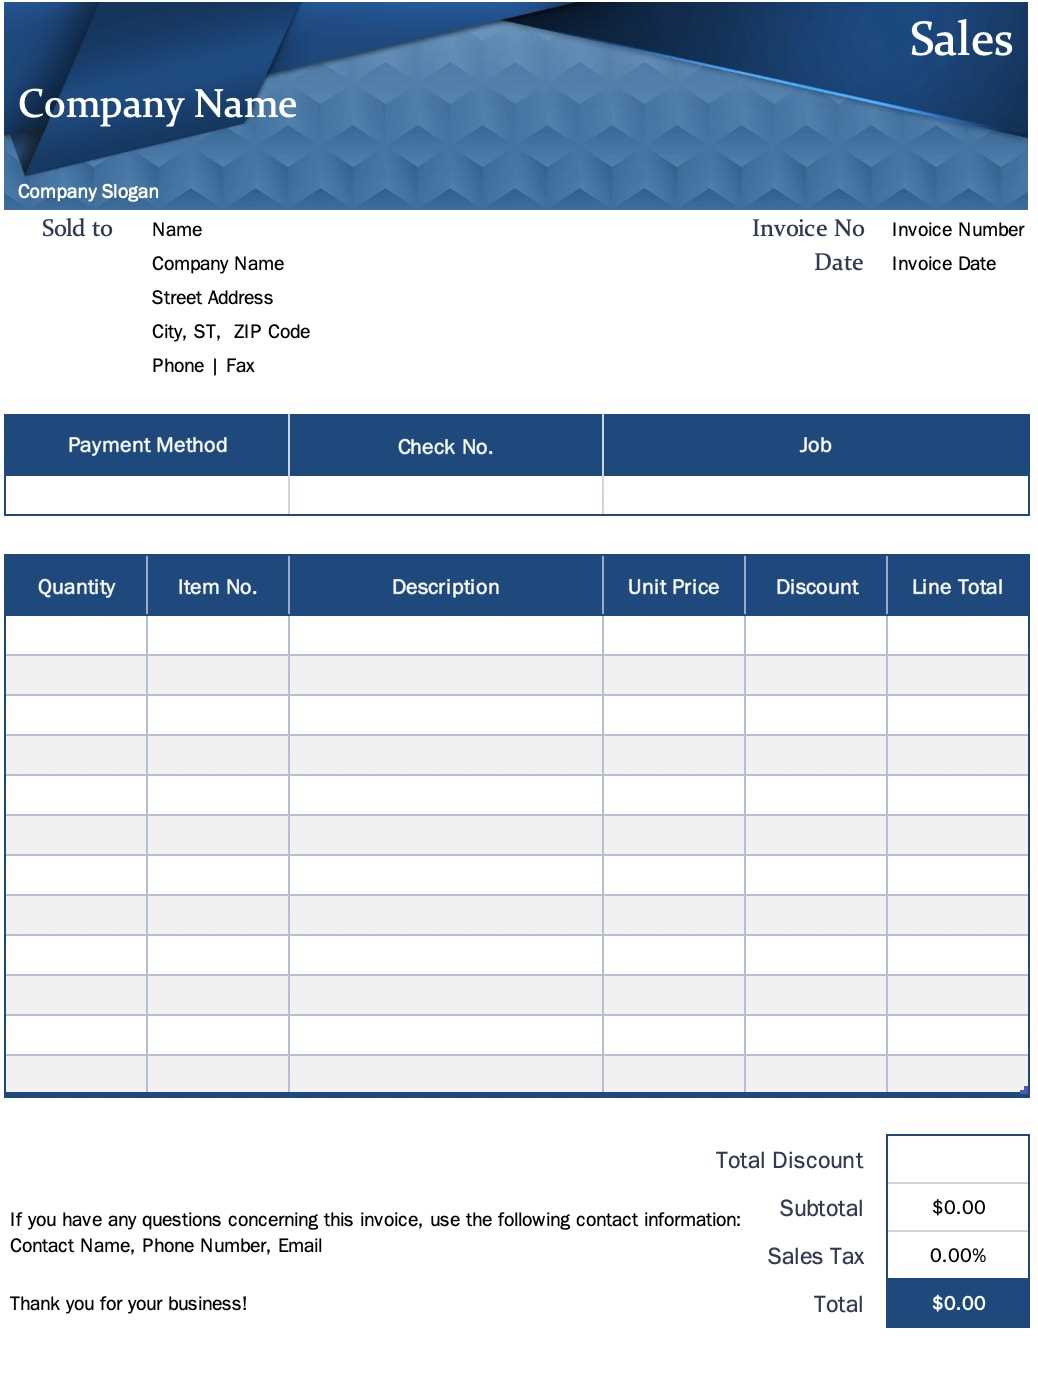
To create a sales receipt template in Excel, open a new workbook and start by setting up columns for key transaction details: date, product description, quantity, unit price, and total. This straightforward approach ensures all relevant data is captured in a clear format. Use simple formulas to automatically calculate totals based on quantity and price, reducing the need for manual calculations.
Next, enhance the template with basic formatting to improve readability. You can apply bold text to headers, use borders to separate sections, and apply number formatting to ensure prices are shown correctly. For added convenience, consider using drop-down lists for product descriptions and payment methods to avoid manual entry errors.
For further customization, explore adding conditional formatting to highlight key information, like overdue payments or discounts. This will make it easier to manage your sales records and ensure nothing is overlooked. Excel’s flexibility allows for ongoing adjustments, meaning your template can evolve as business needs change.
Digitising Sales Receipt Template in Excel
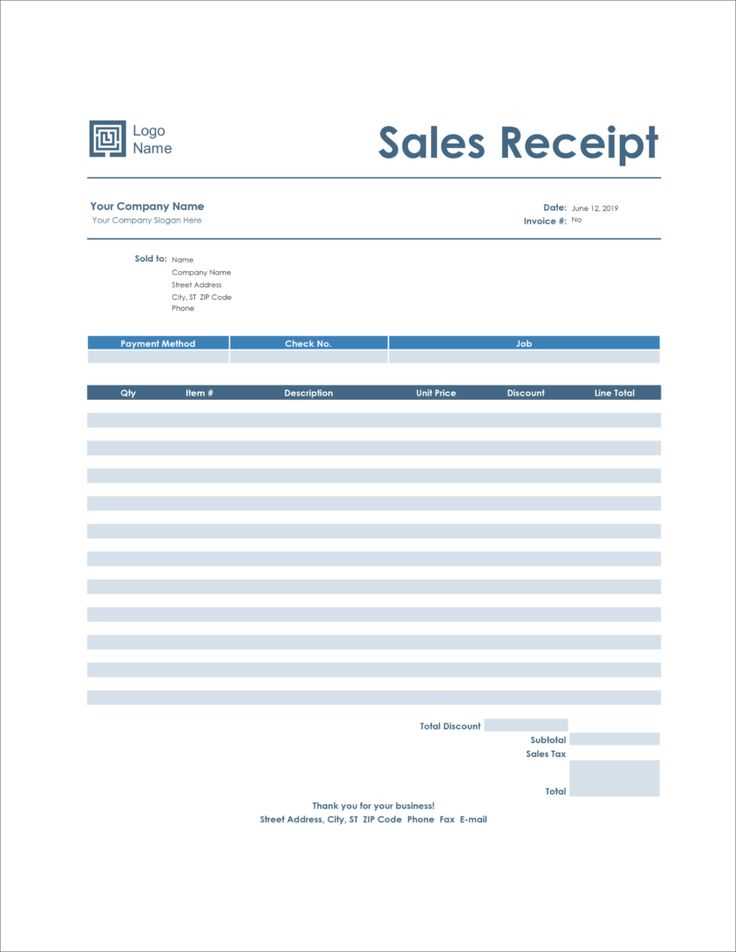
To create a sales receipt template in Excel, focus on structuring your sheet with essential data points, such as the item description, quantity, price, tax, and total. Here’s a step-by-step approach:
- Set up your columns: Label the columns for Item Name, Quantity, Unit Price, Tax, and Total. This helps maintain clarity for each transaction.
- Use formulas: In the ‘Total’ column, apply a formula to calculate the cost for each item. For example, multiply the Quantity by the Unit Price. In the Tax column, apply your local tax rate to calculate the tax amount.
- Include a subtotal: At the bottom of the list, sum up the ‘Total’ column to show the subtotal of the purchase.
- Formatting tips: Make sure to format currency values with Excel’s currency formatting feature for easy reading.
- Customise for branding: Add your company logo or contact details at the top of the sheet to personalise the template for your business.
With these steps, you’ll have a functional and professional sales receipt template that can be reused for every transaction. You can further enhance it by adding features like automatic date and time stamps or invoice numbers for better tracking and organisation.
Setting Up a Custom Sales Receipt Template in Excel
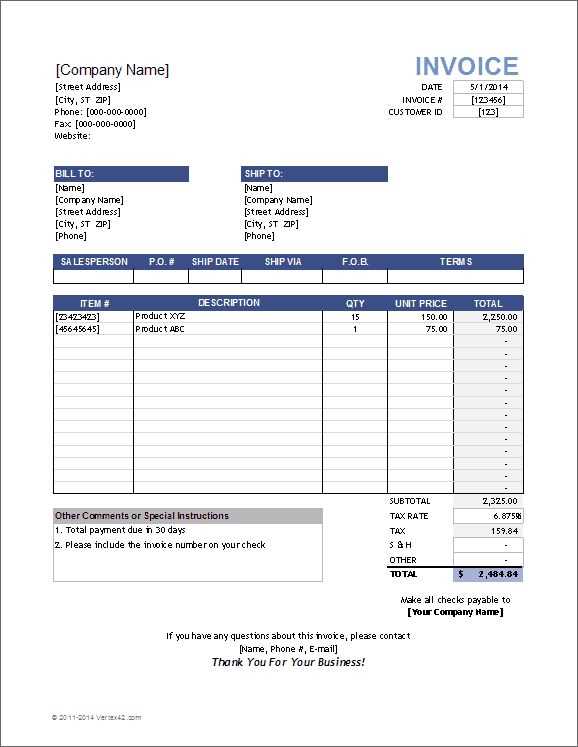
Create your own sales receipt template by following these straightforward steps. First, open a new worksheet in Excel. Set up your header section, which should include your business name, address, phone number, and email. Use bold text for the title “Sales Receipt” to make it stand out.
Step 1: Layout and Formatting
Step 2: Calculating Totals
Automating Calculations for Taxes and Discounts
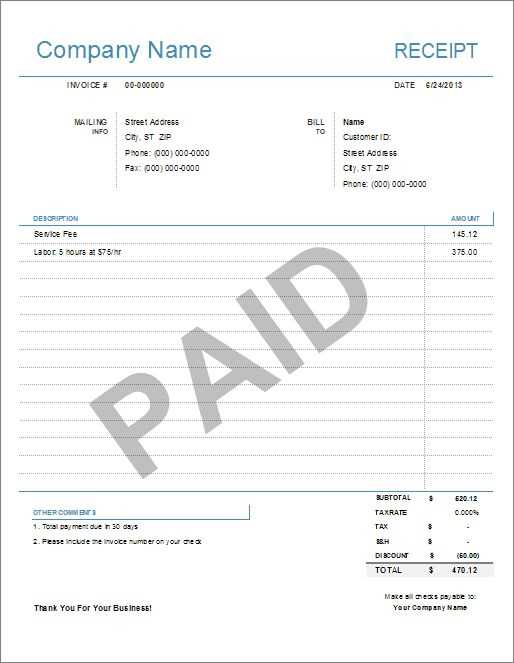
Use Excel’s built-in formulas to calculate taxes and discounts quickly. The basic structure involves applying the correct percentage to the item’s price. For tax calculations, use the formula: =Price * Tax_Rate, where Price refers to the item price and Tax_Rate is the tax percentage (e.g., 0.07 for a 7% tax). This automatically updates whenever the price changes.
For discounts, use a similar approach. The formula =Price – (Price * Discount_Rate) will apply a discount based on the percentage you input. Set the Discount_Rate as the percentage of discount you wish to apply (e.g., 0.10 for a 10% discount). This method ensures that all values update dynamically when the base price is adjusted.
To handle both tax and discount calculations in one step, combine the formulas: =Price * (1 + Tax_Rate) – (Price * Discount_Rate). This allows the tax to be added and the discount to be subtracted in a single formula, streamlining the process for multiple items.
Excel’s features like cell references make these calculations scalable. For example, if you want to apply the same tax and discount rates to multiple products, simply reference the cells where the price, tax rate, and discount rate are located, eliminating the need to manually update each row.
Additionally, use conditional formatting to highlight items that exceed a certain tax or discount threshold. This visual cue helps ensure the accuracy of the automated calculations, providing immediate feedback when necessary.
Saving and Sharing Digitized Receipts for Business Use
Store digitized receipts securely in cloud-based systems such as Google Drive or Dropbox for easy access and organization. Categorize them into folders based on expense types or project names, ensuring that each file is clearly labeled with the date and vendor information. Use consistent naming conventions to prevent confusion when searching for specific receipts later on.
Backup and Security Measures
Regularly back up your receipts to avoid losing critical data. Set up automated backups or manually upload new receipts to ensure they are safely stored. Additionally, apply strong password protection and two-factor authentication to your storage accounts to enhance security.
Sharing Receipts with Team Members
For collaboration, create shared folders or use a file-sharing service that allows granting permissions to specific individuals. This way, team members can access and upload receipts, keeping records up-to-date without sending individual files via email. Choose platforms that support version control, so any changes or additions are tracked effectively.


