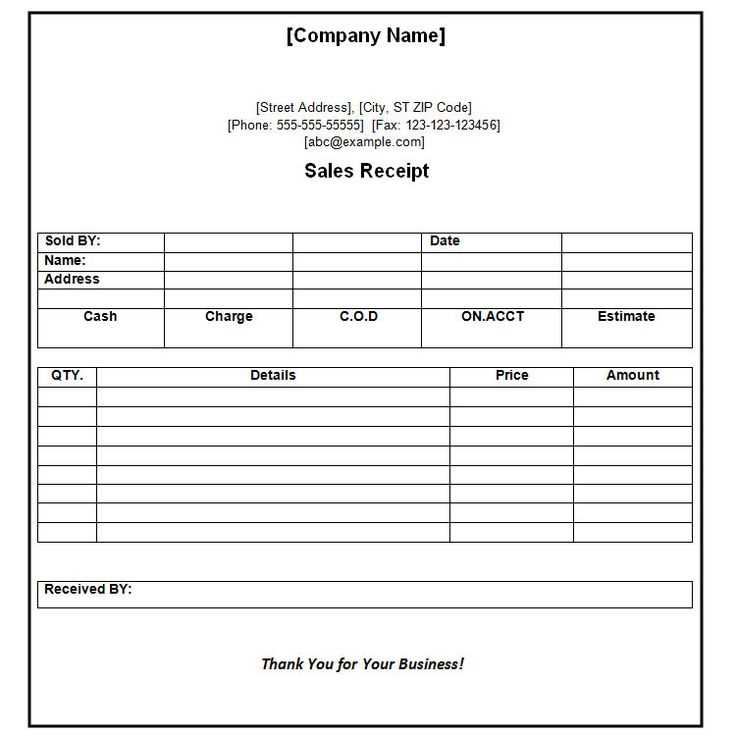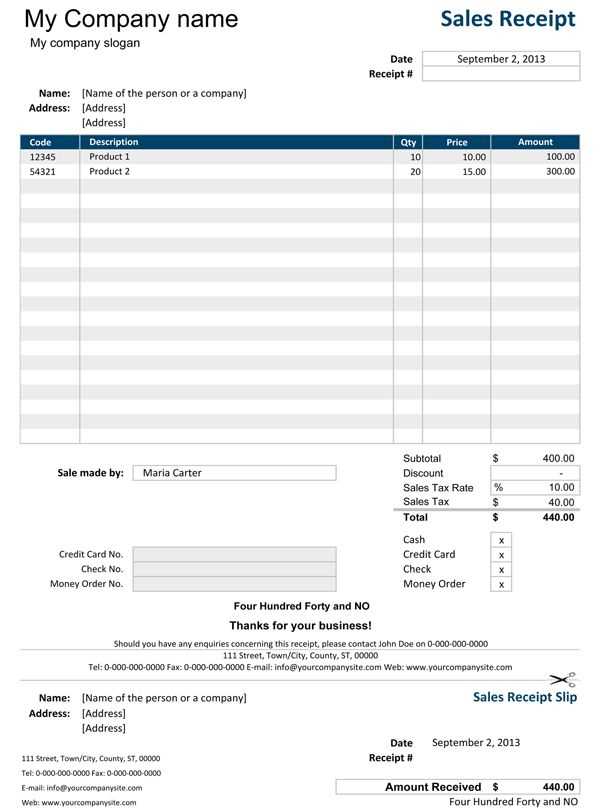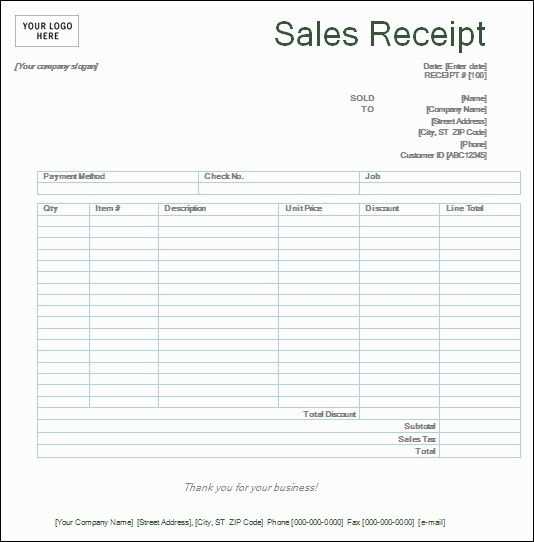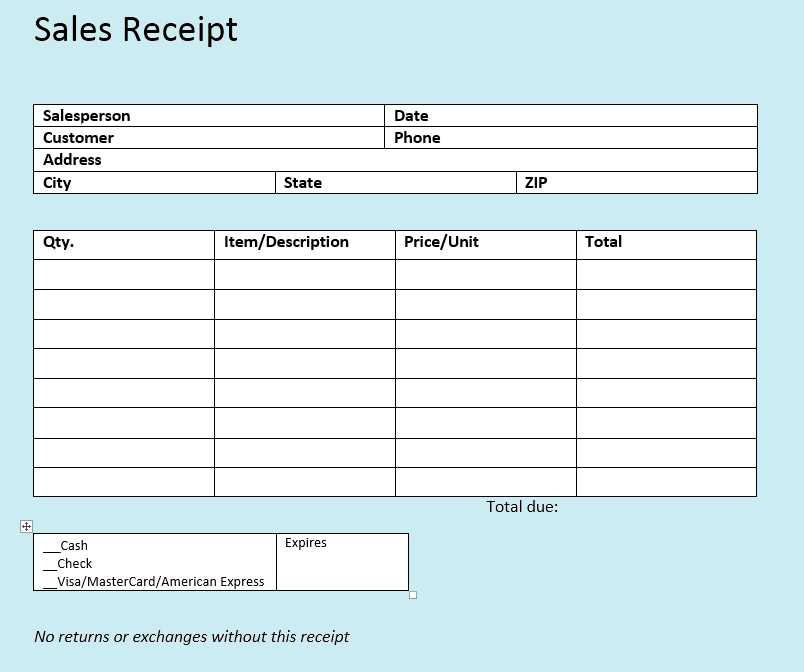
If you run an egg business, using a clear and organized sales receipt can save time and prevent confusion. The receipt should include basic details such as the quantity of eggs sold, the price, and the date of the transaction. This template helps streamline your sales process and provides a professional look to your transactions.
Start by including your business name and contact information at the top of the receipt. Next, list the products, quantities, and their individual prices. Be sure to include any taxes, discounts, or special offers. Finally, the total amount due should be clearly displayed at the bottom for easy reference.
Using a well-structured template will keep your sales records accurate and organized. It also makes it easier for both you and your customers to track purchases over time. You can customize this template to fit your specific needs and adapt it to any changes in your pricing or sales strategy.
Egg Sales Receipt Template: A Practical Guide
To create a practical and clear egg sales receipt, begin with a simple layout that includes all necessary details. The template should feature the seller’s business name, address, and contact information at the top, followed by the buyer’s details. This ensures both parties have clear records.
Key Information to Include
Include the date of the transaction, a unique receipt number, and the total amount paid. Clearly list the quantity and price of eggs sold, along with any applicable taxes. If there are additional services or products sold, such as packaging, include those items with their respective prices. A breakdown of the total cost is crucial for transparency.
Simple Design Tips
Keep the design clean and easy to read. Use basic fonts and clear headings to differentiate sections. Ensure the receipt is formatted to fit on a standard-sized paper, making it easy for the customer to store or review. Avoid clutter, and ensure there’s enough space between details for quick reference.
How to Design a Basic Egg Sales Receipt
To create a basic egg sales receipt, include the following elements:
1. Seller Information
Place the seller’s name, address, and contact details at the top. This provides clear identification for customers and enables easy follow-up if needed.
2. Customer Details

Include fields for the customer’s name and contact information. This is particularly useful for businesses that offer deliveries or need to track customer purchases.
3. Itemized List
Provide a detailed list of the eggs sold. Include the quantity, unit price, and total for each type. For example:
- 1 dozen eggs @ $3.00 = $3.00
- 2 dozen eggs @ $2.80 = $5.60
4. Subtotal and Taxes
Clearly indicate the subtotal and any applicable taxes. Break down the tax rate and amount separately from the subtotal.
5. Total Amount Due
Sum up the subtotal and taxes to display the final amount due.
6. Payment Method
Specify the payment method used, such as cash, credit card, or online payment.
7. Date and Time
Record the date and time of the transaction to maintain accurate records.
8. Thank You Note
End the receipt with a short thank you message to leave a positive impression on the customer.
Key Information to Include in the Template
Specify the date of the transaction. This helps both parties track purchases and maintain accurate records.
Include the seller’s contact details. Name, address, and phone number allow the buyer to reach out if needed.
Clearly state the quantity and price of the eggs. This avoids confusion and ensures transparency in the transaction.
Indicate the total amount, including any applicable taxes or discounts, if relevant.
Provide a unique receipt number for easy referencing. This is particularly helpful for returns or future queries.
Note the payment method. Whether the buyer paid with cash, card, or another method, it’s crucial for proper documentation.
Customizing Receipt Formats for Different Egg Types

To tailor receipts for various egg types, include specific details that reflect the product’s unique qualities. For instance, when selling organic eggs, make sure the label clearly states “Organic” in bold. This helps differentiate the product and communicates its value. Similarly, for free-range eggs, note the farming practices with a brief description, such as “Raised in open fields” under the egg count.
Another key aspect is packaging size. Different egg sizes, like small, medium, and large, require their own distinct section on the receipt. A simple format that lists the egg size, quantity, and total price ensures clarity. For specialty eggs, such as brown or omega-3 enriched, add a line with specific information that helps customers recognize these variations easily.
Including a price breakdown per egg or dozen adds transparency, especially for premium egg types. Highlight any bulk discounts or promotional offers as separate lines for easy identification. If eggs are sold by weight, ensure the weight is listed along with the corresponding price.
Lastly, consider adding a brief note on the receipt for sustainable practices, such as “Farm fresh” or “Locally sourced,” especially for niche egg types that emphasize their production methods. These small touches not only inform the customer but also enhance the overall experience.
How to Add Pricing and Quantity Details
To accurately display pricing and quantity information, begin by clearly listing each item sold and its price per unit. Ensure the quantity of items is visible to avoid confusion during checkout. Follow these steps to incorporate pricing and quantity details into your template:
1. Include a Column for Item Quantity

Add a column labeled “Quantity” next to the item description. This column should reflect the amount of eggs or cartons purchased by the customer. Each unit should be represented by a whole number to maintain clarity.
2. Specify the Price per Unit
For each item listed, specify the price per unit. If you sell eggs by the dozen or in smaller quantities, ensure the price reflects that. Avoid rounding numbers; use the actual price to maintain transparency.
| Item Description | Quantity | Price per Unit | Total Price |
|---|---|---|---|
| Eggs (12-pack) | 2 | $3.50 | $7.00 |
| Eggs (6-pack) | 3 | $2.00 | $6.00 |
The “Total Price” column can be calculated by multiplying the quantity by the price per unit. This will allow customers to easily verify the total cost of their purchase before finalizing the transaction.
Ensuring Compliance with Local Tax Regulations
Verify that your egg sales receipt template includes all the necessary details required by local tax authorities. These details often include the business’s tax identification number, the applicable tax rate, and the total amount of tax charged. You must update these details regularly to reflect any changes in tax laws.
Track and Report Taxes Accurately
Implement a clear system to track taxes on each sale. It’s critical to separate the tax amount from the item total on the receipt. This ensures transparency and makes it easier to report to tax authorities. Be consistent with the format and structure to avoid errors.
Review Local Tax Guidelines
Stay informed about your region’s tax regulations. Some areas require specific forms of reporting or charge additional taxes, like environmental fees or special levies on certain products. Regularly check for updates to avoid non-compliance penalties.
Best Practices for Printing and Distributing Receipts
Use clear and legible fonts when designing your receipts. Choose a simple, sans-serif font like Arial or Helvetica, which ensures readability across all devices and paper sizes.
Keep the layout clean by organizing key information in a clear structure. This includes the business name, itemized list of purchases, total amount, and transaction date. Ensure that each section is easily identifiable.
Print with high-quality printers to ensure that the text remains sharp and clear. Low-quality printing can result in blurry text that is hard to read, especially on small receipts.
Include customer contact information on receipts. This could be an email address or phone number for customer support. It helps build trust and makes it easy for customers to reach out if they need assistance.
Provide receipts digitally as an option for customers who prefer them. Send receipts via email or offer a QR code on physical receipts that links to a digital version. This cuts down on paper waste and provides customers with an easy way to store their records.
Offer a concise return policy on the receipt. Briefly explaining your return policy ensures that customers know how to proceed if they need to return or exchange items. This can reduce confusion and improve their shopping experience.
Ensure privacy compliance by avoiding excessive collection of customer data on the receipt. Only include necessary information to comply with transaction requirements, maintaining a balance between customer privacy and business needs.


