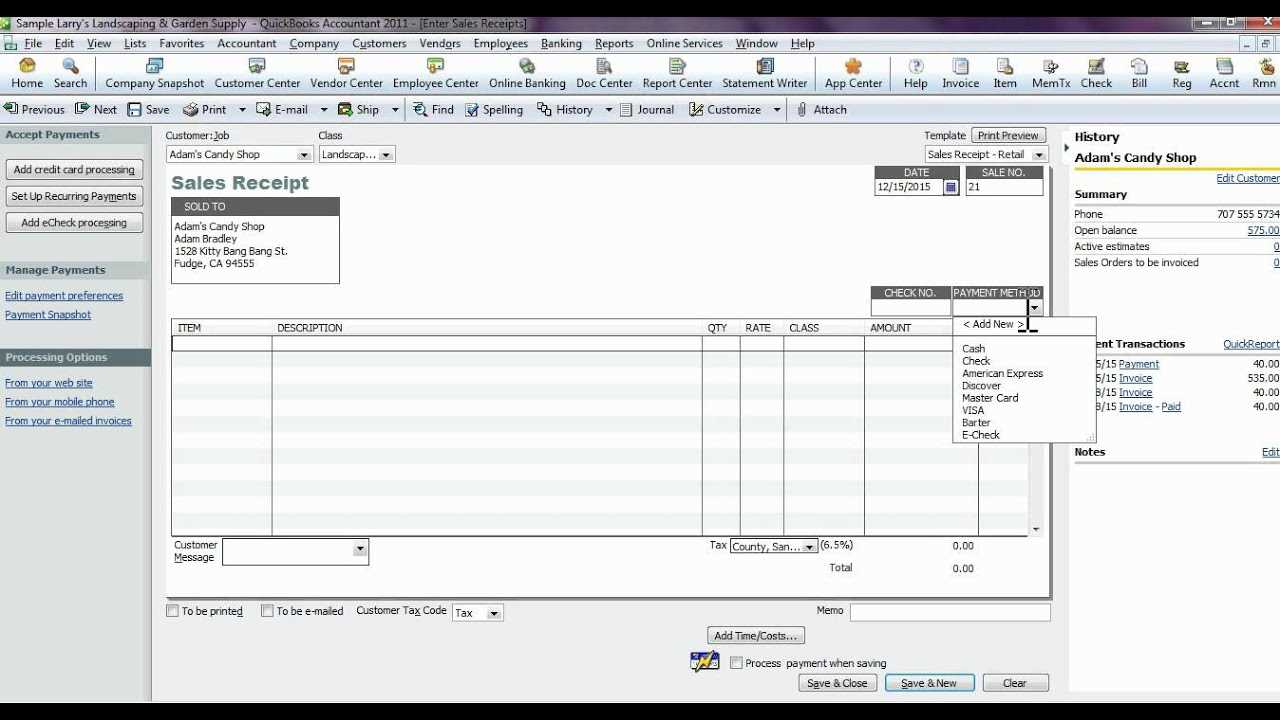
Creating a custom sales receipt template in QuickBooks Online can significantly improve your invoicing process and enhance professionalism. Customize it to reflect your brand and meet your specific needs. Follow these straightforward steps to get started.
First, log in to your QuickBooks Online account and click on the gear icon in the top right corner. Under the “Your Company” section, select “Custom Form Styles.” From here, you’ll be able to choose an existing template to modify or create a new one from scratch.

Click on the “Create New” button and select “Sales Receipt” from the list of form types. You’ll then have access to various design options. Choose a template that best suits your business, or start with a blank template to build your own. Make sure to add your company logo, adjust the colors, and pick fonts that align with your brand identity.
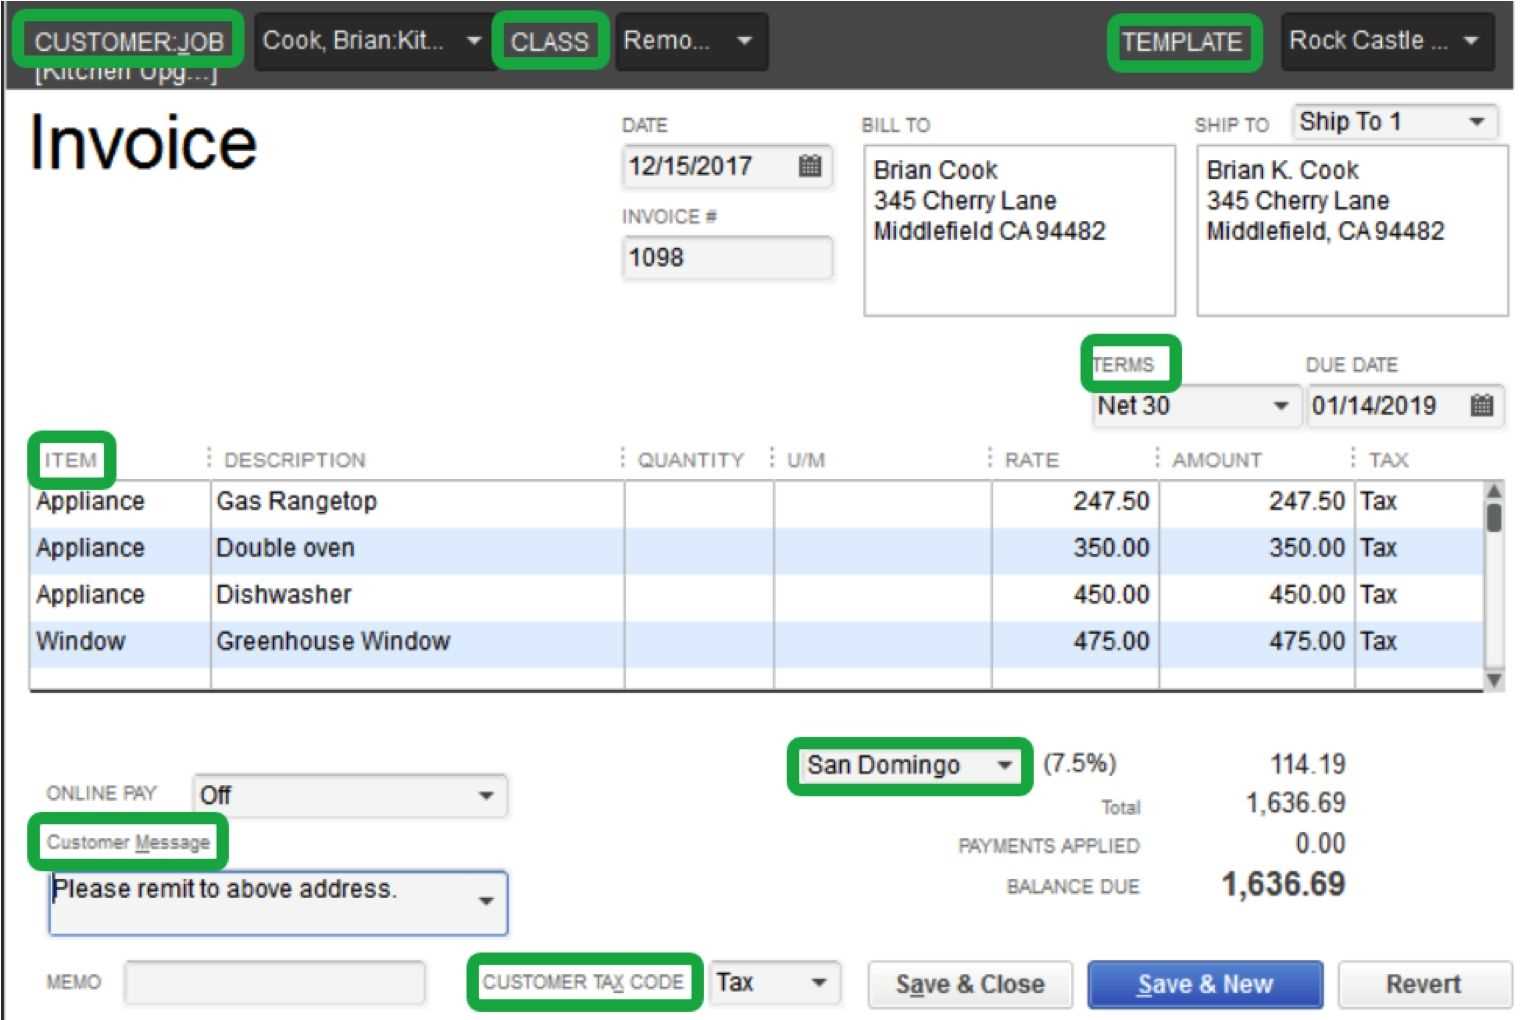
To fine-tune your sales receipt, navigate through the “Content” tab, where you can adjust the layout. Add or remove fields such as customer information, sales details, and payment methods. You can even add custom fields for additional notes or special instructions.
Once you’ve completed the design, preview the template to ensure it looks the way you want. If everything looks good, click “Done” to save the template. From now on, you can select this custom template whenever you create a new sales receipt.

Customizing sales receipts in QuickBooks Online allows you to provide a polished, consistent experience for your customers while streamlining your accounting tasks.


