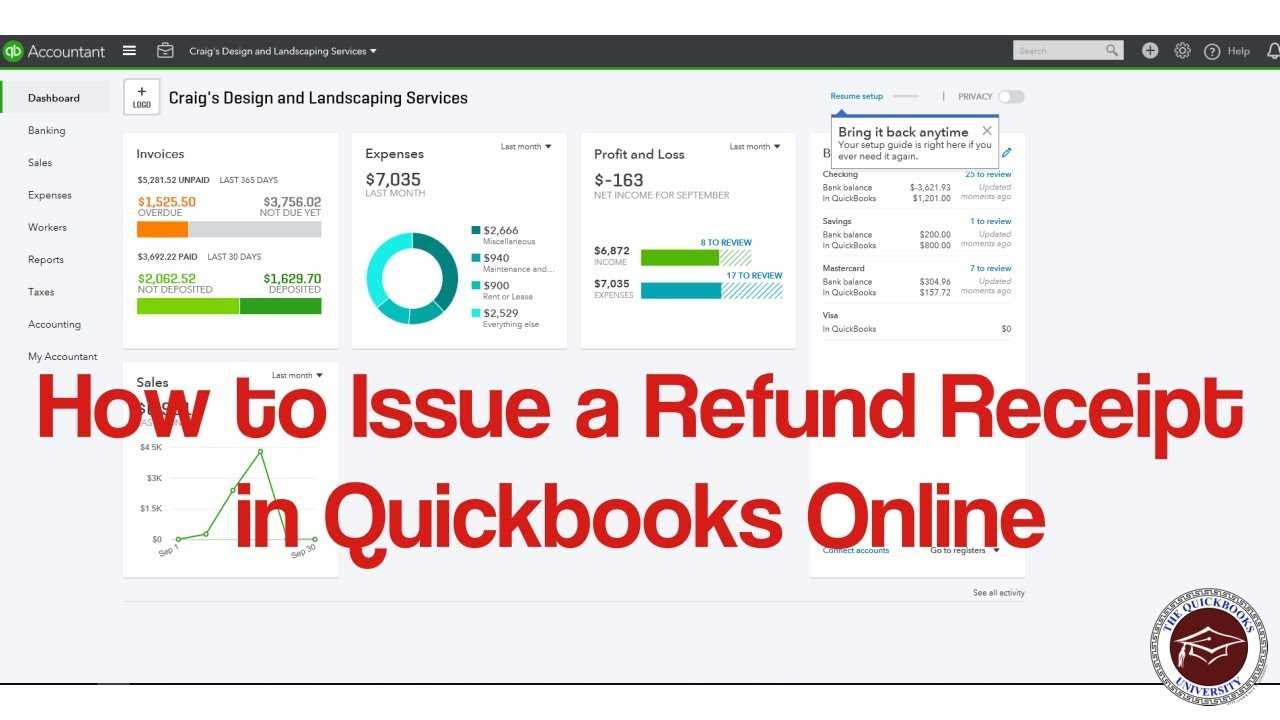
Create a Customized Sales Receipt Template
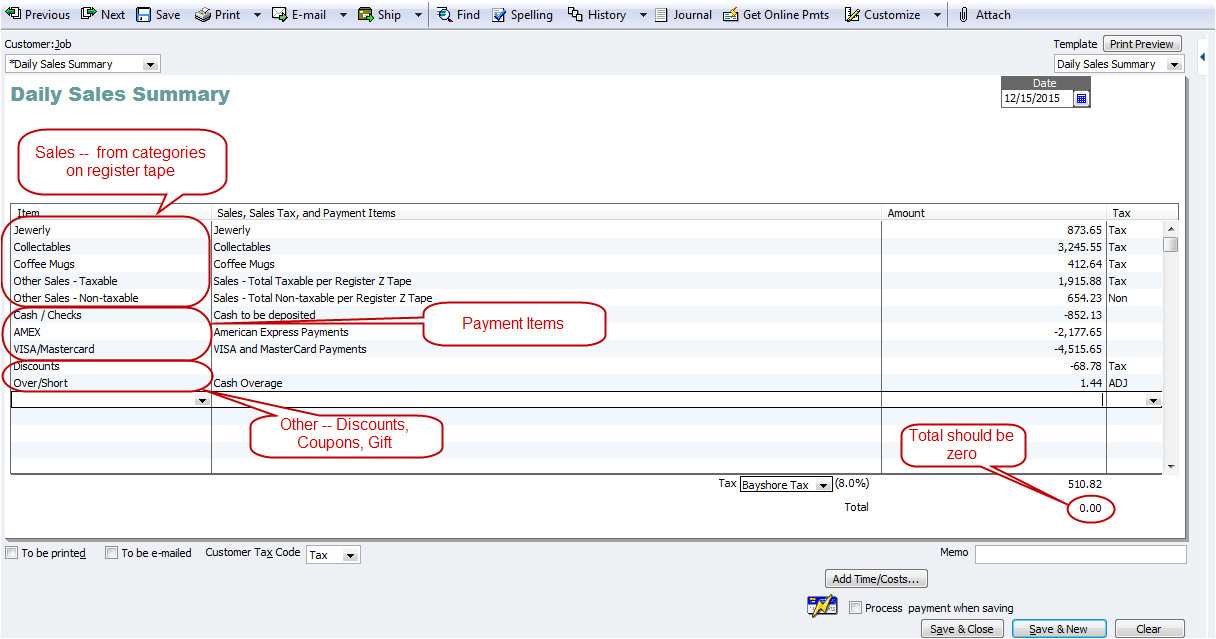
To make a sales receipt template in QuickBooks Online, first go to the “Settings” icon (gear symbol) in the top right corner. Select “Custom Form Styles” under the “Your Company” section. Click on “Create New” and choose “Sales Receipt” as the form type. This will start the process of designing a customized template.
Choose a Template Design
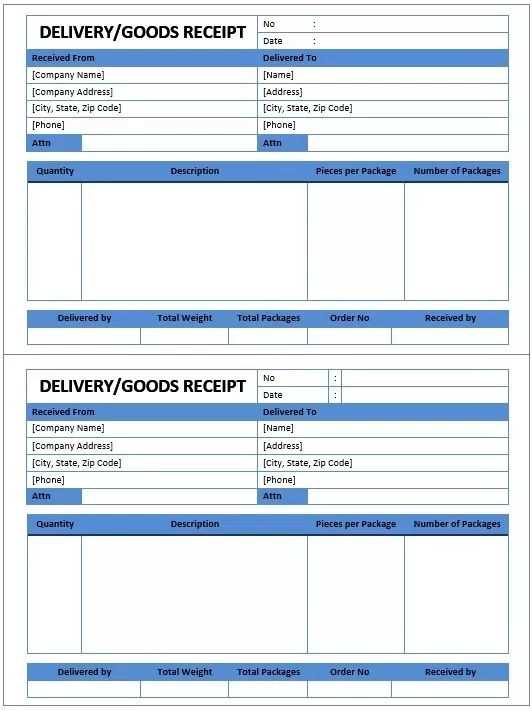
QuickBooks offers several template designs to choose from. Select one that fits your business style. You can preview each design before applying it to ensure it matches your branding. Once selected, click on “Edit” to start customizing the template.
Customize Template Layout
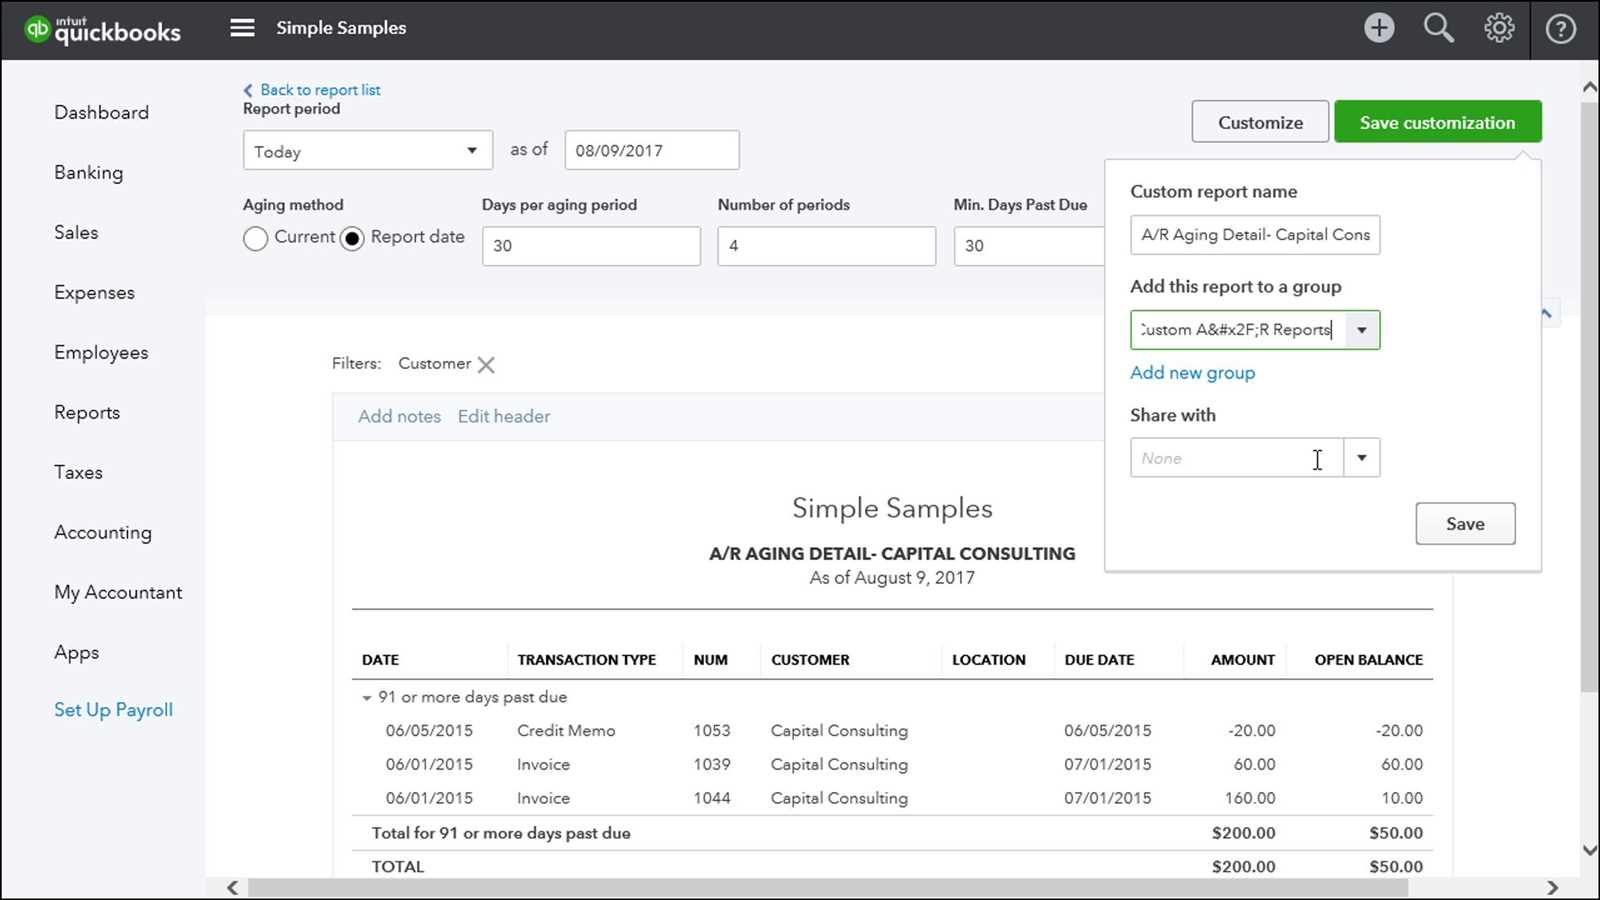
Customize the layout by adding your company logo, business information, and adjusting the color scheme to reflect your brand. You can modify the font size and type to make the receipt look professional. QuickBooks allows you to move elements like the logo, company name, and date for a personalized touch.
Add Fields and Details
Next, modify the fields displayed on the receipt. You can choose to show or hide fields like customer information, item details, and payment terms. This ensures the sales receipt contains only the most relevant information for your transactions.
Preview and Save the Template
Once you’re happy with the design, preview the receipt by clicking on the “Preview” button. This will show how the template looks in real-time. If everything looks correct, save the template by clicking “Done.” The new template will now be available for future use when creating sales receipts.
Use the Template for Future Sales Receipts
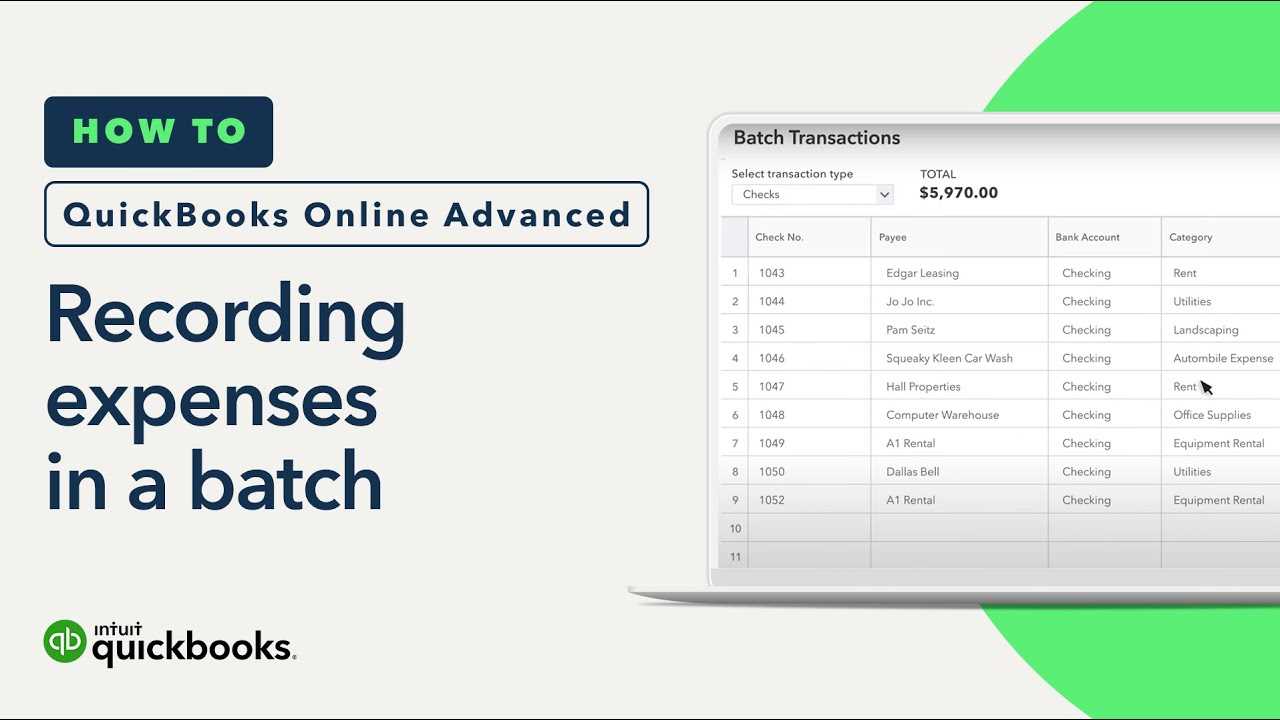
To apply your newly created template to future transactions, simply create a new sales receipt in QuickBooks. When filling out the receipt, select the customized template you designed from the “Customize” option. This will automatically apply your template to that sales receipt.
Edit the Template as Needed
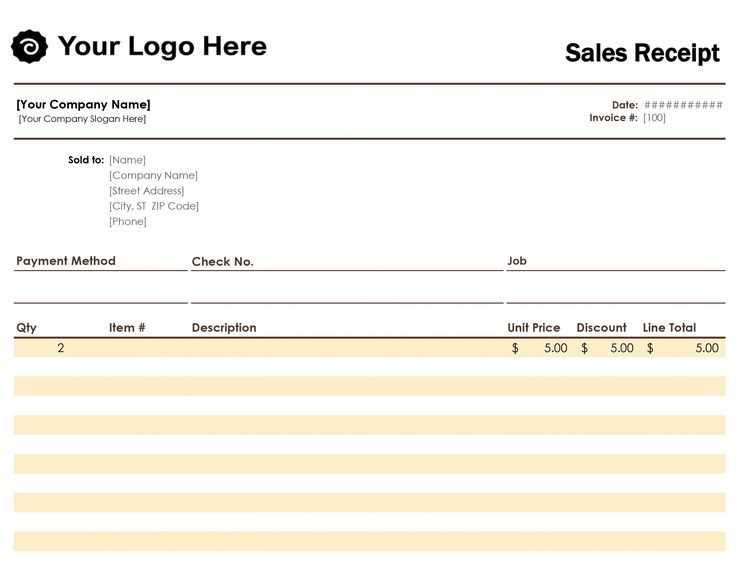
If you need to make changes to the template, return to the “Custom Form Styles” section and click on “Edit” next to the template. Make the necessary updates and save them. Your new design will instantly reflect on all future sales receipts.
With this simple process, you can easily create a sales receipt template that suits your business needs in QuickBooks Online.
Step 3: Adding a Custom Logo and Branding to Your Sales Receipt
Step 4: Configuring Tax and Discount Fields for Correct Calculations
Step 5: Testing the Template Layout with a Sample Receipt
Step 6: Setting the New Template as the Default for Future Transactions
To personalize your sales receipt, upload your business logo by navigating to the “Sales Form Content” section within QuickBooks Online. Choose “Add Logo” and select your file. Ensure the logo fits within the available space to maintain a clean, professional look.
Next, adjust tax and discount fields. In the template editor, locate the “Tax” and “Discount” options and check that they correspond to your business’s rates. For taxes, you can select different categories (e.g., state, local) based on your location. If discounts are frequently applied, ensure the discount field is enabled, and set the default calculation method (percentage or fixed amount).
Before finalizing, test your layout. Generate a sample receipt with mock data to see how it looks with your custom logo, tax, and discount fields. This will help identify any layout issues that need adjustment.
Once satisfied with the template, set it as the default for all future transactions. In the “Custom Form Styles” section, click on “Make Default” for the template you’ve created. This ensures that every new receipt will reflect your branding and configured fields automatically.


