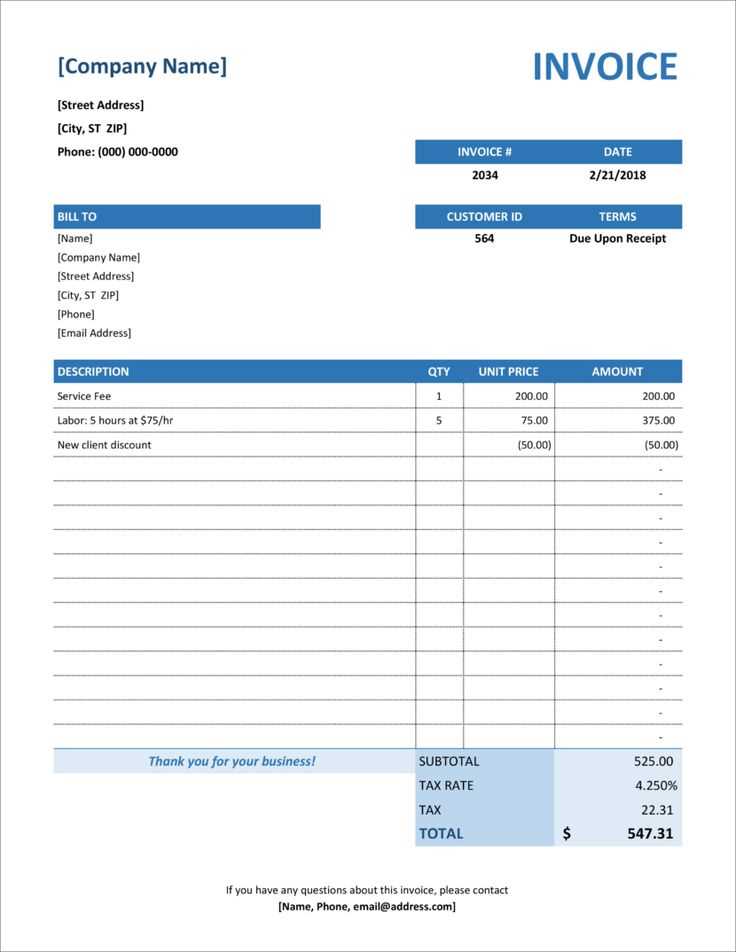
If you need a quick, reliable way to create sales receipts, an Open Office template will save you time and effort. It’s simple to set up and can be customized to fit your specific needs. With just a few adjustments, you can generate a professional-looking receipt ready for printing or digital delivery.
The template includes key sections like the seller’s and buyer’s information, item details, quantity, price, and total. You can add logos, change fonts, and adjust the layout for a more personalized look. If your business operates in multiple currencies or has unique tax rates, you can modify the template to accommodate these variations easily.
Make sure to include the necessary legal information, such as terms of sale and return policy. This helps keep transactions transparent and legally compliant. With Open Office, you have the flexibility to update the template as your business grows or changes.
Customize the template as needed to reflect your brand’s identity. Whether you’re issuing receipts for in-person sales or online transactions, this template streamlines the process, ensuring accuracy and consistency in your records.
Open Office Sales Receipt Template Guide
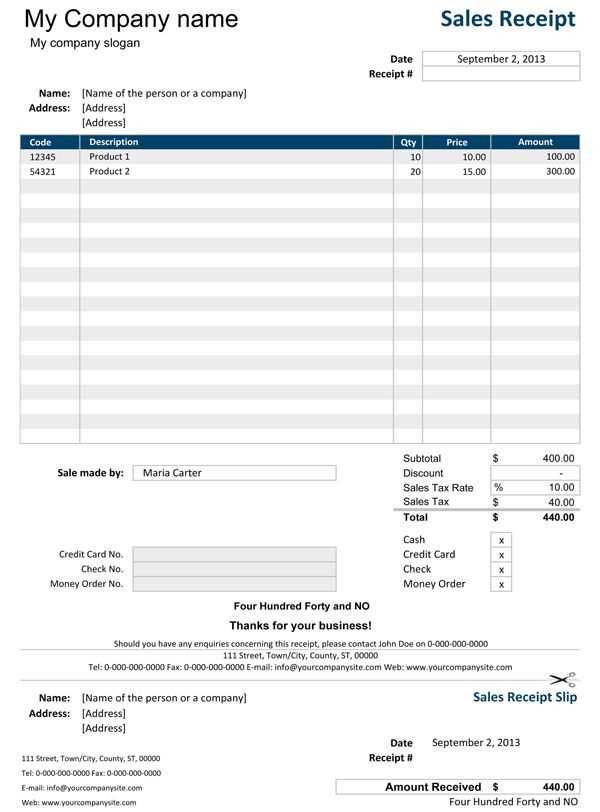
To create a sales receipt template in Open Office, first ensure that you have a clean and organized layout. Focus on providing clear, concise information to your customers. Begin by adding your business details, including name, address, and contact information at the top of the receipt.
Setting Up the Header
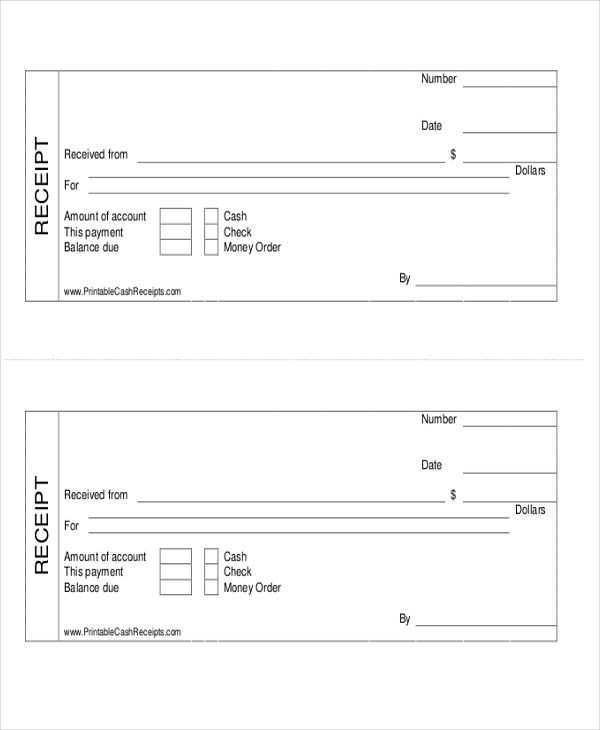
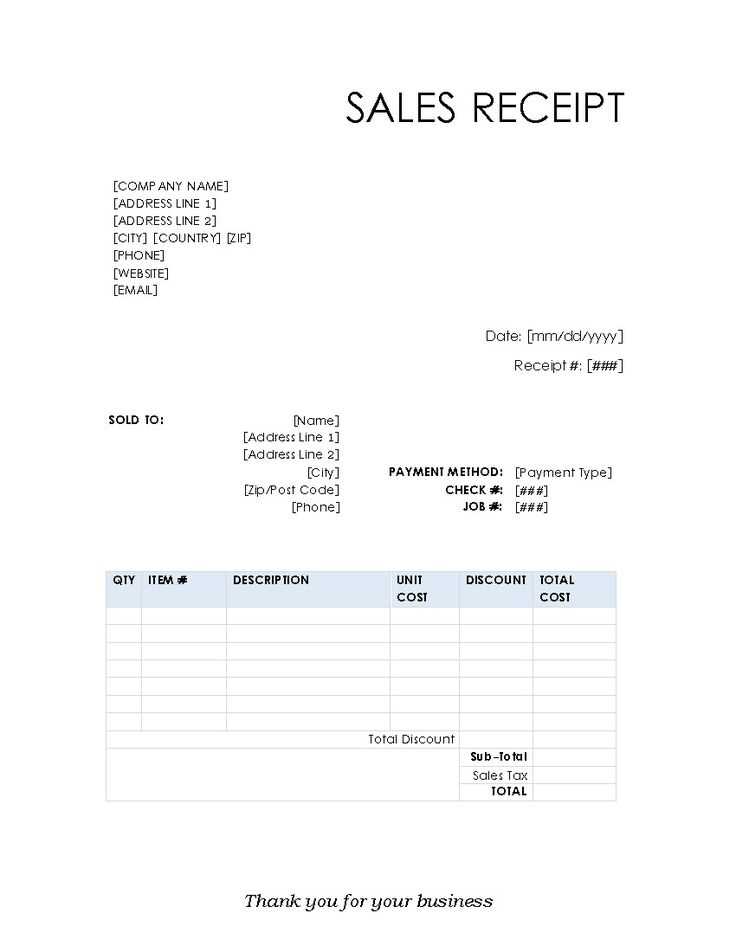
In the header, include the title “Sales Receipt” in bold and larger font. Beneath it, place the date of the transaction and a unique receipt number for record-keeping. Use a table for structured input, with clear columns for item descriptions, quantities, unit prices, and totals. This will help avoid confusion and make the document easy to read.
Itemizing the Purchase
Below the header, list the purchased items in rows. Use separate cells for item name, quantity, price per unit, and total amount. At the bottom, calculate the subtotal, applicable taxes, and final total in separate lines. Leave space for payment details, such as method of payment and amount received. Finish with a polite thank-you note or return policy, if applicable.
How to Create a Sales Receipt in Open Office
Open Office provides an easy way to create and customize sales receipts. Follow these steps to design a receipt that suits your business needs.
Set Up Your Document
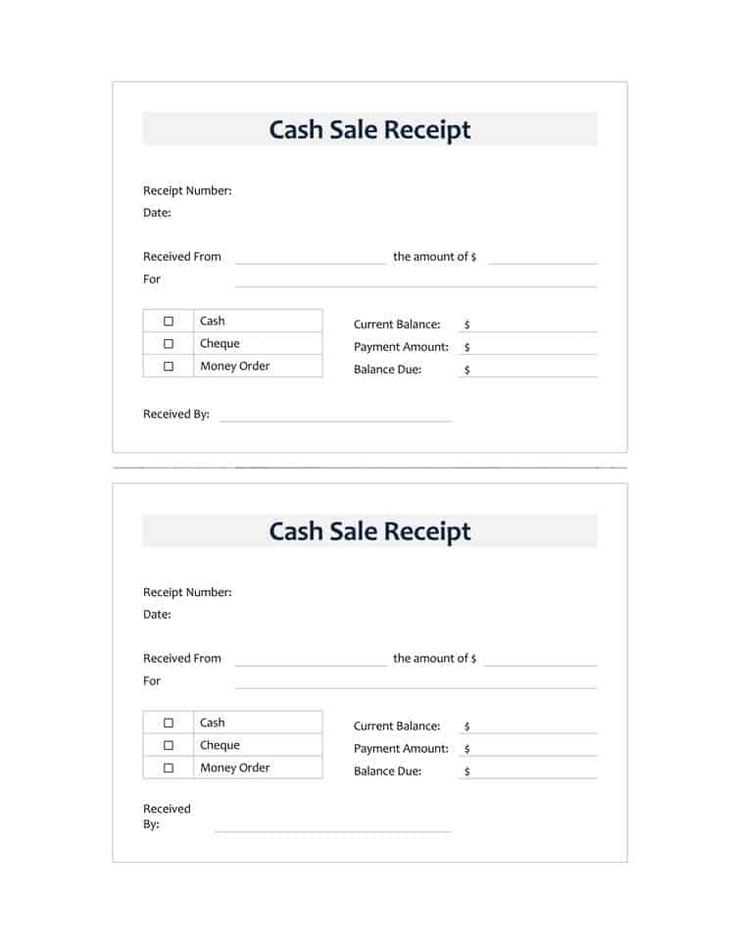
Open Open Office Writer and select a blank document. Adjust the page size to fit your receipt. Go to Format > Page to set the dimensions. Use a standard receipt size, such as 3″ x 8″ or 4″ x 9″.
Design the Layout
Use tables to structure your receipt layout. Insert a table with the number of rows and columns needed to fit your information. Add headings like Item, Description, Price, and Total. Format these cells to ensure readability. You can also add borders or shaded cells for visual clarity.
Include your business name, address, and contact information at the top. Make sure to add the customer’s details in the space below the table. This gives a professional appearance and clear identification of the transaction.
Save your template for future use. You can now enter the details of each sale directly into the table and print the receipt as needed.
Customizing the Template for Different Business Needs
Adjust the template to reflect your brand identity by modifying colors, fonts, and layout to match your company’s style. Replace default placeholders with your business logo and contact details for a personalized touch. For better clarity, use a larger font for important fields such as the item description and price.
If your business requires specific fields, such as order numbers, customer IDs, or payment terms, add these elements to the template. You can also include tax information or discounts to meet your industry needs, ensuring all necessary details are captured for each transaction.
Consider creating separate templates for different departments or types of transactions. For instance, a sales receipt for retail can look different from one used in service-based businesses. Make these adjustments to improve workflow and reduce confusion during use.
Review the template regularly and update it as your business evolves. This ensures that your receipts remain relevant and meet any new legal or financial requirements that might arise.
How to Save and Reuse the Sales Receipt Template
To save and reuse your sales receipt template, follow these steps:
- Save the Template: After customizing your receipt in Open Office, click on “File” in the top left corner. Then, select “Save As” and choose a location on your computer. Make sure to save it as an OpenDocument Text (.odt) or OpenOffice Template (.ott) file for easy access later.
- Create a Template Folder: Organize your receipts by creating a dedicated folder for templates. This way, you can easily find and reuse them without searching through multiple files.
- Reuse the Template: Whenever you need to create a new sales receipt, simply open the saved template, update the details, and save it under a new name. This keeps the original format intact while allowing you to personalize each receipt.
- Keep Templates Updated: If you need to make changes to the template (like adding or removing fields), make the adjustments and save the updated version. This ensures all future receipts follow the same consistent structure.
By following these steps, you can easily manage and reuse your sales receipt template without any hassle. Keep everything organized and accessible to save time on future transactions.


