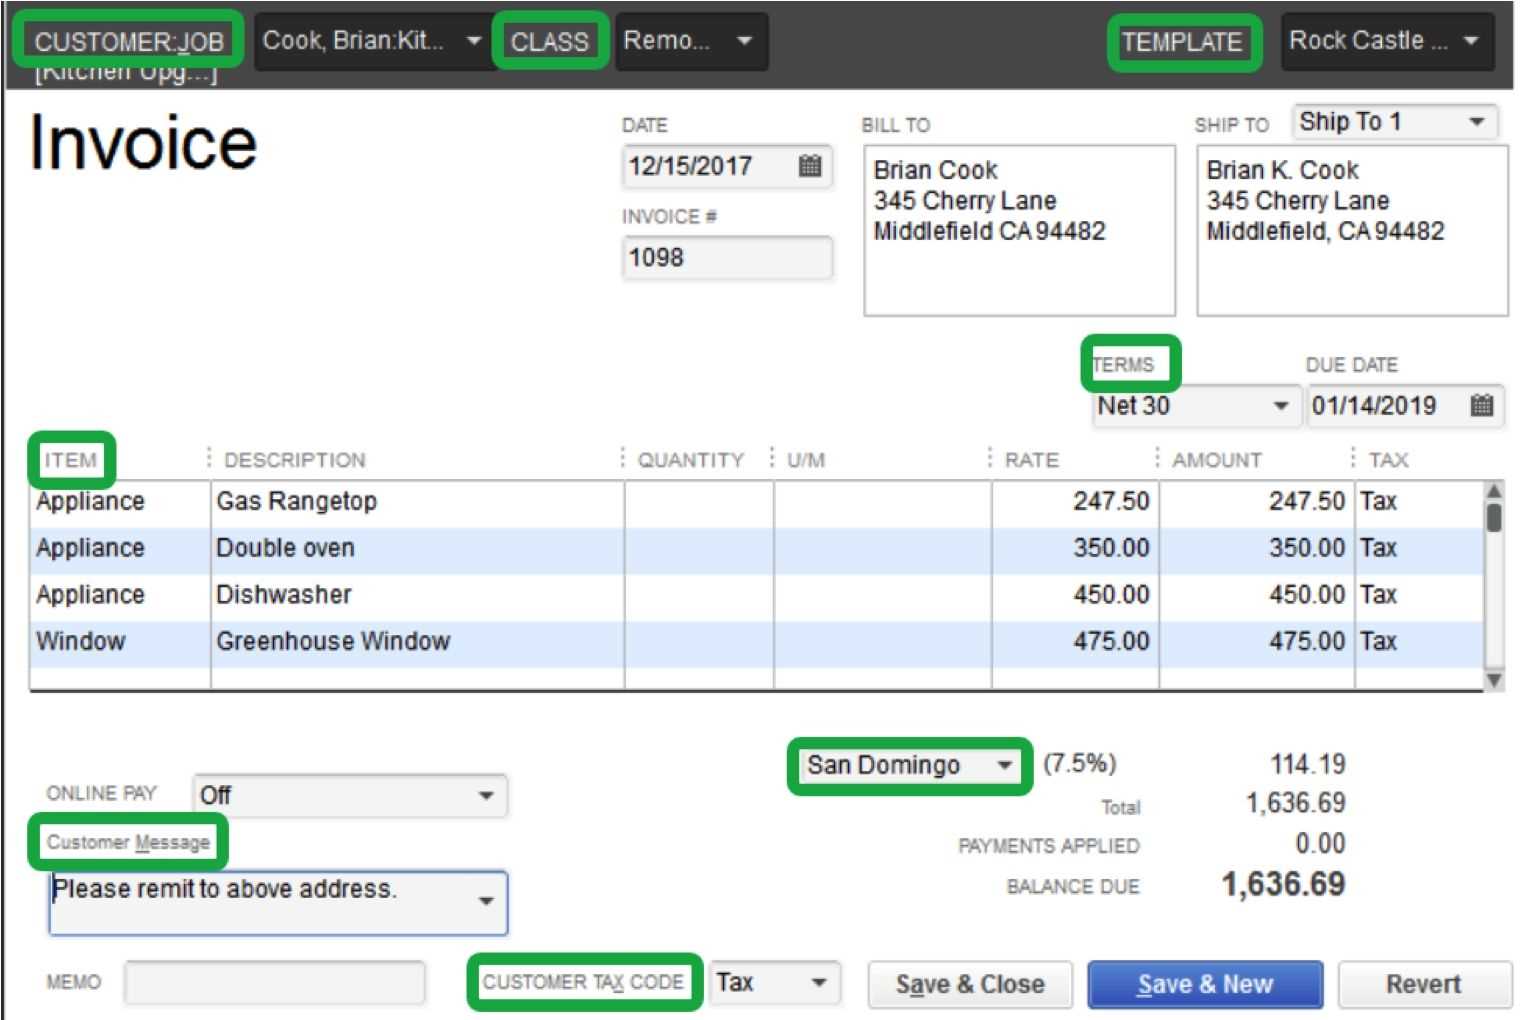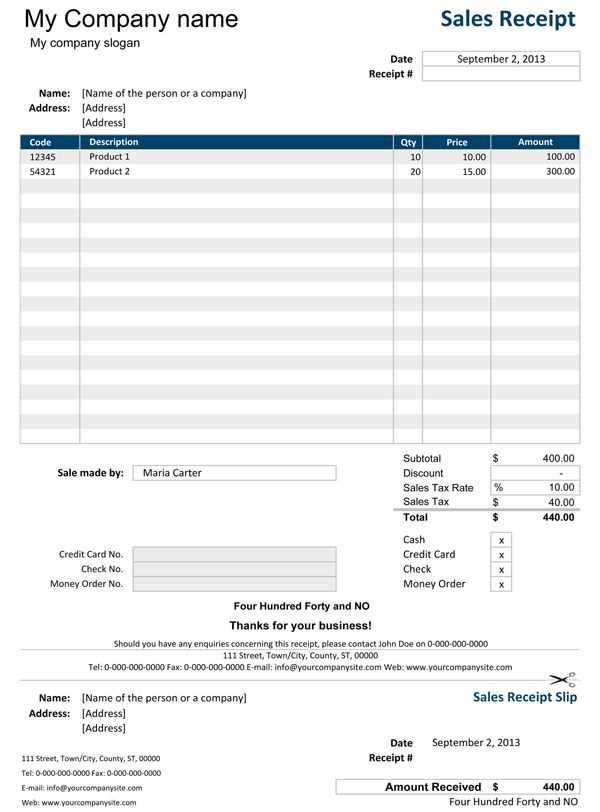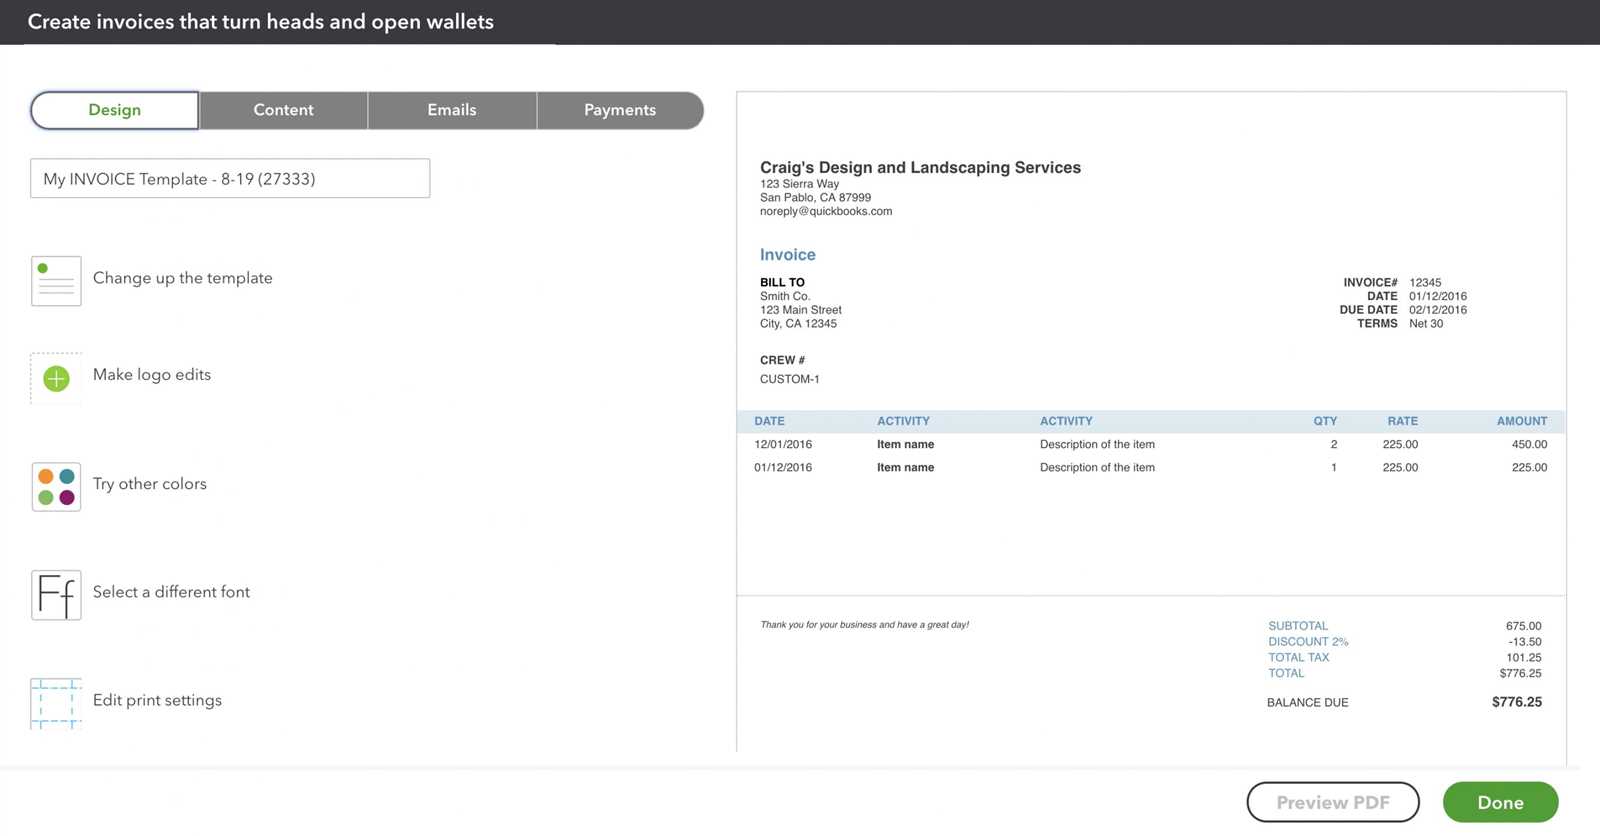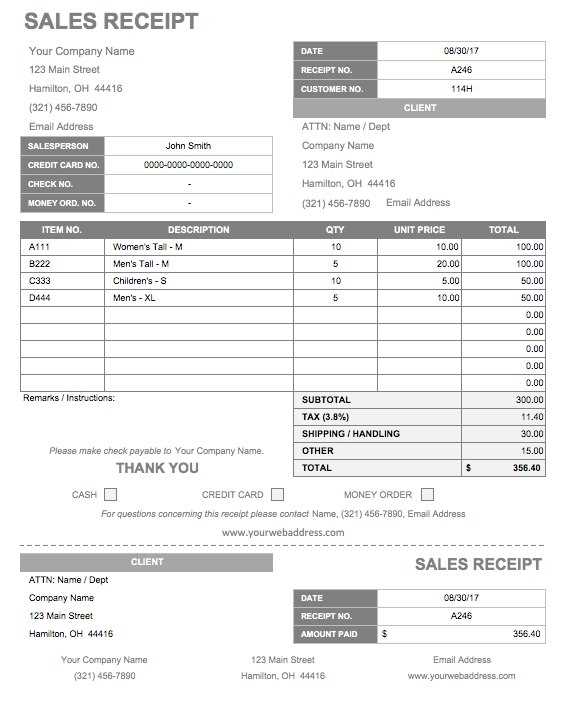
Using a customized sales receipt template in QuickBooks POS enhances your customer experience and streamlines your business operations. To get started, explore the built-in template editor within QuickBooks POS, which allows you to tailor receipt layouts to reflect your brand’s identity. Add your logo, adjust fonts, and include key details like return policies or promotional messages directly on the receipt.
For advanced customization, consider exporting the receipt template as an XML file. This approach enables you to modify the layout and design further using XML editors, giving you full control over elements such as formatting, field placement, and additional data inclusion. Once edited, simply re-import the file back into QuickBooks POS.
If you’re looking for pre-designed templates, many third-party vendors offer compatible solutions. Ensure these templates align with your version of QuickBooks POS to avoid compatibility issues. Whether you choose to customize in-house or source ready-made designs, optimizing your sales receipt template will leave a lasting impression on your customers and simplify your workflow.
QuickBooks POS Sales Receipt Template
Customize your QuickBooks POS sales receipt template to align with your business branding and provide clear, professional communication to customers. Start by accessing the “Print Designer” tool in QuickBooks POS, located under the “File” menu. This feature allows you to adjust the layout, fonts, and content of your sales receipts.
Key Elements to Include
Ensure your receipt includes essential details such as the business name, logo, contact information, itemized purchases, subtotal, taxes, and total payment. Additionally, adding a personalized thank-you message or promotional offers at the bottom of the receipt can enhance customer retention.
Saving and Applying the Template
Once you’ve designed the receipt, save the template and set it as the default option for future transactions. This ensures consistency and saves time during checkout. Regularly review the template to incorporate updates, such as changes in branding or tax regulations.
How to Customize the Default Sales Receipt Layout in QuickBooks POS
Access the template editor by navigating to File > Preferences > Workstation, then select Documents & Printers. Under the Sales Receipt section, click Customize. This opens the design tool for your receipt layout.
Adjust the header by selecting the Header/Footer tab. Here, you can add or modify business details like the store name, address, and logo. Use the checkbox options to include or exclude specific elements. For example, enable the “Phone Number” field to display your contact information prominently.
To modify the receipt content, switch to the Body tab. Drag and drop fields such as item descriptions, quantities, or discounts to rearrange them. Use the formatting tools to change font sizes and alignments for better readability. For instance, highlight discounts by using bold text or increasing the font size.
Preview changes by clicking Print Preview. This ensures the layout looks as intended before saving. When satisfied, click Save to apply your customized receipt template.
Adding Custom Fields
If additional fields are needed, go to Inventory > Custom Fields in the main menu. Create a new field, assign a label (e.g., “Order Notes”), and link it to the sales receipt. Return to the customization tool, locate the new field in the list, and place it in the desired position.
Streamlining Multiple Templates
For businesses using different receipt layouts, set up multiple templates by duplicating an existing design. Customize each copy for specific needs, such as promotions or special sales events. Assign templates during transactions by selecting the appropriate option in the Print Settings.
Step-by-Step Guide to Adding Business Branding and Contact Information

Customize the header of your sales receipt by including your business logo. Navigate to the File menu in QuickBooks POS, select Preferences, and click on Company. Upload a high-resolution image of your logo for optimal clarity on printed and emailed receipts.
Include Your Business Name and Tagline

Update your company name and add a tagline that reflects your brand’s identity. Go to Setup Interview under the Company menu and fill in the Business Name and Tagline fields. Use concise, professional wording to make a lasting impression on customers.
Add Complete Contact Details

Provide your business address, phone number, email, and website in the receipt footer. Open Receipt Setup in the Preferences menu, then select Footer Content. Ensure the details are accurate and formatted clearly for easy reference.
Enable QR codes to link to your website or contact page directly from the receipt. This can be done by integrating a third-party plugin compatible with QuickBooks POS, allowing customers to engage with your business effortlessly.
Test-print the receipt to confirm all branding and contact details display correctly. Adjust the layout or spacing if needed to maintain a professional and visually appealing design.
Exporting, Sharing, and Printing Customized Sales Receipts
QuickBooks POS allows you to efficiently export, share, and print sales receipts to streamline your operations and enhance customer interactions. Here’s how you can take full advantage of these features:
Exporting Sales Receipts
- Use the “File” menu to select the Export Template option. This will allow you to save your customized receipt template as a file for backup or sharing purposes.
- Choose a file format, such as PDF or Excel, based on your needs. PDF ensures a fixed layout, while Excel offers flexibility for further adjustments.
- Store the exported file securely in cloud storage services like Google Drive or OneDrive for easy access and collaboration with your team.
Sharing Sales Receipts
- Leverage email integrations within QuickBooks POS to send digital receipts directly to customers. Customize the subject line and message for a personalized touch.
- For bulk sharing, consider exporting receipts in batches and using email automation tools like Mailchimp or Outlook to distribute them efficiently.
- If sharing with accountants or stakeholders, include a summary file with key transaction details for context.
Printing Sales Receipts
- Ensure your receipt printer is configured correctly under the QuickBooks POS hardware settings. Test with a sample receipt before proceeding.
- Adjust the paper size and font settings within the receipt template editor to match your printer’s specifications and enhance readability.
- For high-volume printing, use thermal receipt printers for speed and cost-effectiveness.
By efficiently managing these tasks, you improve not only internal workflows but also the overall experience for your customers and team members.


