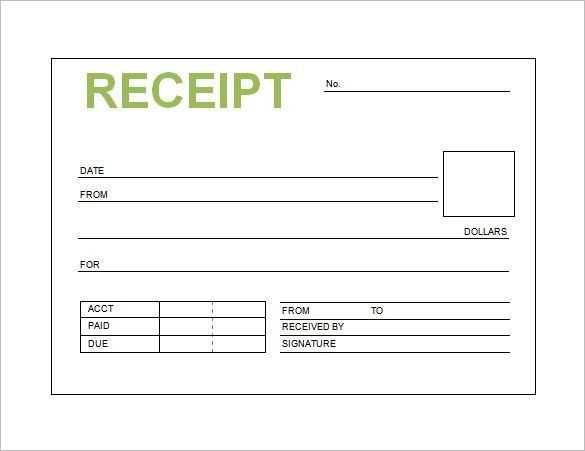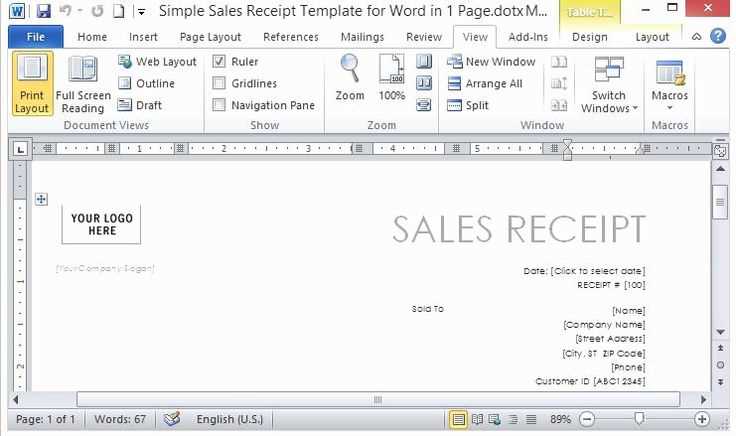
Creating a sale receipt in LibreOffice is quick and straightforward. Use a pre-designed template to save time and ensure a professional layout. LibreOffice supports customizable templates, allowing you to add business details, itemized lists, and tax calculations with ease.
Start with a spreadsheet or text document, depending on your needs. A spreadsheet offers built-in formulas for automatic calculations, while a text document provides more design flexibility. Adjust fonts, insert a logo, and structure the receipt for clarity.
LibreOffice templates support editable fields for dates, prices, and customer details. You can set up dropdown menus for payment methods and use conditional formatting for highlighting overdue payments. After finalizing the layout, save the receipt as a template for future use.
Exporting to PDF ensures compatibility with different devices and prevents accidental modifications. LibreOffice also supports batch printing, making it easy to generate multiple receipts at once. With a well-structured template, handling transactions becomes effortless.
Sale Receipt Template for LibreOffice
Use a well-structured table in LibreOffice Writer or Calc to create a clear and professional sale receipt. Include essential details such as item descriptions, quantities, prices, and totals. Format currency values correctly by selecting the appropriate number format in the toolbar.
Customizing the Layout
Adjust column widths to ensure readability, and use borders to separate sections. Add your business name and contact details at the top for a professional touch. If using Calc, apply formulas to automate total calculations and tax rates.
Saving and Printing
Save the template as an ODT or ODS file for future use. Export to PDF for easy sharing or direct printing. To maintain consistency, create a reusable template by saving a blank receipt with predefined fields.
Choosing the Right Template Format
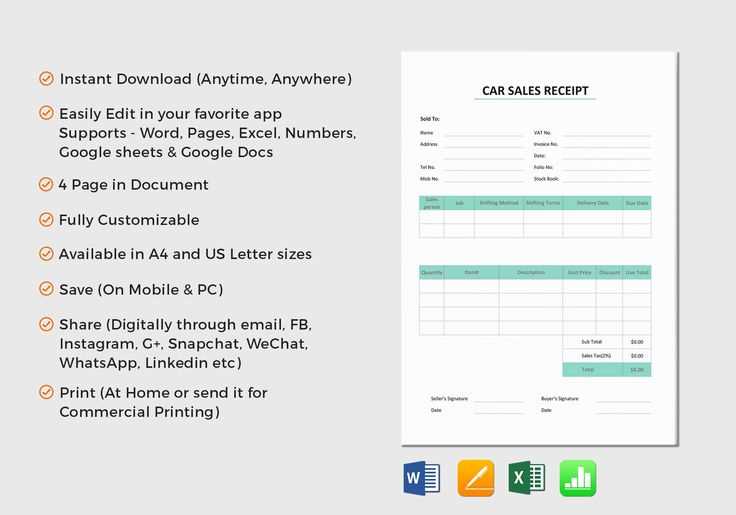
Opt for ODT when customization is a priority. This format ensures compatibility with LibreOffice’s full range of formatting tools, including styles, tables, and embedded objects.
Use PDF for fixed layouts. If the receipt should remain unchanged when shared, exporting to PDF locks the design and prevents accidental modifications.
Consider CSV for data exports. If receipts need integration with other systems, a structured CSV format simplifies automation and batch processing.
Balance flexibility and usability. A well-chosen format saves time and prevents reformatting issues later.
Customizing Fields and Layout
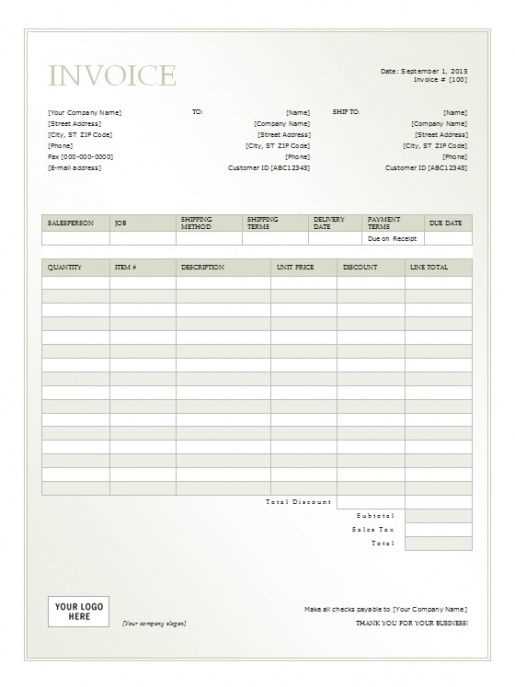
Modify the receipt template by adjusting field names and their placement. Open the template in LibreOffice and switch to Edit Mode. Click on a field, then go to Table Properties to rename or reposition it.
Adding Custom Fields
Insert a new row in the table for extra details like Tax ID or Discount. Use Insert → Row Below, then format the cell with Format → Cells to set alignment and text style.
Adjusting Layout
Resize columns by dragging their edges or adjusting values under Table Properties → Column. To add spacing, use Format → Paragraph and tweak indents or line spacing.
After modifications, save the file as a template for future use via File → Templates → Save As Template.
Adding Automatic Calculations
Use LibreOffice Calc formulas to automate total calculations, reducing manual errors and saving time. Insert formulas directly into cells where calculations should appear.
Applying Formulas
- Select the cell for the total.
- Type =SUM(B2:B10) to add values in a column.
- For tax, use =B11*0.08 (adjust the percentage as needed).
- To calculate the final amount, apply =B11+B12.
Using Named Ranges
Define named ranges for clarity and easier formula management:
- Highlight the target cells.
- Go to Data > Define Range, enter a name, and save.
- Use the name in formulas, e.g., =SUM(Items).
With these methods, calculations update dynamically, ensuring accuracy in every receipt.
Inserting a Company Logo and Branding
To insert a company logo into your sale receipt template, start by choosing the correct image format. Use PNG or SVG for better quality and transparency. Avoid large file sizes to ensure fast loading and printing. Place the logo in the header section of the receipt, ensuring it doesn’t dominate the layout but is clearly visible.
Positioning the Logo
- Align the logo to the left or center for a clean, balanced look.
- Avoid placing the logo too close to text or other elements, as it can disrupt the overall design.
- Ensure there’s enough padding around the logo to maintain clarity and prevent overcrowding.
Branding Elements
- Choose a font style that matches your company’s branding. Keep it simple and readable.
- Incorporate brand colors into the receipt layout, but don’t overwhelm the design. Use the colors sparingly for highlights or borders.
- Consider adding a small slogan or tagline that reinforces your company’s identity, placed subtly near the logo.
Exporting and Printing the Receipt
To export the receipt, open your template in LibreOffice and click on the “File” menu. Choose the “Export As” option and select your preferred file format, such as PDF. This ensures the receipt maintains its layout and design when shared or printed. Select the location where you wish to save the file, then click “Save.”
Printing the Receipt
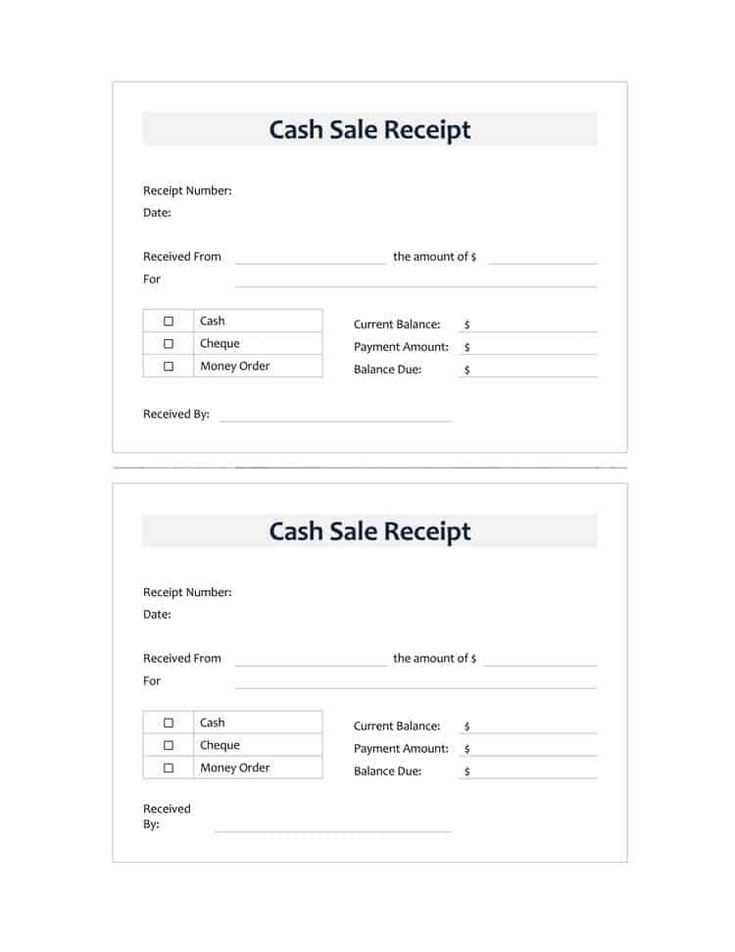
For printing, go to “File” and select “Print.” In the print settings, choose your printer and adjust the paper size to match the layout of the receipt. Check the print preview to ensure everything appears correctly, then click “Print” to finalize the process.
Handling Multiple Receipts
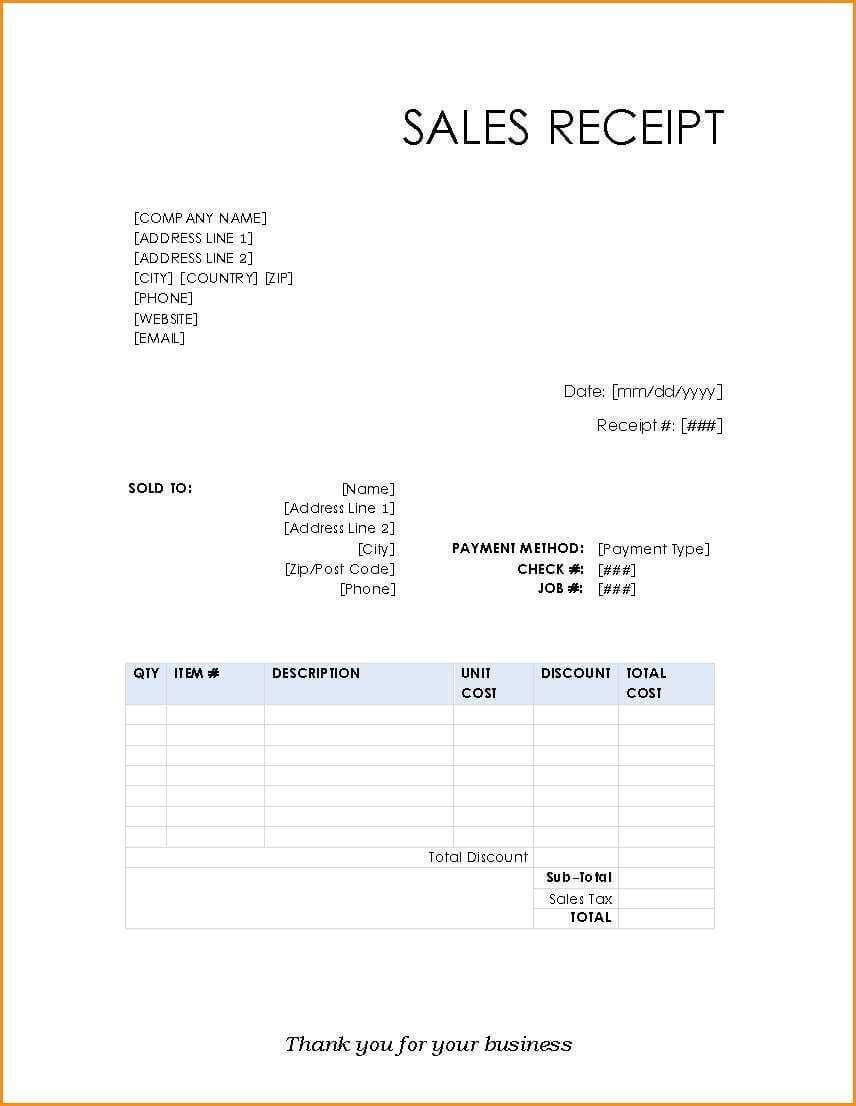
If you need to print or export multiple receipts at once, organize your templates into separate files. Use LibreOffice’s “Batch Export” feature or a printing queue to manage multiple tasks efficiently. This method streamlines the process and ensures accuracy in both exporting and printing multiple documents.
Saving and Reusing Templates
To save a template in LibreOffice, click “File” and select “Templates” followed by “Save as Template.” Name your template and choose the desired category to organize it. You can now access this template anytime by navigating to “File” > “New” > “Templates” and selecting the saved file.
Reusing templates is simple. Once saved, you can quickly open any template by selecting it from the template gallery. This ensures consistency across documents without needing to recreate your layout from scratch.
For better organization, categorize your templates by their use cases (e.g., invoices, reports, or receipts). This way, templates remain easily accessible, saving you time in the future.
| Step | Action |
|---|---|
| 1 | Save your template by going to “File” > “Templates” > “Save as Template”. |
| 2 | Choose a category and name your template for easy identification. |
| 3 | To reuse, go to “File” > “New” > “Templates” and select your saved template. |
| 4 | For better organization, create categories based on document type. |
