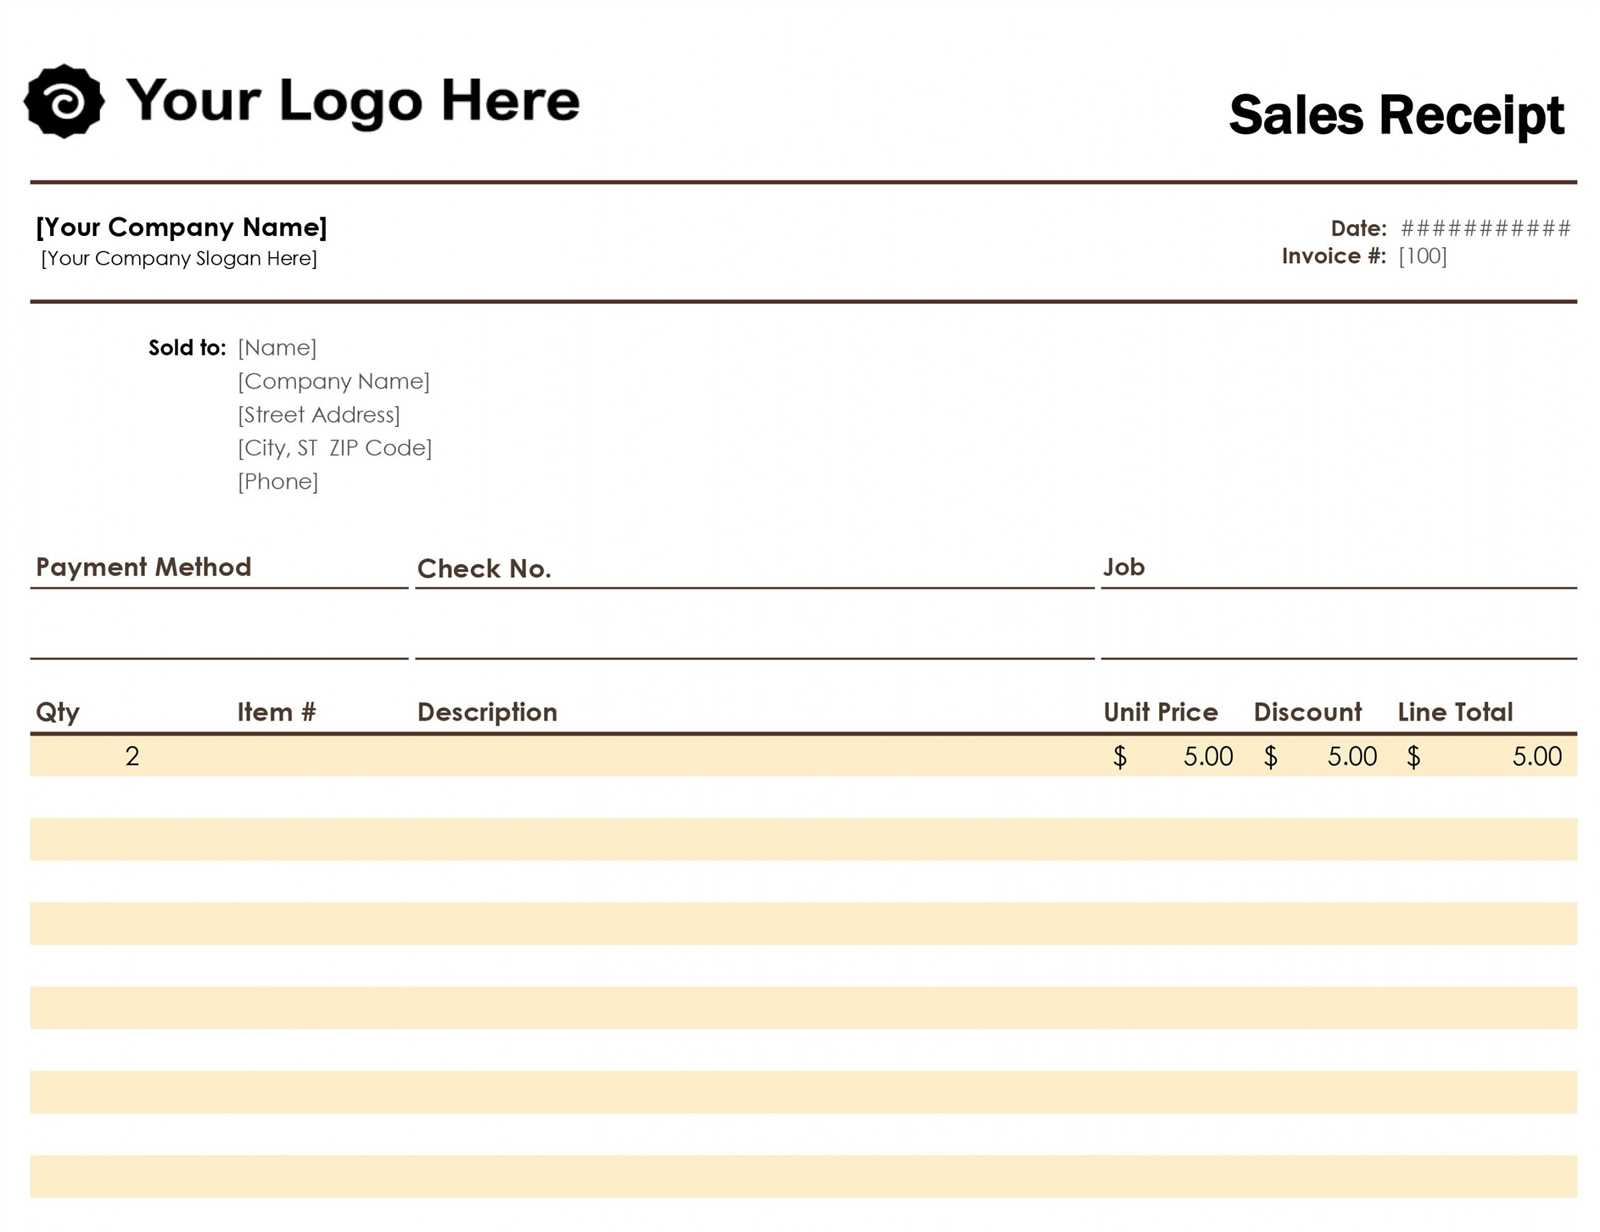
A sales receipt template simplifies the process of issuing receipts to your customers, ensuring clear documentation of each transaction. By using a well-structured template, you save time while providing a professional experience for your clients.
Focus on including key details such as the transaction date, items purchased, prices, taxes, and payment method. Ensure the design is clear, easy to read, and customizable to fit your business’s needs. A good template will streamline your accounting process and help maintain transparency.
Consider adding sections for customer information and return policies to make the receipt more comprehensive. With these elements, your receipts won’t just serve as proof of purchase–they’ll enhance the professionalism of your service.
Sales Receipt Template Service
A sales receipt template service allows you to quickly create standardized, professional receipts for your transactions. It streamlines the process of issuing receipts, ensuring they are accurate, consistent, and easy to customize for different needs. Look for services offering templates that support essential details such as item descriptions, quantities, prices, tax calculations, and total amounts.
Key Features
Choose a service that provides templates with fields that can be filled automatically or manually, depending on your workflow. Many services allow integration with accounting software to automatically populate the required fields. Customization options are another important feature, as this lets you adjust fonts, colors, logos, and additional details that match your business’s branding.
Customization and Integration
To ensure smooth operations, consider a service that offers seamless integration with your point-of-sale system or inventory management. This will minimize manual input and reduce the chances of errors. Customizable options should allow you to include business details such as your address, contact number, or tax ID number. Services offering cloud storage for receipts can further ease access and management over time.
Designing a Customized Sales Receipt Template
Focus on clarity and simplicity. Organize the receipt in sections: company details, itemized list, payment information, and footer. Start with your company name and contact information at the top. This ensures customers know who issued the receipt.
In the itemized section, include columns for product description, quantity, unit price, and total. This allows for quick verification of each item purchased. Use bold for the item names and use smaller font for descriptions to maintain a clean design.
For the payment section, include the total amount, taxes, and any discounts. Be transparent by clearly breaking down each component of the payment. The footer should feature a thank you message or a reminder of return policies if applicable.
Ensure alignment is consistent throughout the template. Use grids for even spacing and make sure each piece of information has its own space. This prevents clutter and enhances readability.
Use a clear and readable font, and consider using a color scheme that matches your brand, but avoid too many colors to keep the receipt professional and easy to read.
Incorporating Tax and Discount Calculations
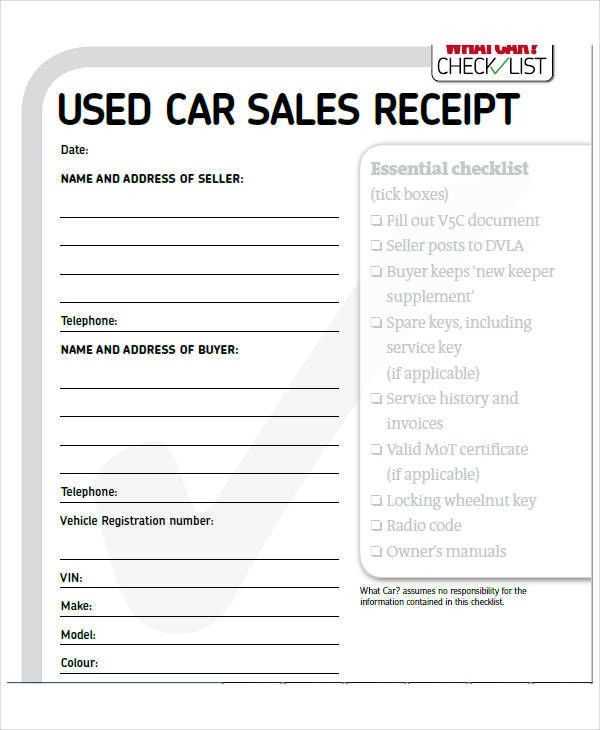
To ensure accurate sales receipts, calculate taxes and discounts dynamically. Implement the following strategies to integrate these elements effectively into your template.
Tax Calculation
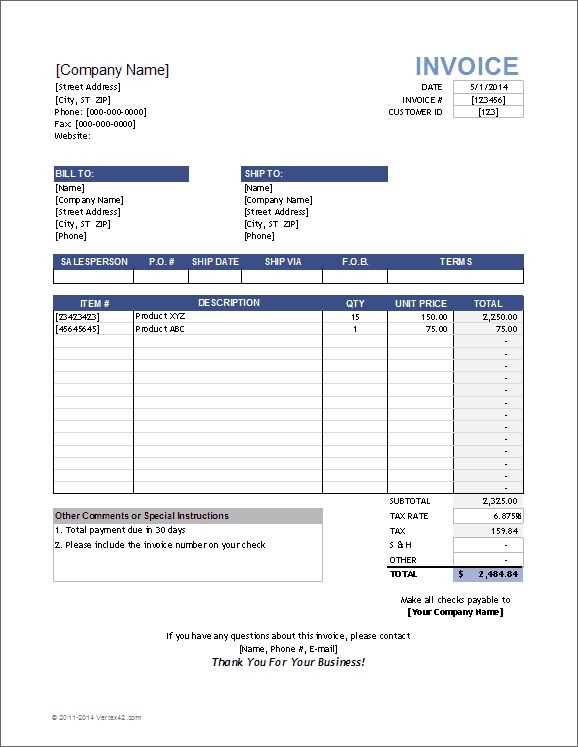
Apply tax rates based on the sale’s location. Calculate the tax by multiplying the subtotal by the tax rate. For example, if the subtotal is $100 and the tax rate is 8%, the tax will be $8.
Discount Application
Discounts can be applied as either a percentage of the subtotal or a fixed amount. If using a percentage, multiply the subtotal by the discount rate. For example, a 10% discount on a $100 subtotal will reduce the amount by $10. If using a fixed amount, subtract that value directly from the subtotal.
| Description | Formula | Example |
|---|---|---|
| Subtotal | Base price of items | $100 |
| Tax | Subtotal * Tax rate | $100 * 8% = $8 |
| Discount | Subtotal * Discount rate | $100 * 10% = $10 |
| Total | Subtotal + Tax – Discount | $100 + $8 – $10 = $98 |
Adding Payment Methods and Transaction Information
Specify the accepted payment methods on your receipt template to avoid confusion. List them clearly with corresponding icons for easy recognition. Popular options include:
- Credit/Debit Cards
- PayPal
- Bank Transfer
- Cash
For each transaction, include essential details such as the transaction ID, payment confirmation number, and the method used. This transparency helps in resolving issues and ensuring accuracy in the records.
Display the transaction date and time for easy reference. Include a breakdown of amounts paid, including taxes, discounts, and tips, where applicable. This information provides customers with clarity about what they paid for.
If using an online payment processor, ensure you integrate their API for real-time updates of transaction status and payment confirmations.
Lastly, keep the transaction data concise but complete. Avoid cluttering the receipt with unnecessary information while ensuring that all relevant details are visible and easy to understand.
Integrating Business Branding Elements into Receipts
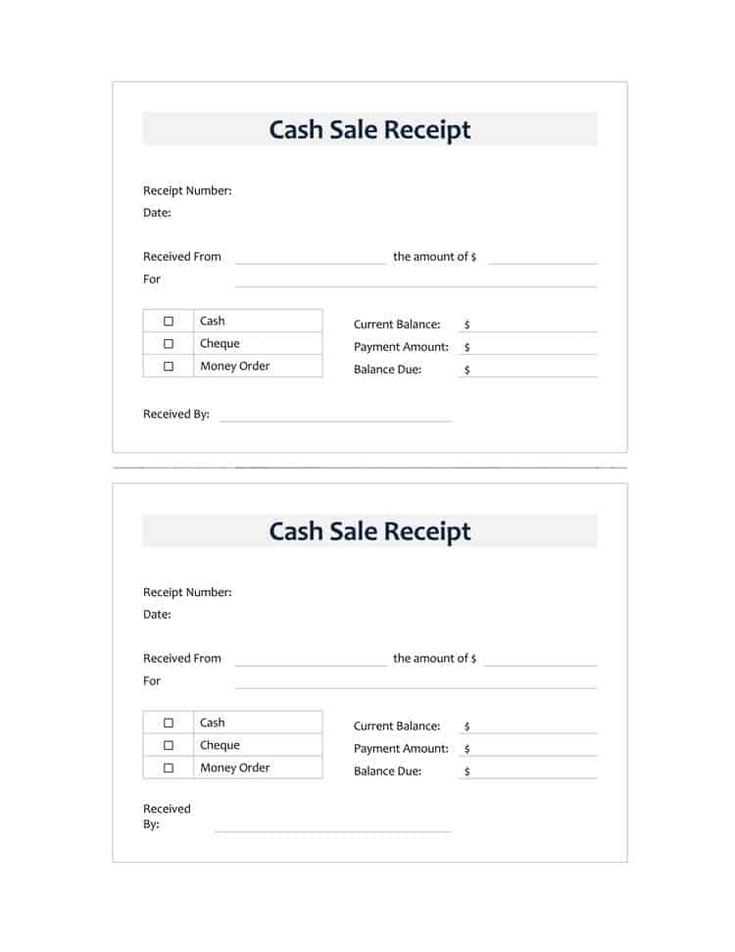
Incorporate your company logo at the top of the receipt for immediate brand recognition. Choose colors that align with your business’s identity, ensuring they are consistent with your website and marketing materials. Use a simple font that mirrors your brand’s voice, ensuring it is easy to read and complements the overall design.
Include your business name, address, phone number, and website in a clean, organized manner. These elements help establish credibility and offer customers a point of contact. Consider adding a tag line or slogan beneath the logo to reinforce your brand’s message and value proposition.
Place relevant icons, such as payment method logos or social media handles, subtly within the receipt’s design to maintain a cohesive look. Avoid overcrowding the document, focusing instead on a clear and professional presentation. A well-branded receipt serves as a lasting reminder of your business for every customer.
Ensuring Compliance with Legal and Accounting Standards
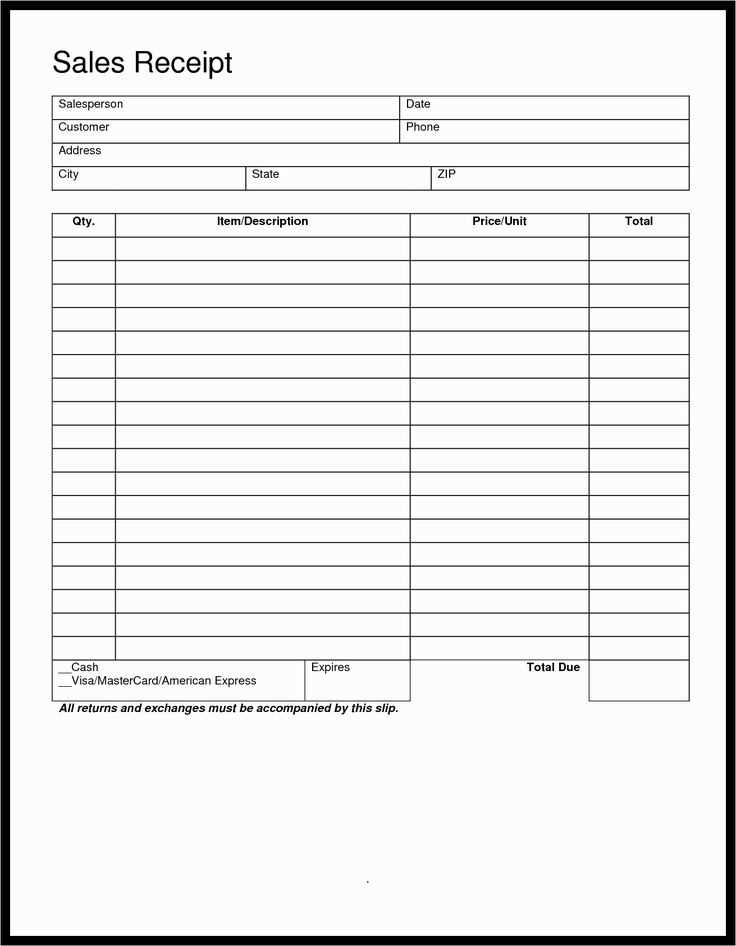
Make sure your sales receipt template includes all mandatory elements for compliance. Include the full business name, address, and tax identification number (TIN). Specify the date of the transaction and list itemized prices, taxes, and totals to maintain clarity in accounting records.
Adhering to Tax Regulations
Verify the correct application of sales tax rates based on the buyer’s location. Ensure tax amounts are clearly separated from the total and labeled appropriately. Failure to comply with local tax laws can result in fines and audits, so keeping accurate records is key.
Meeting Record-Keeping Requirements
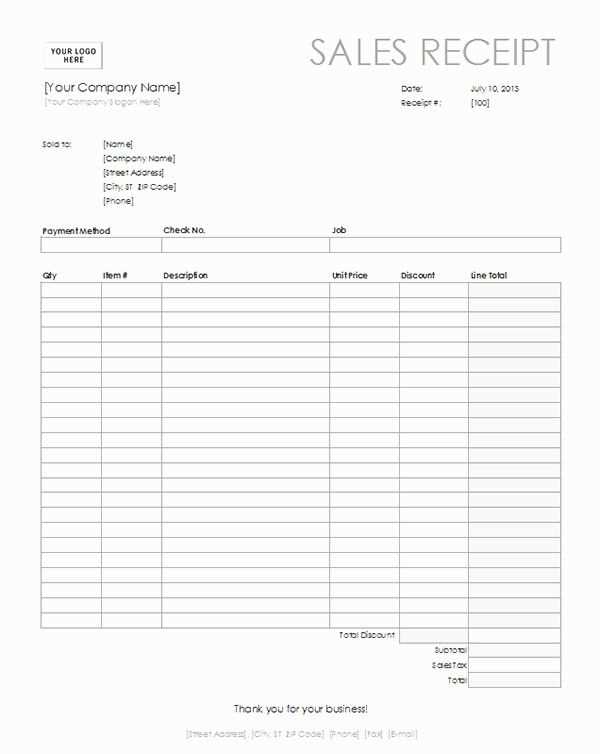
Keep digital or physical copies of receipts for a set period, typically 5 to 7 years, depending on your jurisdiction. This is crucial for audits and tax filing purposes. Implement a system to easily retrieve these records and ensure they are organized according to transaction dates and amounts.
Managing Template Automation and Integration with POS Systems
Link your receipt templates directly to your Point of Sale (POS) system for smooth, automated processing. Choose a POS platform that supports template customization and integrates easily with your receipt printing software. By using predefined variables in your templates, you can dynamically populate them with transaction details such as item names, quantities, and totals, eliminating manual input errors.
Automating Template Customization
Set up templates to auto-populate critical fields such as transaction date, customer info, and product specifics, all based on the sale data input. Use your POS system’s configuration settings to assign specific templates to different transaction types. This method saves time, reduces human error, and ensures that receipts are formatted consistently across all sales channels.
Integrating with POS Software
Ensure that your receipt template is compatible with the software you use. Look for systems that allow API or SDK integration to streamline data flow between your POS and receipt printer. By using integrations, you enable real-time printing without the need for additional data entry. This setup not only improves operational speed but also provides an error-free record for each transaction.
Regularly test the integration to identify any glitches or updates that might affect template formatting. This keeps your process running smoothly and ensures customer-facing documentation is always up-to-date with the latest pricing, taxes, and other relevant data.


