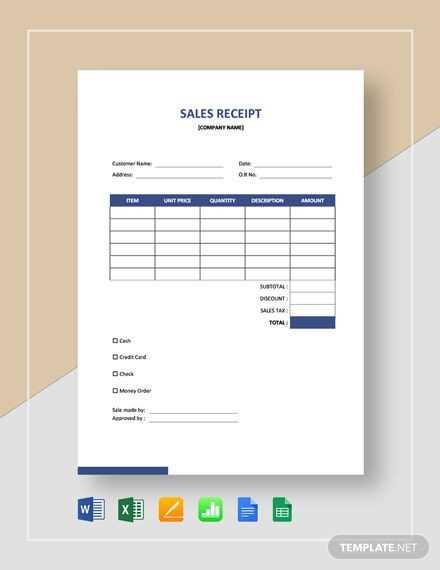
A structured sales receipt template keeps transactions organized and simplifies financial tracking. A well-designed spreadsheet allows for easy customization, automatic calculations, and a clear breakdown of key details.
Include fields for date, item description, quantity, unit price, subtotal, tax, and total amount. Use formulas to ensure accurate calculations, reducing manual errors. A pre-formatted layout improves readability and ensures consistency across all receipts.
For added efficiency, incorporate drop-down menus for product selection, predefined tax rates, and automatic formatting for currency values. Conditional formatting can highlight overdue payments or discrepancies, making reviews faster.
Save templates in commonly used formats like Excel or Google Sheets for easy sharing and cloud access. Lock formula cells to prevent accidental edits while allowing input in designated fields. This approach streamlines record-keeping and ensures accuracy in financial documentation.
Sales Receipt Template Spreadsheet
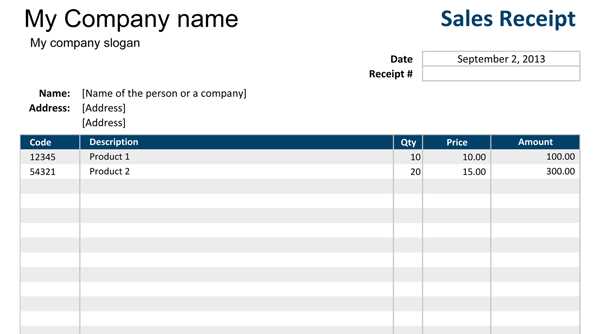
Use a spreadsheet to create a professional sales receipt template. This format ensures easy tracking of transactions and quick adjustments. Start by including columns for the transaction date, item description, quantity, price per unit, total amount, and payment method. Add a section for customer details, such as name and contact information, for clear record-keeping.
Ensure calculations are automatic by using formulas. For example, multiply the quantity by the price per unit to get the total amount. Set up a simple sum formula to calculate the overall amount for the sale.
Design the template with a clean layout, including bold headings and separate sections for clarity. Consider using different colors for headers or totals, but keep it simple to maintain a professional appearance.
Regularly update your template as needed for any changes in your pricing structure or sales format. With a spreadsheet, you can easily modify fields and formulas without hassle.
Key Components of a Sales Receipt
To create a reliable and functional sales receipt, focus on these key elements:
1. Receipt Header
The header should include your business name, logo, and contact information. This helps identify the seller and provides customers with a way to reach out for support or returns.
2. Transaction Details
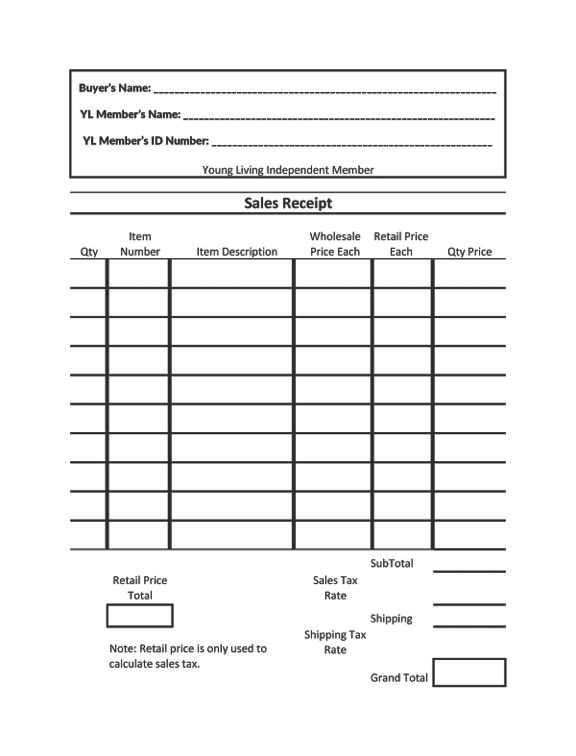
Include the following to provide clarity:
- Transaction date and time
- Unique receipt number
- Payment method (e.g., cash, credit card, digital payment)
3. Itemized List of Products/Services
Detail each product or service purchased, including:
- Product/service name
- Quantity
- Price per unit
- Total cost for each item
4. Total Amount
Provide a clear summary of the total amount paid, including any applicable taxes, discounts, or shipping fees. This allows for transparency and avoids confusion.
5. Terms and Conditions
Outline any applicable return policies, warranty information, or special conditions for the purchased products or services.
6. Footer
In the footer, include any necessary contact information again, payment processor details (if applicable), and a message thanking the customer for their purchase.
7. Signature (Optional)
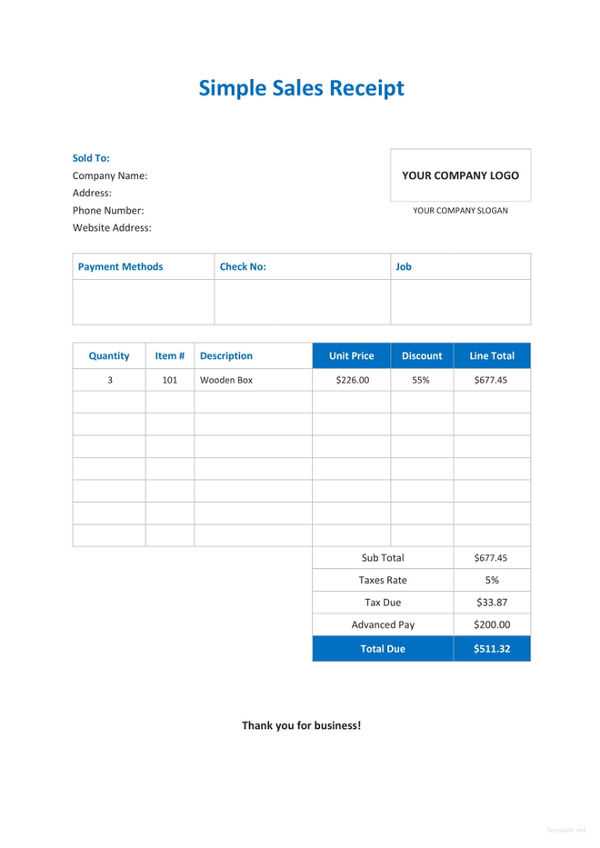
If necessary, a signature line for the customer or seller can be included, especially for high-value transactions or those requiring verification.
Example Sales Receipt Table
| Item | Quantity | Unit Price | Total |
|---|---|---|---|
| Product A | 2 | $10.00 | $20.00 |
| Service B | 1 | $50.00 | $50.00 |
| Total | $70.00 |
How to Structure a Spreadsheet for Receipts
Organize your spreadsheet with clear columns for the transaction date, item name, quantity, unit price, total amount, and payment method. This will allow quick referencing and make calculations easier. Begin by labeling each column with a simple title like “Date,” “Item,” “Quantity,” “Unit Price,” “Total,” and “Payment Method.”
Keep the “Date” column in a consistent format (e.g., DD/MM/YYYY) for easy sorting. The “Item” column should list a short description of each product or service purchased. For “Quantity” and “Unit Price,” use numerical values, ensuring they are formatted correctly for any necessary calculations, such as adding totals or taxes.
The “Total” column should automatically calculate the total price per item by multiplying quantity by unit price. Use formulas to ensure accuracy in your sheet. For the “Payment Method” column, include a simple label such as “Cash,” “Credit,” or “Online Transfer” to track payment types.
If necessary, add a “Tax” column to calculate tax rates, applying formulas to account for local tax laws. Make sure to separate tax values from the total price to maintain clarity. For longer lists, consider using filtering options to quickly sort or find specific receipts.
Finally, ensure the entire spreadsheet is formatted for easy readability–use alternating row colors and bold headers for clarity. Make sure all formulas work correctly before saving and sharing the document.
Formulas and Automation for Calculations
Set up formulas to automatically calculate totals, taxes, and discounts in your sales receipt template. This reduces manual entry errors and streamlines the process.
Simple Sum and Tax Calculations
- Use the SUM formula to total the amounts in the “Amount” column. Example: =SUM(B2:B10).
- Apply a formula to calculate tax: =TotalAmount * TaxRate. If tax is 8%, use =B11 * 0.08.
- For total after tax: =SUM(B2:B10) + (B11 * 0.08).
Discount Automation
- To apply a discount, subtract it from the total. For a 10% discount: =TotalAmount – (TotalAmount * 0.1).
- Use an IF function to apply conditional discounts based on item quantity. Example: =IF(Quantity>=10, TotalAmount*0.9, TotalAmount).
Incorporate automation to update totals in real-time as quantities or prices change, saving time and preventing errors.
Customizing Receipt Templates for Different Businesses
Adjust receipt templates to reflect your specific business needs. For retail stores, include sections for product descriptions, quantities, and prices. Add a discount field if necessary, ensuring clarity for both the customer and staff. For service-based businesses, emphasize service details, hourly rates, and the total time spent on the service.
For restaurants, incorporate itemized food or beverage lists with space for tips and taxes. It’s important to add your logo, address, and contact details to enhance brand recognition. For e-commerce, offer a separate area for shipping information and order tracking, which is useful for online shoppers.
Businesses that deal with large transactions, such as contractors or wholesalers, should include a breakdown of materials, labor, and additional charges. This helps avoid confusion and maintains transparency. Ensure the receipt is simple yet informative, aligning with your brand’s identity and the type of product or service you offer.
Finally, test your templates for clarity and usability before distribution. Regularly review them to ensure they meet any regulatory changes or business modifications, making sure your customers always receive accurate and timely information.
Integrating a Spreadsheet with Accounting Software
Sync your spreadsheet data directly with accounting software to streamline your financial management. Use tools that offer import/export functionality for seamless integration, eliminating the need for manual data entry. Look for software that supports CSV or Excel file uploads for an easy transfer of sales receipts and transaction details.
Steps for Integration
1. Prepare your spreadsheet by organizing your data with clear headings like “Date,” “Amount,” “Description,” and “Customer Name.” This format aligns well with most accounting software systems.
2. Select a compatible accounting software that allows for data imports from spreadsheets. Popular options include systems that integrate with tools like Microsoft Excel or Google Sheets.
Automation of Data Entry
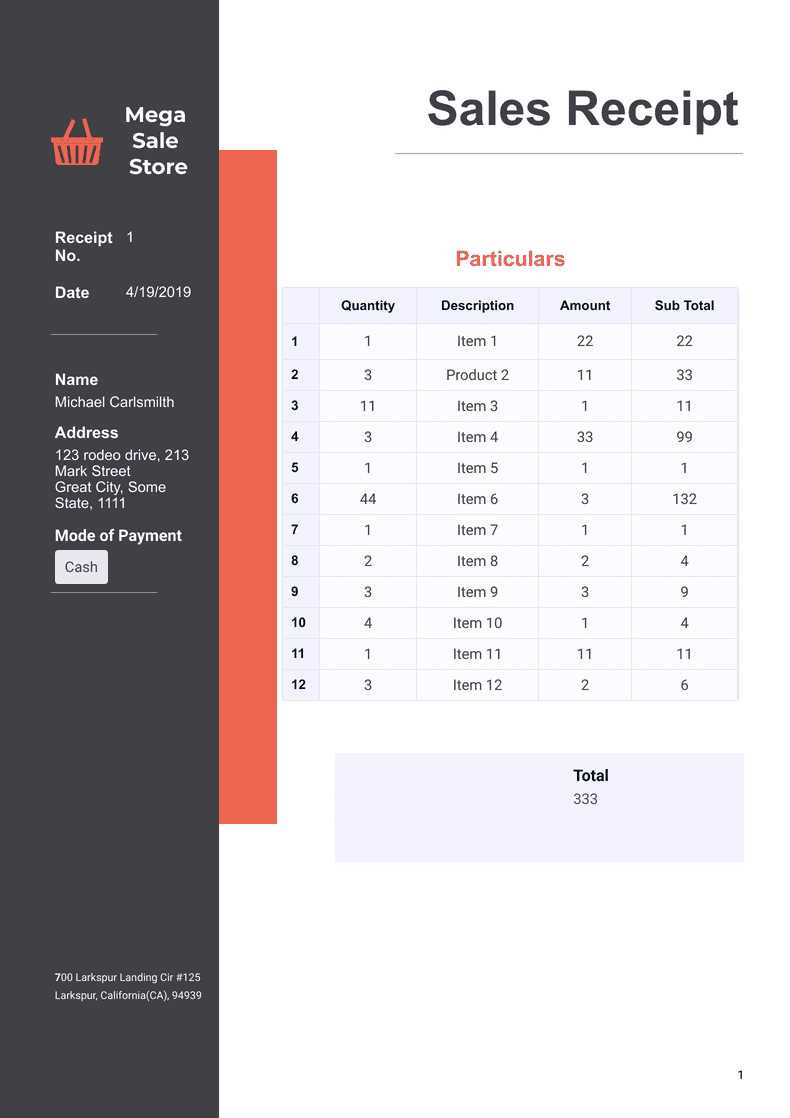
Automate the data flow between your spreadsheet and accounting software to reduce errors and save time. Use built-in features like API connections or third-party connectors to set up automated data syncing. Ensure the integration process is secure by verifying that data mapping is accurate between the spreadsheet and accounting software fields.
Stay proactive with regular updates and backups to ensure the integration remains smooth and up-to-date.
Exporting and Printing Sales Receipts
To export or print sales receipts from a spreadsheet, ensure that the template is properly structured for clear presentation. Organize all necessary data, such as customer information, product details, pricing, and date, in a well-defined format.
Exporting Sales Receipts
Follow these steps to export your sales receipt data to a suitable file format:
- Select the receipt template in your spreadsheet program.
- Review the data and make sure everything is correctly filled in.
- Click on “File” and choose the “Export” or “Save As” option.
- Choose a format such as CSV, PDF, or Excel, depending on your needs.
- For CSV, make sure the data is organized in separate columns for easy import into other systems.
- If saving as PDF, select options that optimize for printing, like fitting content to page size.
- Save the file to your desired location on your device or cloud storage.
Printing Sales Receipts
When printing receipts, follow these steps to ensure high-quality, readable prints:
- Ensure your printer is connected and has enough ink or toner.
- Open the receipt file and check that it is formatted correctly for printing.
- Adjust the print settings for optimal output, such as paper size and margins.
- Preview the print job to ensure everything appears as expected.
- Click “Print” and choose the appropriate printer from the list.
- Make any necessary adjustments to color or quality settings before final printing.
- Print the receipts and verify that they match the data in your template.
Regularly check the template for consistency in format, ensuring a professional and clean appearance with each export or print task.


