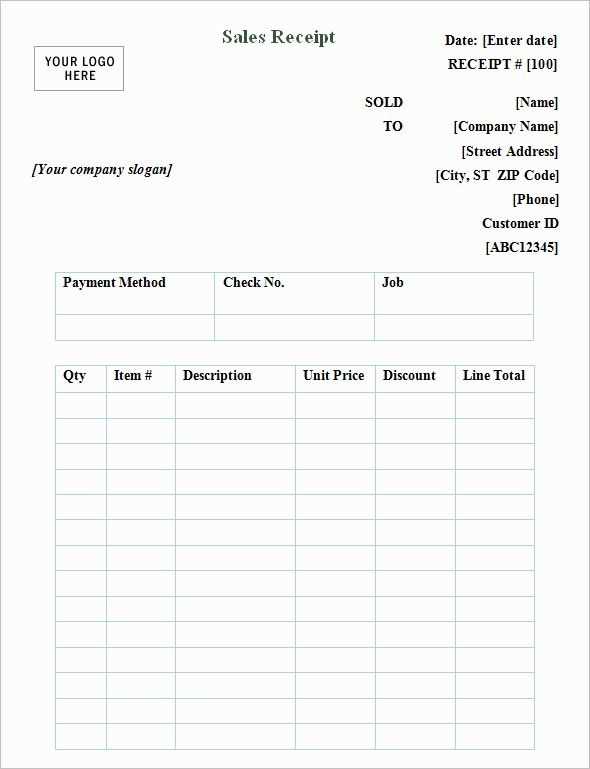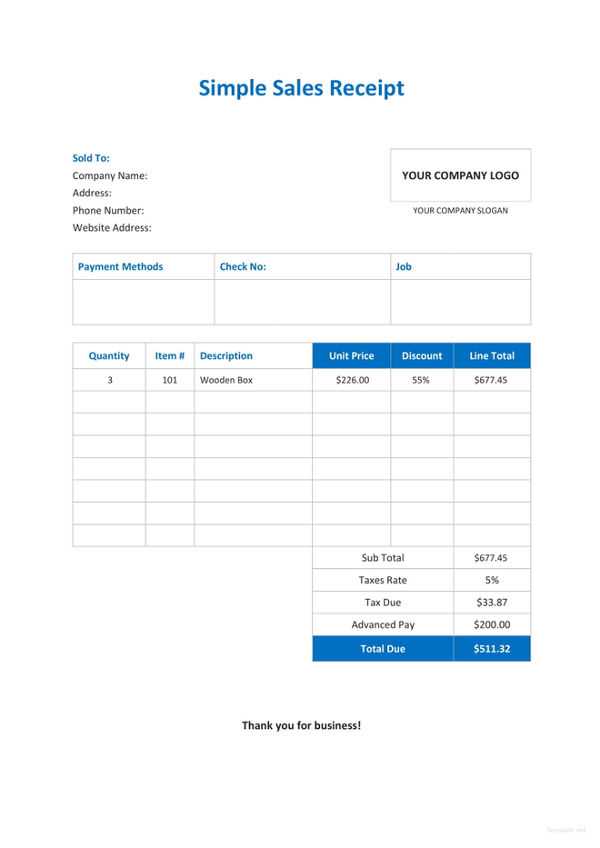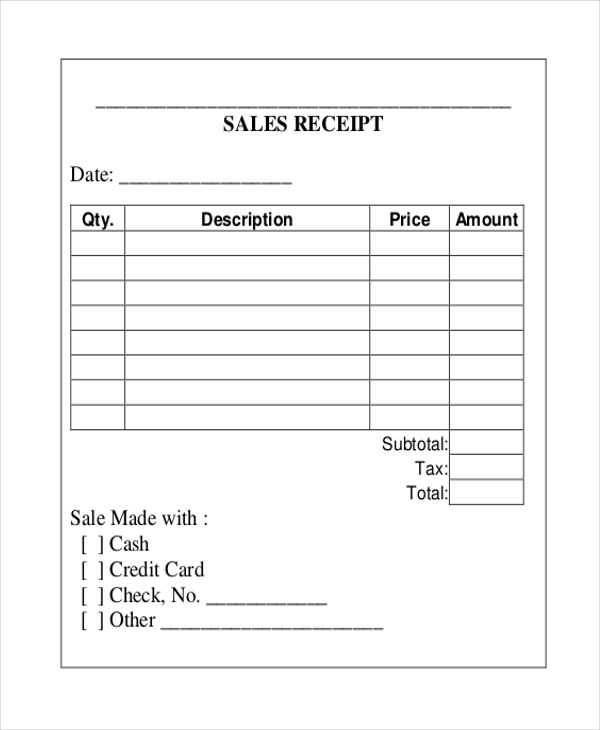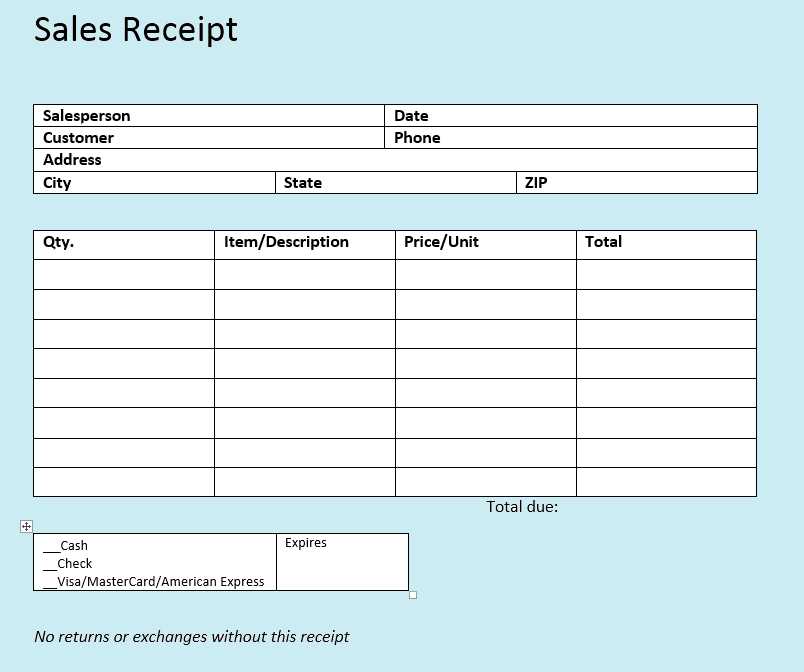
Creating a reliable sales receipt template can simplify your transactions and ensure consistency in your business operations. By incorporating clear sections for the date, itemized products or services, amounts, and total cost, you can provide your customers with accurate and professional documentation.
Each receipt should clearly display the business name, address, and contact details. Including unique receipt numbers helps with organization and tracking. Additionally, consider adding a section for payment method to keep a record of how the purchase was completed, whether through cash, card, or online transfer.
Having a standard template ensures all necessary information is included, preventing the risk of missing details that could lead to confusion. A straightforward, well-organized format allows for easy customization to suit different needs, while maintaining consistency for your customers and your records.
Sales Receipts Template

A good sales receipt template should be clear, concise, and provide all necessary details of the transaction. Include the following elements for maximum transparency and usefulness:
Key Elements of a Sales Receipt

At the top, display your business name and contact details, such as address, phone number, and email. The receipt should also feature the transaction date and a unique receipt number for tracking purposes. List each item sold with the description, quantity, price, and total amount for each item. Don’t forget to include the subtotal, tax, and final total amount. Payment methods, such as cash, credit card, or electronic transfer, should be noted at the bottom, along with any relevant terms or return policies.
Layout and Design Tips
Ensure the template is easy to read by using clear fonts and spacing. Group related information together, such as the business details at the top, transaction information in the middle, and payment details at the bottom. Use lines or boxes to separate different sections, keeping everything organized. A simple, uncluttered design will help your customers quickly find the details they need.
Choosing the Right Format for Your Sales Receipt
Opt for a format that reflects the nature of your business. If you sell physical products, include space for item descriptions, quantities, and prices. For service-based businesses, focus on detailing the type of service, hours worked, and rates.
Consider the layout and ease of use. A clear structure with separate sections for the customer’s details, itemized list, and total amount helps avoid confusion. Use columns to separate each category–this allows easy readability and quick reference.
Choose between digital and paper receipts based on how you engage with customers. For online businesses, digital formats such as PDFs or emailed receipts are most efficient. For in-store transactions, printed receipts remain standard, though offering digital options can be a bonus.
Ensure compatibility with your point-of-sale (POS) system. It should be able to generate receipts in the correct format without manual input. If you’re working with a third-party system, check if it integrates with your POS and supports your preferred format.
Keep legal requirements in mind. Depending on your location, sales receipts may need to include tax information, refund policies, and business identification. Check local regulations to ensure compliance.
Incorporating Key Information in Your Template
Ensure your sales receipt template includes the most relevant details for both the buyer and the seller. Start with the transaction date and a unique receipt number. These two elements help in tracking and verifying each transaction. Include the seller’s business name, address, and contact information to establish transparency and provide a point of contact for any inquiries.
Clear Itemization
List each purchased item clearly with a brief description, unit price, and quantity. Make sure the total amount for each item and the grand total are easy to spot. If applicable, show any discounts or taxes applied, with calculations shown explicitly. This will prevent confusion and provide an accurate account of the purchase.
Payment Details
Include the payment method used, whether it’s cash, credit, or online payment. For digital transactions, display the payment provider or platform used. If change was given, note the amount, especially for cash transactions, to avoid disputes.
By keeping the format clean and organized, you help ensure the information is accessible and easy to review later.
Customizing a Template for Different Business Needs
Tailor your sales receipt template by adjusting key elements to match your business type. The goal is to make sure that each receipt serves both functional and branding purposes effectively. Here are a few actionable tips:
Adjusting Fields for Specific Transactions
For businesses like retail or restaurants, include fields for itemized lists, taxes, and discounts. For service-based businesses, you may need to add a section for the hourly rate or service descriptions. Customizing these sections allows you to provide clear and relevant information for customers.
- Retail: Itemized list, unit price, quantity, subtotal, tax, discount, and total.
- Services: Description of service, rate per hour, hours worked, service tax, and total cost.
- Subscription-based: Recurring payment schedule, subscription terms, and renewal dates.
Branding Elements for Consistency

Customize the header and footer with your logo, business name, and contact information. Ensure the font style and color align with your branding. This small detail helps build professionalism and trust with your customers.
- Logo: Position it prominently at the top or bottom of the receipt.
- Contact details: Include phone number, website, and address for easy reference.
- Font and Colors: Choose colors and fonts consistent with your branding to create a cohesive look.
Finally, review your template regularly to make sure it meets changing business requirements or legal standards. The flexibility of a customizable template ensures you can update it as your needs evolve.
Ensuring Accuracy in Calculations and Taxes
Double-check all numbers before finalizing your receipt. Small mistakes in calculations or tax rates can lead to significant discrepancies. Use a reliable calculator or automated tool to verify totals and tax amounts, ensuring they match the expected values.
Tax Calculation Methods
For sales tax, confirm the applicable rate and whether it is inclusive or exclusive. Different states or countries have varying tax laws, so knowing the correct rate is crucial. Include these steps:
- Identify the sales tax rate based on location.
- Apply the rate correctly to the subtotal (before or after discounts, as required).
- Always round to the nearest two decimal places for accuracy.
Common Mistakes to Avoid

Some frequent errors that can affect accuracy include:
- Forgetting to apply the tax rate to certain items.
- Mixing up tax-exempt and taxable items.
- Using outdated tax rates that have changed.
- Not factoring in discounts correctly before tax calculation.
Use automated invoicing software to help reduce human error and ensure all figures are accurate.
Designing a User-Friendly and Professional Layout
Choose a clean, structured design with ample white space. A cluttered receipt can confuse customers, making it harder to locate important information. Use simple fonts like Arial or Helvetica, which are easy to read. Ensure that text size varies for headers, body content, and totals, helping to organize the information effectively.
Layout Arrangement
Arrange information in a logical order. Start with the business details at the top, followed by a breakdown of items or services purchased, and then display the total cost clearly. Position important information, such as payment method or transaction ID, at the bottom for easy reference.
Clear Separation of Key Elements
Utilize lines or subtle borders to separate different sections like items, pricing, and total amounts. This makes each section stand out, allowing the customer to quickly spot relevant details without distraction.
| Item | Quantity | Price |
|---|---|---|
| Product 1 | 2 | $20.00 |
| Product 2 | 1 | $15.00 |
Use a consistent color scheme with high contrast between background and text. Keep branding elements, such as logos or taglines, minimal but visible to reinforce your company identity without overwhelming the receipt’s readability.
Printing and Storing Sales Receipts for Recordkeeping

Keep copies of all sales receipts for accurate financial tracking. For physical receipts, use a reliable printer that ensures legibility and durability. Inkjet printers work well for short-term use, but thermal printers are often preferred for receipts as they last longer and do not require ink cartridges.
For digital receipts, ensure the format is easily accessible and not prone to corruption. PDF files are ideal for this purpose, as they can be archived and accessed on any device. Use cloud storage services to prevent data loss and ensure you can retrieve receipts when needed. Regularly back up these files to a secure external drive for redundancy.
If receipts are stored on paper, use labeled folders or binders with clear sections to organize them by month or category. Keep the receipts in a dry, cool place to prevent damage. Consider scanning paper receipts and storing them digitally to minimize physical storage needs.
When setting up your record-keeping system, use consistent file naming conventions to make retrieval quicker. For instance, name each file with the date of the transaction and the corresponding invoice number. This helps you quickly find and reference specific transactions when needed.
Review your storage process periodically to ensure that both digital and physical receipts are organized, intact, and accessible. Regular maintenance of your receipt archives minimizes the chances of misplacement or damage.


