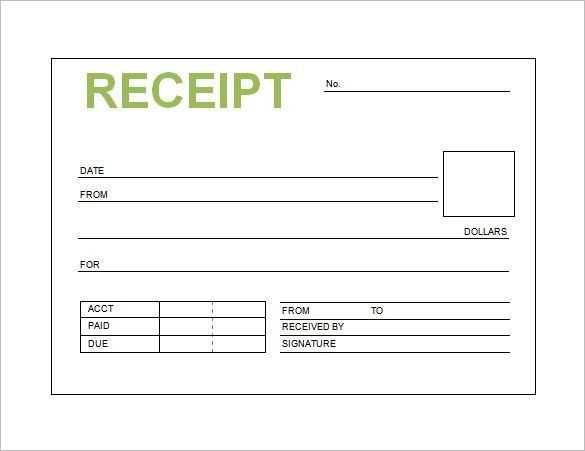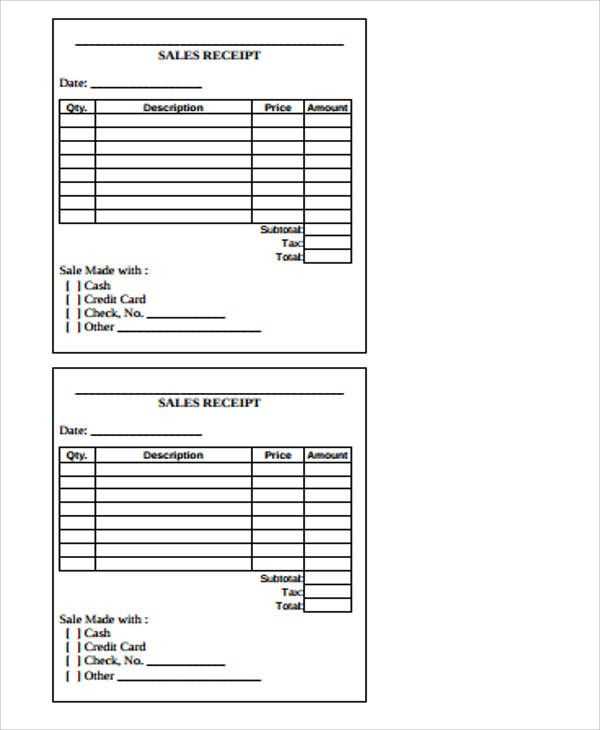
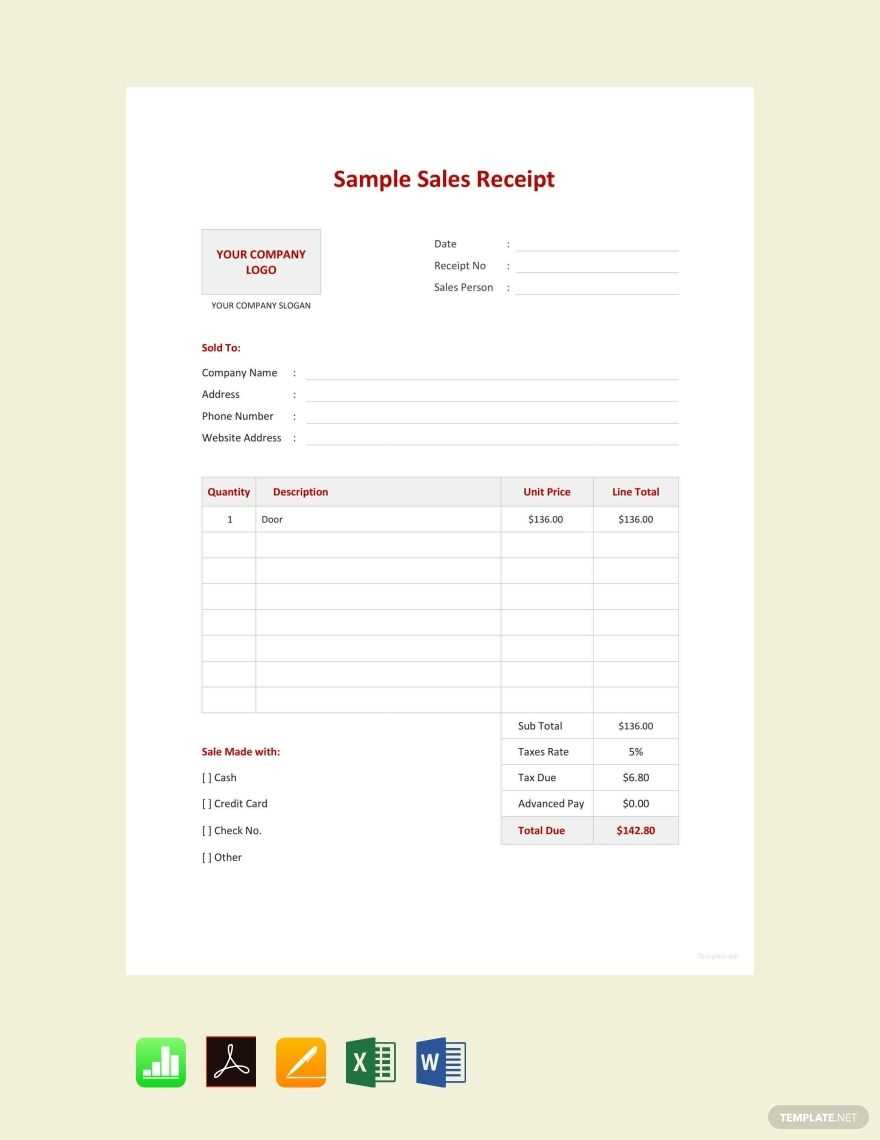
A well-structured cash sale receipt template helps both businesses and customers keep accurate records of transactions. It ensures transparency and provides proof of purchase for both parties. Include key details such as the date of the sale, buyer and seller information, items purchased, quantities, prices, and the total amount paid.
Ensure the template clearly differentiates between the items being sold. Use clear descriptions and accurate prices to avoid confusion. Incorporating a unique receipt number for each sale also aids in tracking and organizing your sales records. This practice helps with future reference and potential audits.
Include space for any relevant taxes, discounts, or other fees that may apply. Make sure the total amount reflects all calculations, offering a clear breakdown. An effective receipt template is easy to understand, transparent, and designed to avoid errors in recording transactions.
Sample Cash Sale Receipt Template
Ensure all necessary details are included in your receipt for clear and accurate record-keeping. A well-structured template should cover the following key elements:
- Date of Transaction: Include the exact date when the transaction took place.
- Receipt Number: Assign a unique identifier for each receipt to track sales efficiently.
- Seller’s Information: List the name, address, and contact details of the seller.
- Buyer’s Information: Include the name and contact details of the buyer, if applicable.
- Description of Items: Provide a brief description of the products or services sold.
- Quantity and Price: Specify the quantity of each item and its corresponding price.
- Total Amount: Clearly display the total price after taxes or discounts.
- Payment Method: Indicate whether the payment was made via cash, card, or another method.
- Signature: Both parties should sign the receipt to confirm the transaction.
Customize your template with these elements to ensure it suits your business’s specific needs. This format not only helps you stay organized but also provides transparency for your customers.
Understanding the Key Components of a Receipt
Focus on the core details: date, transaction amount, payment method, and vendor details. These elements validate the transaction and provide transparency. The date marks the transaction’s point in time, ensuring both buyer and seller can reference it later if needed.
The transaction amount includes the cost of purchased items and any taxes or discounts applied. Ensure the numbers match what the customer agreed to, as this acts as proof of payment. The payment method clarifies how the transaction was completed, whether by cash, credit card, or another method.
Don’t overlook vendor details. This section includes the name, address, and contact information of the business, giving the receipt authenticity. These details help customers reach out for returns or inquiries, confirming the legitimacy of the business.
Finally, if applicable, itemized details offer an extra layer of clarity by listing each product or service purchased, including quantities and prices. This transparency helps resolve any potential issues, ensuring the receipt stands as an accurate record of the transaction.
Formatting a Simple and Clear Template
Keep the layout clean and straightforward. Use a well-organized structure to ensure that the most important details are immediately noticeable. Clearly separate each section with ample space to prevent clutter. Ensure the font is legible and appropriately sized, aiming for clarity in all text elements.
Key Information Placement
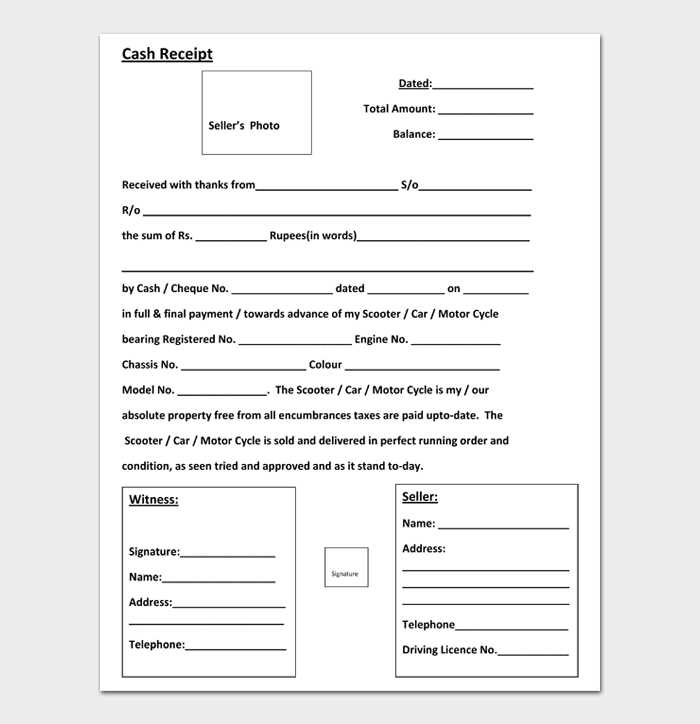
Position essential information, such as the transaction date, customer name, and itemized list, in distinct sections. Place the total amount due in a prominent location at the bottom of the receipt for easy visibility. This makes the receipt easier to scan quickly, improving user experience.
Visual Hierarchy
Apply a visual hierarchy by adjusting font sizes or using bold text for headers. This method directs attention where it’s needed most. Align text left for consistency and maintain proper spacing between lines to avoid a cramped appearance.
Incorporating Business Details into the Receipt

Include your business name, address, and contact details at the top of the receipt. Make it easy for customers to identify the origin of the transaction. This information should be clear and prominently displayed, ensuring a smooth reference point for future inquiries.
Incorporate your tax ID or VAT number if applicable. This adds legitimacy and allows customers to track business-related expenses for tax purposes. Displaying this information helps maintain transparency and trust in your business operations.
Provide a unique receipt number to ensure each transaction is easily traceable. This can be a sequential number or a system-generated ID. It simplifies both record-keeping and customer service inquiries, making future searches or returns more efficient.
Clearly state the payment method used for the transaction. Whether it is cash, credit card, or another form, specify this detail to prevent confusion. This step also helps in managing your business accounts and ensuring accuracy in financial reporting.
Include the date and time of the transaction. Having this information available on every receipt ensures that both parties have a record of when the sale occurred. This is useful for returns, warranty claims, or if there’s any dispute regarding the transaction.
Ensure your business logo is visible. A professional logo helps reinforce your brand identity. Placing it on the receipt strengthens your company’s visual presence and can make your receipt feel more official and polished.
Adding Payment Methods and Amounts
To accurately reflect the payment for a cash sale, specify each payment method used and the corresponding amounts. This ensures transparency and clarity in the receipt. Start by listing all methods of payment, followed by the amount paid using each one.
Common Payment Methods
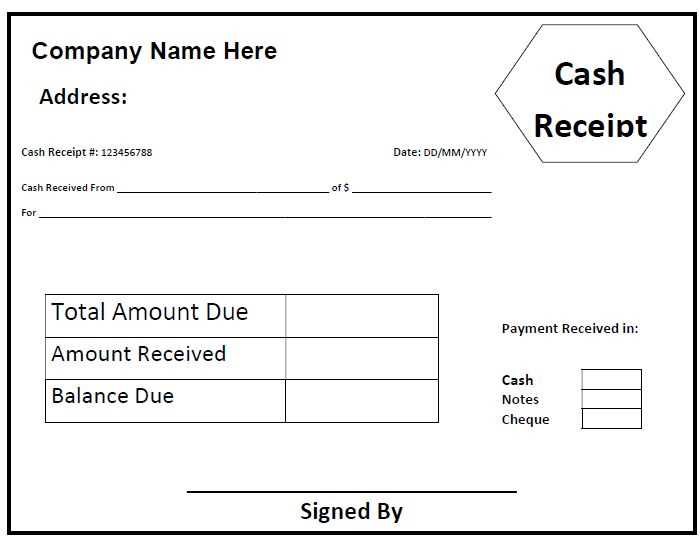
Common methods include cash, credit card, debit card, checks, or digital wallets. For each method, clearly state the amount paid. This helps avoid confusion and ensures the receipt is detailed and professional.
Breaking Down Payments
If multiple payment methods are used, break down the total amount accordingly. For example, if a portion is paid by cash and the rest via credit card, list the respective amounts next to each payment method.
| Payment Method | Amount |
|---|---|
| Cash | $150.00 |
| Credit Card | $50.00 |
| Digital Wallet | $30.00 |
| Total | $230.00 |
Designing for User-Friendly Access and Readability
Prioritize clarity in layout. Use clear fonts like Arial or Helvetica, ensuring legibility at any size. The font size should be large enough to read easily but not overwhelming, typically around 12–14px for standard text. Keep the contrast between text and background strong for maximum visibility. Light text on dark backgrounds can be difficult to read for some users, so aim for dark text on a light background, which is more universally readable.
Utilize ample white space to separate sections, making the receipt easier to navigate. Group related information together, such as the date, items, and total cost, to guide the user’s eye through the document. Align text to the left for consistency, as it aligns naturally with reading patterns, while keeping headers bold and distinct from the rest of the content.
Make all important information stand out. Highlight key sections, such as totals and payment methods, by using a larger font size or bold text. Avoid cramming too much information in a small area; use clear separation to prevent confusion. Include icons where appropriate to represent actions or categories (like a shopping cart for purchased items) for quick visual recognition.
Ensure that users can easily navigate the receipt. Consider adding hyperlinks for further actions such as order history or customer support. Keep the layout consistent with familiar standards to reduce learning time for new users. By simplifying access and making important details stand out, users will find it easier to scan and interpret the document quickly.
Ensuring Compliance with Legal Requirements
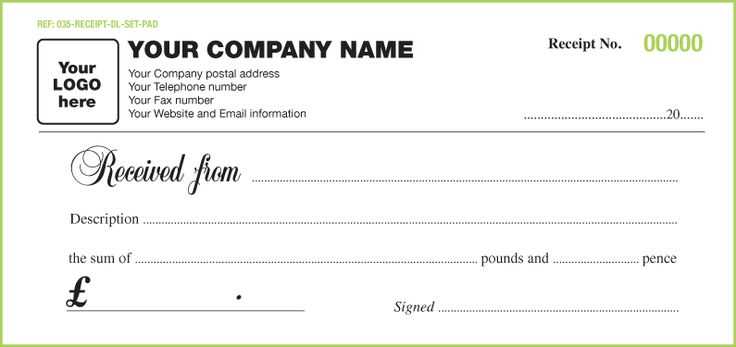
Always include the date of the transaction and the names of both parties. This ensures clear documentation of the sale and avoids future disputes. Indicate the amount paid and the method of payment, whether it’s cash, card, or check. If applicable, include tax information and the applicable tax rate to meet tax reporting standards. Ensure the receipt includes your business’s legal name, address, and registration number. This information confirms the legitimacy of your business operations. Lastly, check local regulations to confirm any specific requirements for your area and adjust your template accordingly to remain fully compliant.
