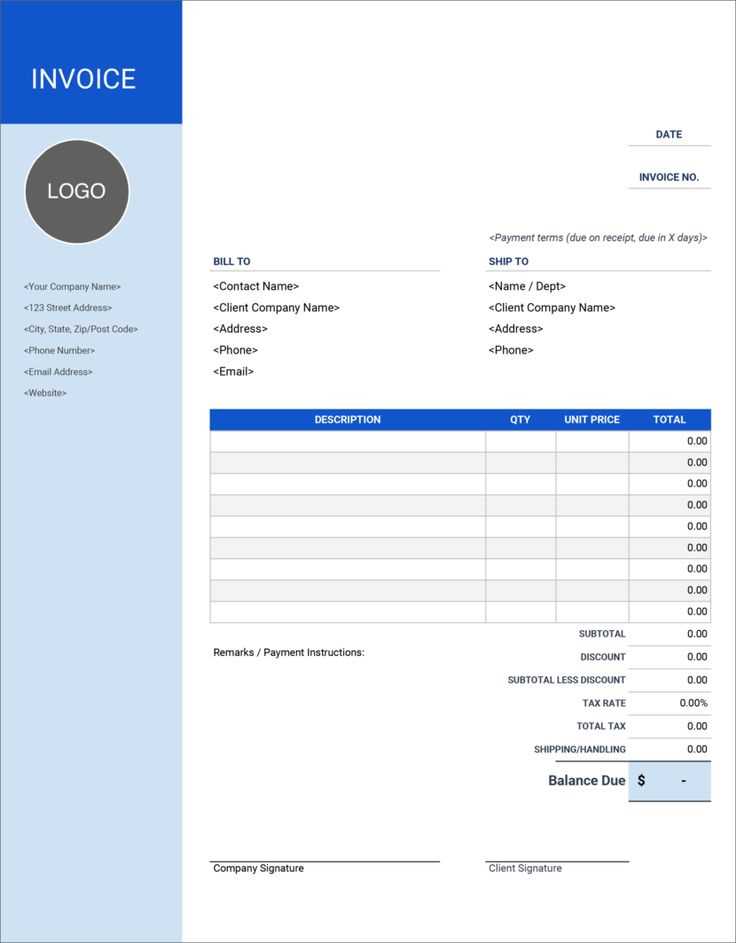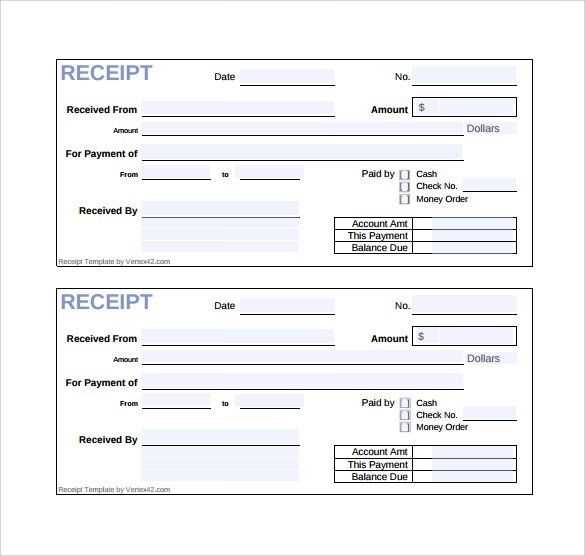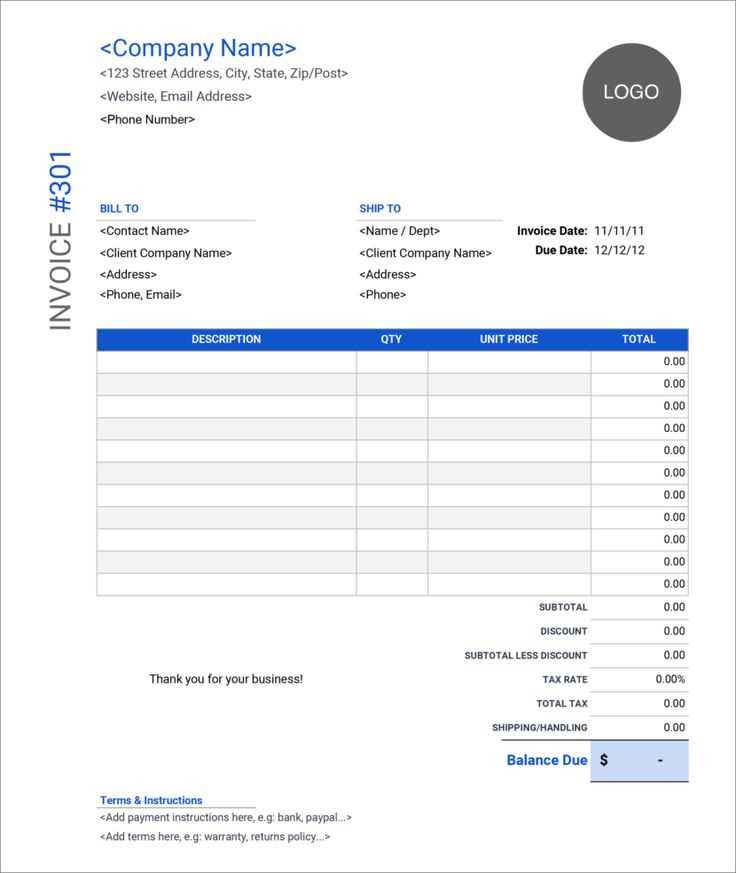
Make every transaction clear and professional with a well-structured computer service receipt template. Whether you’re repairing hardware, optimizing software, or providing diagnostics, a detailed receipt ensures transparency for both you and your client. A properly formatted document helps prevent disputes, tracks services rendered, and simplifies tax reporting.
A good receipt includes key details: customer information, service descriptions, pricing breakdowns, and payment confirmation. Adding fields for labor time, replaced components, and warranty terms enhances clarity. If you offer recurring maintenance, a standardized template streamlines documentation and builds trust.
Digital templates with automated calculations save time and reduce errors. Using PDF or spreadsheet formats allows easy customization, while cloud-based solutions enable quick access and secure storage. If you prefer paper receipts, pre-printed forms with numbered invoices help maintain order in your records.
Investing in a structured receipt system benefits your business and improves customer experience. By choosing a flexible template, you ensure consistency across transactions while keeping documentation simple and efficient.
Computer Service Receipt Template
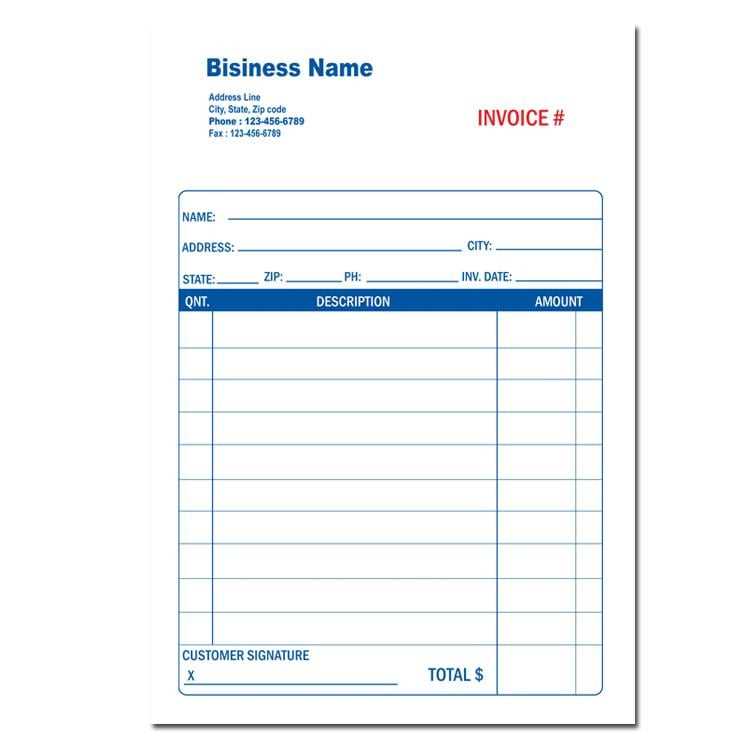
Ensure your receipt includes all critical details to avoid misunderstandings and streamline record-keeping. A well-structured template should clearly outline services provided, costs, and warranty terms.
- Business Information: Include company name, address, phone number, and email.
- Customer Details: Capture full name, contact information, and device specifics.
- Service Description: List completed repairs, installed components, and performed diagnostics.
- Itemized Costs: Break down labor charges, parts, and taxes separately for transparency.
- Payment Details: Indicate total amount, payment method, and transaction ID if applicable.
- Warranty & Terms: Specify coverage period, exclusions, and return policies.
- Signature Section: Provide space for both technician and customer to sign, confirming service completion.
Keep the format clean and easy to read, using consistent fonts and spacing. For digital receipts, include a unique reference number for tracking. If offering printed versions, ensure durable paper and legible ink to prevent fading over time.
Key Components of a Service Receipt
Include a clear header with the business name, address, contact details, and a unique receipt number. This ensures traceability and professionalism.
Customer and Service Details
List the customer’s name, contact information, and the service date. Specify the device type, model, serial number, and any reported issues. This prevents misunderstandings and provides a reference for future service.
Itemized Services and Costs
Break down the provided services, parts replaced, and labor costs. Use separate lines for clarity, including unit prices and total amounts. If applicable, add tax calculations and discounts to maintain transparency.
Finish with a section for payment details, warranty terms, and a signature field if needed. This finalizes the transaction while outlining any post-service obligations.
How to Customize a Receipt for Your Business
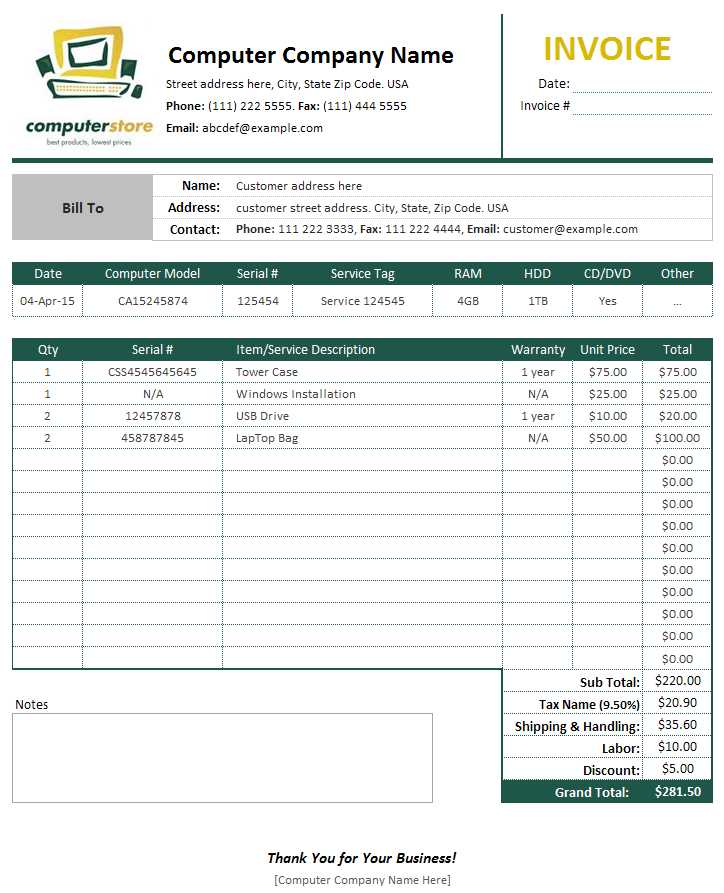
Define the key details your receipt should include. Add your business name, logo, contact information, and tax identification number. Ensure these elements stand out for easy recognition.
Choose a layout that fits your needs. Use clear section divisions for date, service description, quantity, price, and total. Organize these fields logically to enhance readability.
Incorporate branding by selecting a font and color scheme that aligns with your company’s visual identity. Maintain consistency across all customer-facing documents.
Include payment details and policies. Specify accepted payment methods and outline refund or warranty terms. Clarity in these areas prevents disputes.
Make the receipt useful for bookkeeping. Add invoice numbers and customer details to simplify record-keeping and tracking transactions.
Test your receipt template before full implementation. Print and review it to confirm all information appears correctly and is easy to read. Adjust as needed for clarity and professionalism.
Best Practices for Digital and Printed Receipts
Use clear and readable fonts. A sans-serif typeface ensures better legibility on screens, while a slightly larger font size improves accessibility for printed copies.
Include a breakdown of services. List each component separately with descriptions, quantities, and prices to avoid confusion and reduce disputes.
Ensure timestamps are accurate. Digital receipts should use UTC or local time with a time zone indicator, and printed versions must match system records.
Use high-contrast colors. Digital receipts benefit from dark text on a light background for easy reading, while printed receipts should avoid excessive grayscale shading to prevent fading.
Minimize unnecessary details. Keep essential information like business name, contact details, service descriptions, and payment confirmation while avoiding clutter.
Enable easy verification. Digital receipts should include clickable links for order tracking or support, while printed ones should feature a QR code leading to the service summary.
Ensure secure storage. Encrypt digital receipts before storing or sending them, and use heat-resistant paper for printed receipts to extend longevity.
Optimize file formats. PDFs ensure digital receipts remain intact across devices, while plain text or CSV formats work better for bulk processing.
Test print layouts. A receipt should fit standard paper sizes without excessive margins or cut-off sections, reducing wasted space and improving print efficiency.
