Creating a car sales receipt in Microsoft Word is quick and straightforward. You can easily customize the template to suit the specific details of the transaction and ensure everything is documented clearly.
Begin by including the car’s make, model, year, and VIN (Vehicle Identification Number). This guarantees that both the buyer and seller have a clear record of the vehicle being sold. Be sure to specify the date of the sale, the total purchase price, and any deposits or financing arrangements if applicable.
Next, include the names and contact information for both the buyer and seller. Adding signatures for both parties at the bottom of the receipt provides an extra layer of authenticity and agreement to the terms outlined.
To make it more organized, you can format the receipt with clear headings, bold text for key details, and bullet points for any additional conditions, such as warranties or terms of sale. This ensures everything is readable and easily referenced by both parties.
Car Sales Receipt Template in Microsoft Word
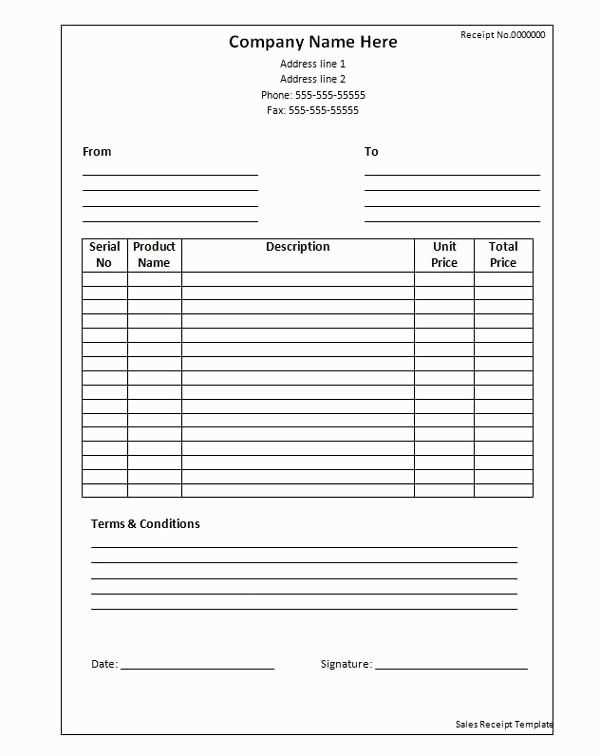
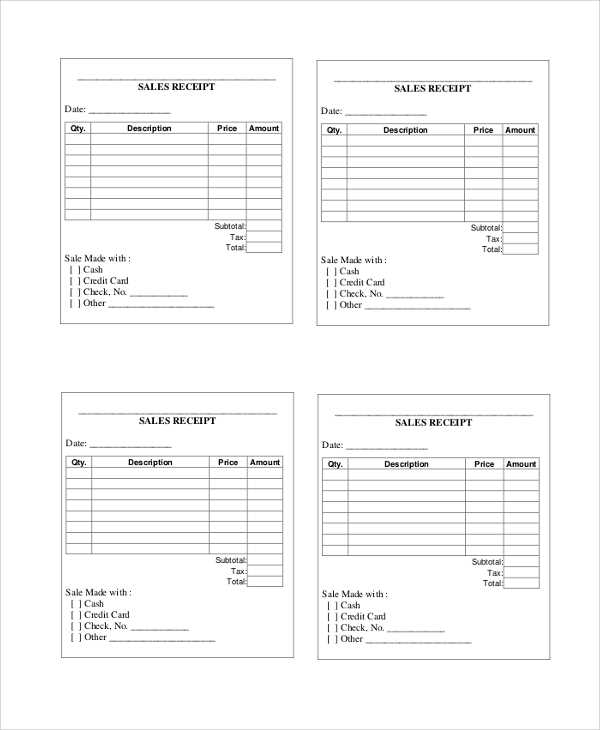
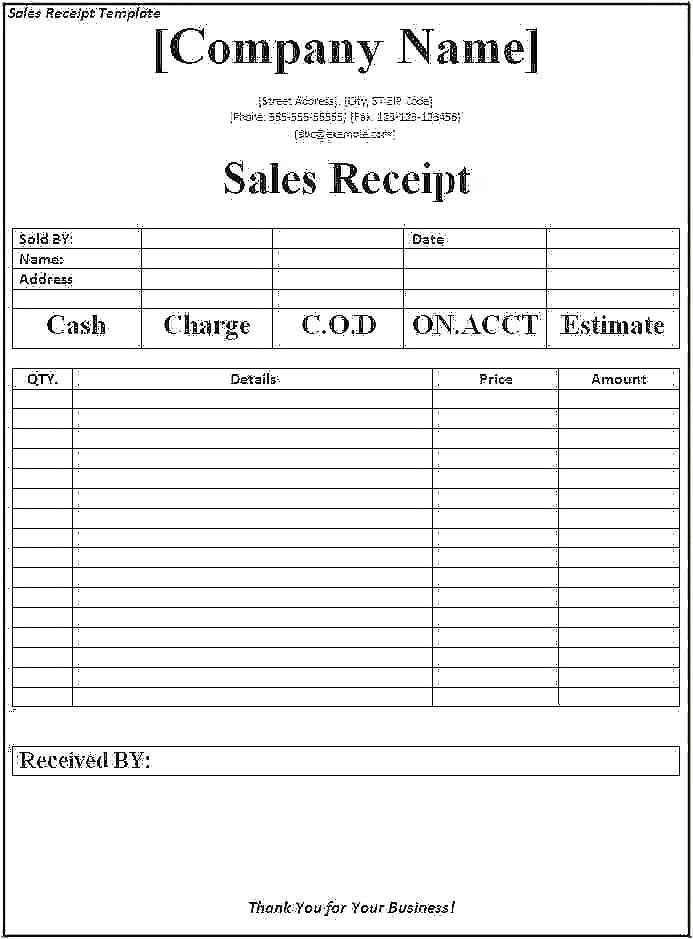
To create a car sales receipt in Microsoft Word, begin by choosing a template or creating one from scratch. A clean layout is key, focusing on the essential details such as the buyer’s and seller’s names, car make and model, transaction date, and sale amount. Organize this information clearly in a table format for easy readability.
Key Elements of a Car Sales Receipt

Include the following sections in your template:
- Transaction Information: Specify the car’s details–make, model, year, VIN (Vehicle Identification Number), and mileage at the time of sale.
- Seller and Buyer Information: List full names, addresses, phone numbers, and email addresses of both parties.
- Payment Details: Clearly state the sale price, payment method, and any deposits or down payments received.
- Signatures: Ensure space for both the seller’s and buyer’s signatures to finalize the agreement.
Formatting Tips
Keep the font legible and straightforward. Arial or Times New Roman in a size of 11 or 12 points works well. Utilize bold headers and lines to distinguish different sections. Tables are effective for aligning details neatly. If you prefer, you can add a watermark or logo for extra professionalism, but avoid clutter.
Once you’ve filled in the necessary information, save the document as a template for future use. This allows you to quickly generate receipts without having to re-enter repetitive details each time.
Creating a Car Sales Receipt Template from Scratch
To create a car sales receipt template from scratch, begin by setting up a clean and structured layout. Use a table format with clearly defined columns for key details such as buyer’s name, seller’s name, car details (make, model, VIN), sale price, and payment method. Each column should have a header to identify the type of information it contains, ensuring clarity for both parties.
Step 1: Create a header section that includes the name of the dealership or seller, address, and contact information. This should be positioned at the top to make it easy to identify the source of the receipt. You can also add a logo for branding, but keep it simple and professional.
Step 2: Add a section for the transaction date and a unique receipt number. This helps in tracking the transaction and serves as a reference for future inquiries. Include fields for the buyer’s and seller’s information: full names, addresses, and phone numbers, ensuring proper record-keeping.
Step 3: The next section should clearly list the car details. Include the car make, model, year, Vehicle Identification Number (VIN), and odometer reading. These specifics are important for documentation and future reference in case of any disputes.
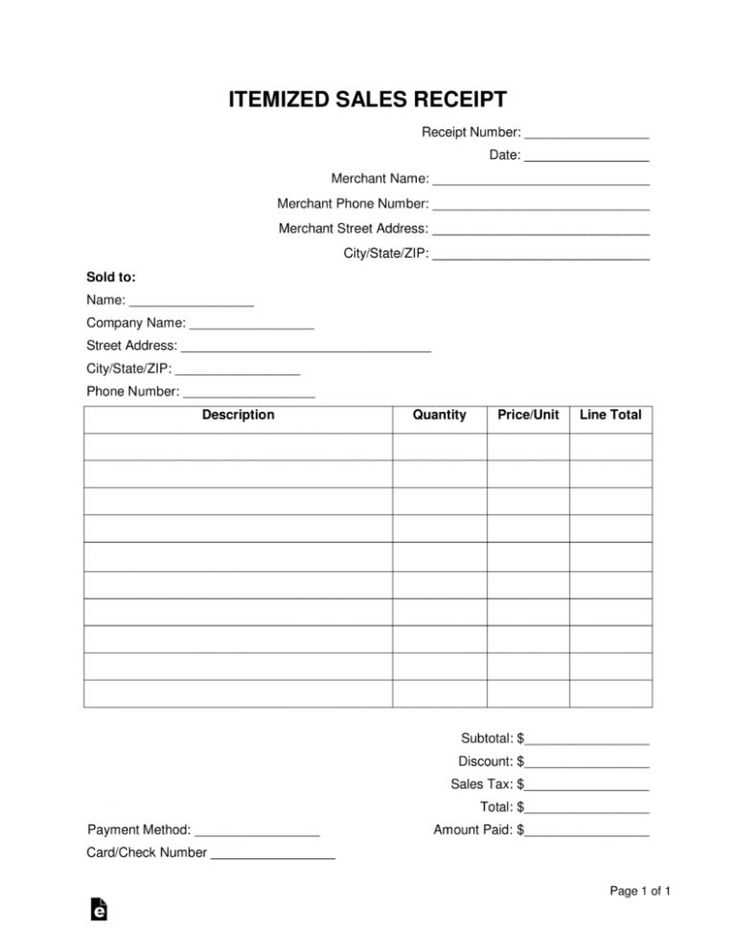
Step 4: Include a breakdown of the sale price, taxes, fees, and any other costs. This should be itemized to avoid confusion. Provide a subtotal and a total amount due. Also, note the payment method (e.g., cash, check, financing) to confirm how the transaction was completed.
Step 5: Add a section for signatures from both the buyer and the seller, along with the date. This confirms that both parties have agreed to the terms outlined in the receipt and that the transaction was completed. Ensure there is space for any additional remarks or terms if necessary.
Once the template is complete, make sure all fields are adjustable to accommodate different types of car sales. Save the document as a template so you can quickly generate receipts for future transactions without having to recreate the structure each time.
Incorporating Legal and Tax Information into the Receipt
Include the necessary legal and tax details to ensure the receipt is compliant with local regulations. Start by adding the business’s tax identification number (TIN) or VAT number. This is required in many regions for proper tax reporting.
Tax Breakdown

List the applicable taxes separately on the receipt. For example, if you charge sales tax, specify the rate and the total tax amount for transparency. This ensures both the buyer and seller understand how the tax affects the overall price.
Legal Terms and Conditions

Incorporate a brief note about your return policy, warranty information, and any disclaimers related to the sale. These terms protect both the seller and the buyer in case of disputes. Clearly mention that by signing or accepting the receipt, the buyer agrees to these terms.
Always double-check the receipt for compliance with local laws and regulations to avoid legal complications later on.
Customizing the Template for Different Types of Car Sales
Adjust your car sales receipt template to reflect specific sale scenarios. Whether selling a new or used car, or dealing with trade-ins, minor changes to the template can make all the difference in clarity and accuracy.
For New Car Sales
When selling a brand-new car, focus on including detailed information about the model, including warranty details, the manufacturer’s suggested retail price (MSRP), and additional services offered, such as free maintenance packages. You might also want to list the full retail price and any discounts or promotions applied during the sale.
- Model and Year
- MSRP and Discounts
- Additional Services or Warranty
For Used Car Sales
In the case of used car sales, it’s important to clearly note the car’s condition, any repairs or refurbishments, and the current mileage. You may also include details like the car’s history report or inspection results to help reassure the buyer.
- Current Mileage
- Condition and Repairs
- Car History Report or Inspection
For Trade-In Cars
If the transaction includes a trade-in, modify the template to show the trade-in value, the car’s make, model, and year. Make sure to highlight any deductions or adjustments made to the original trade-in offer based on the car’s condition.
- Trade-In Vehicle Make, Model, and Year
- Trade-In Value and Adjustments
- Additional Fees or Costs


