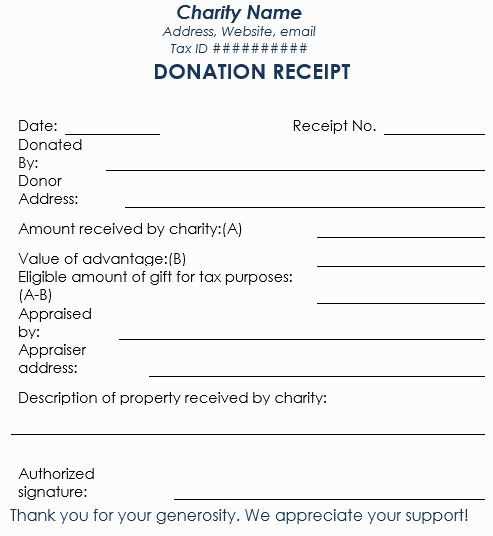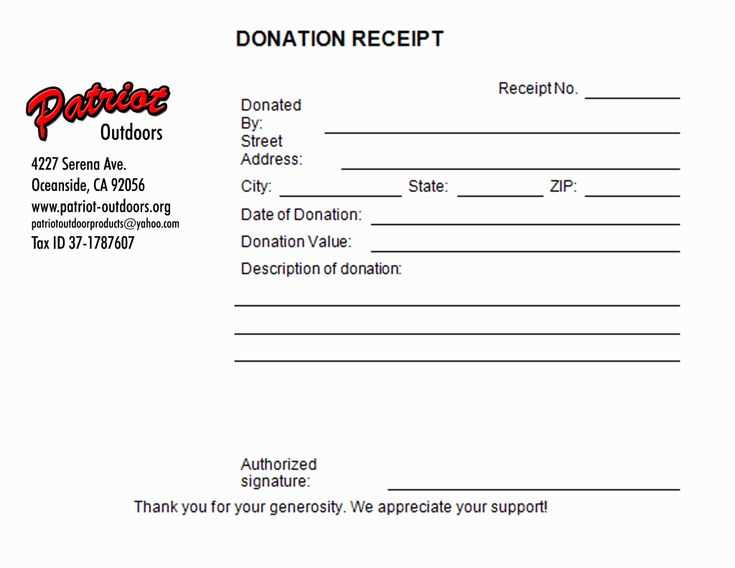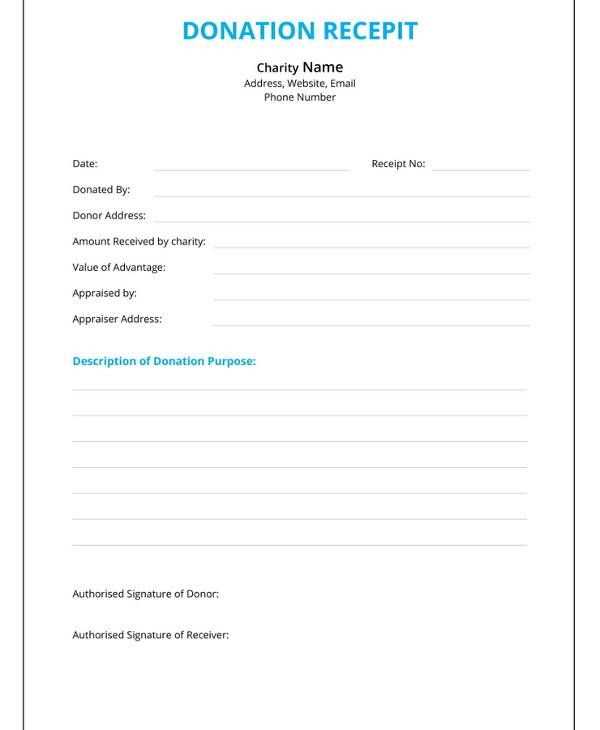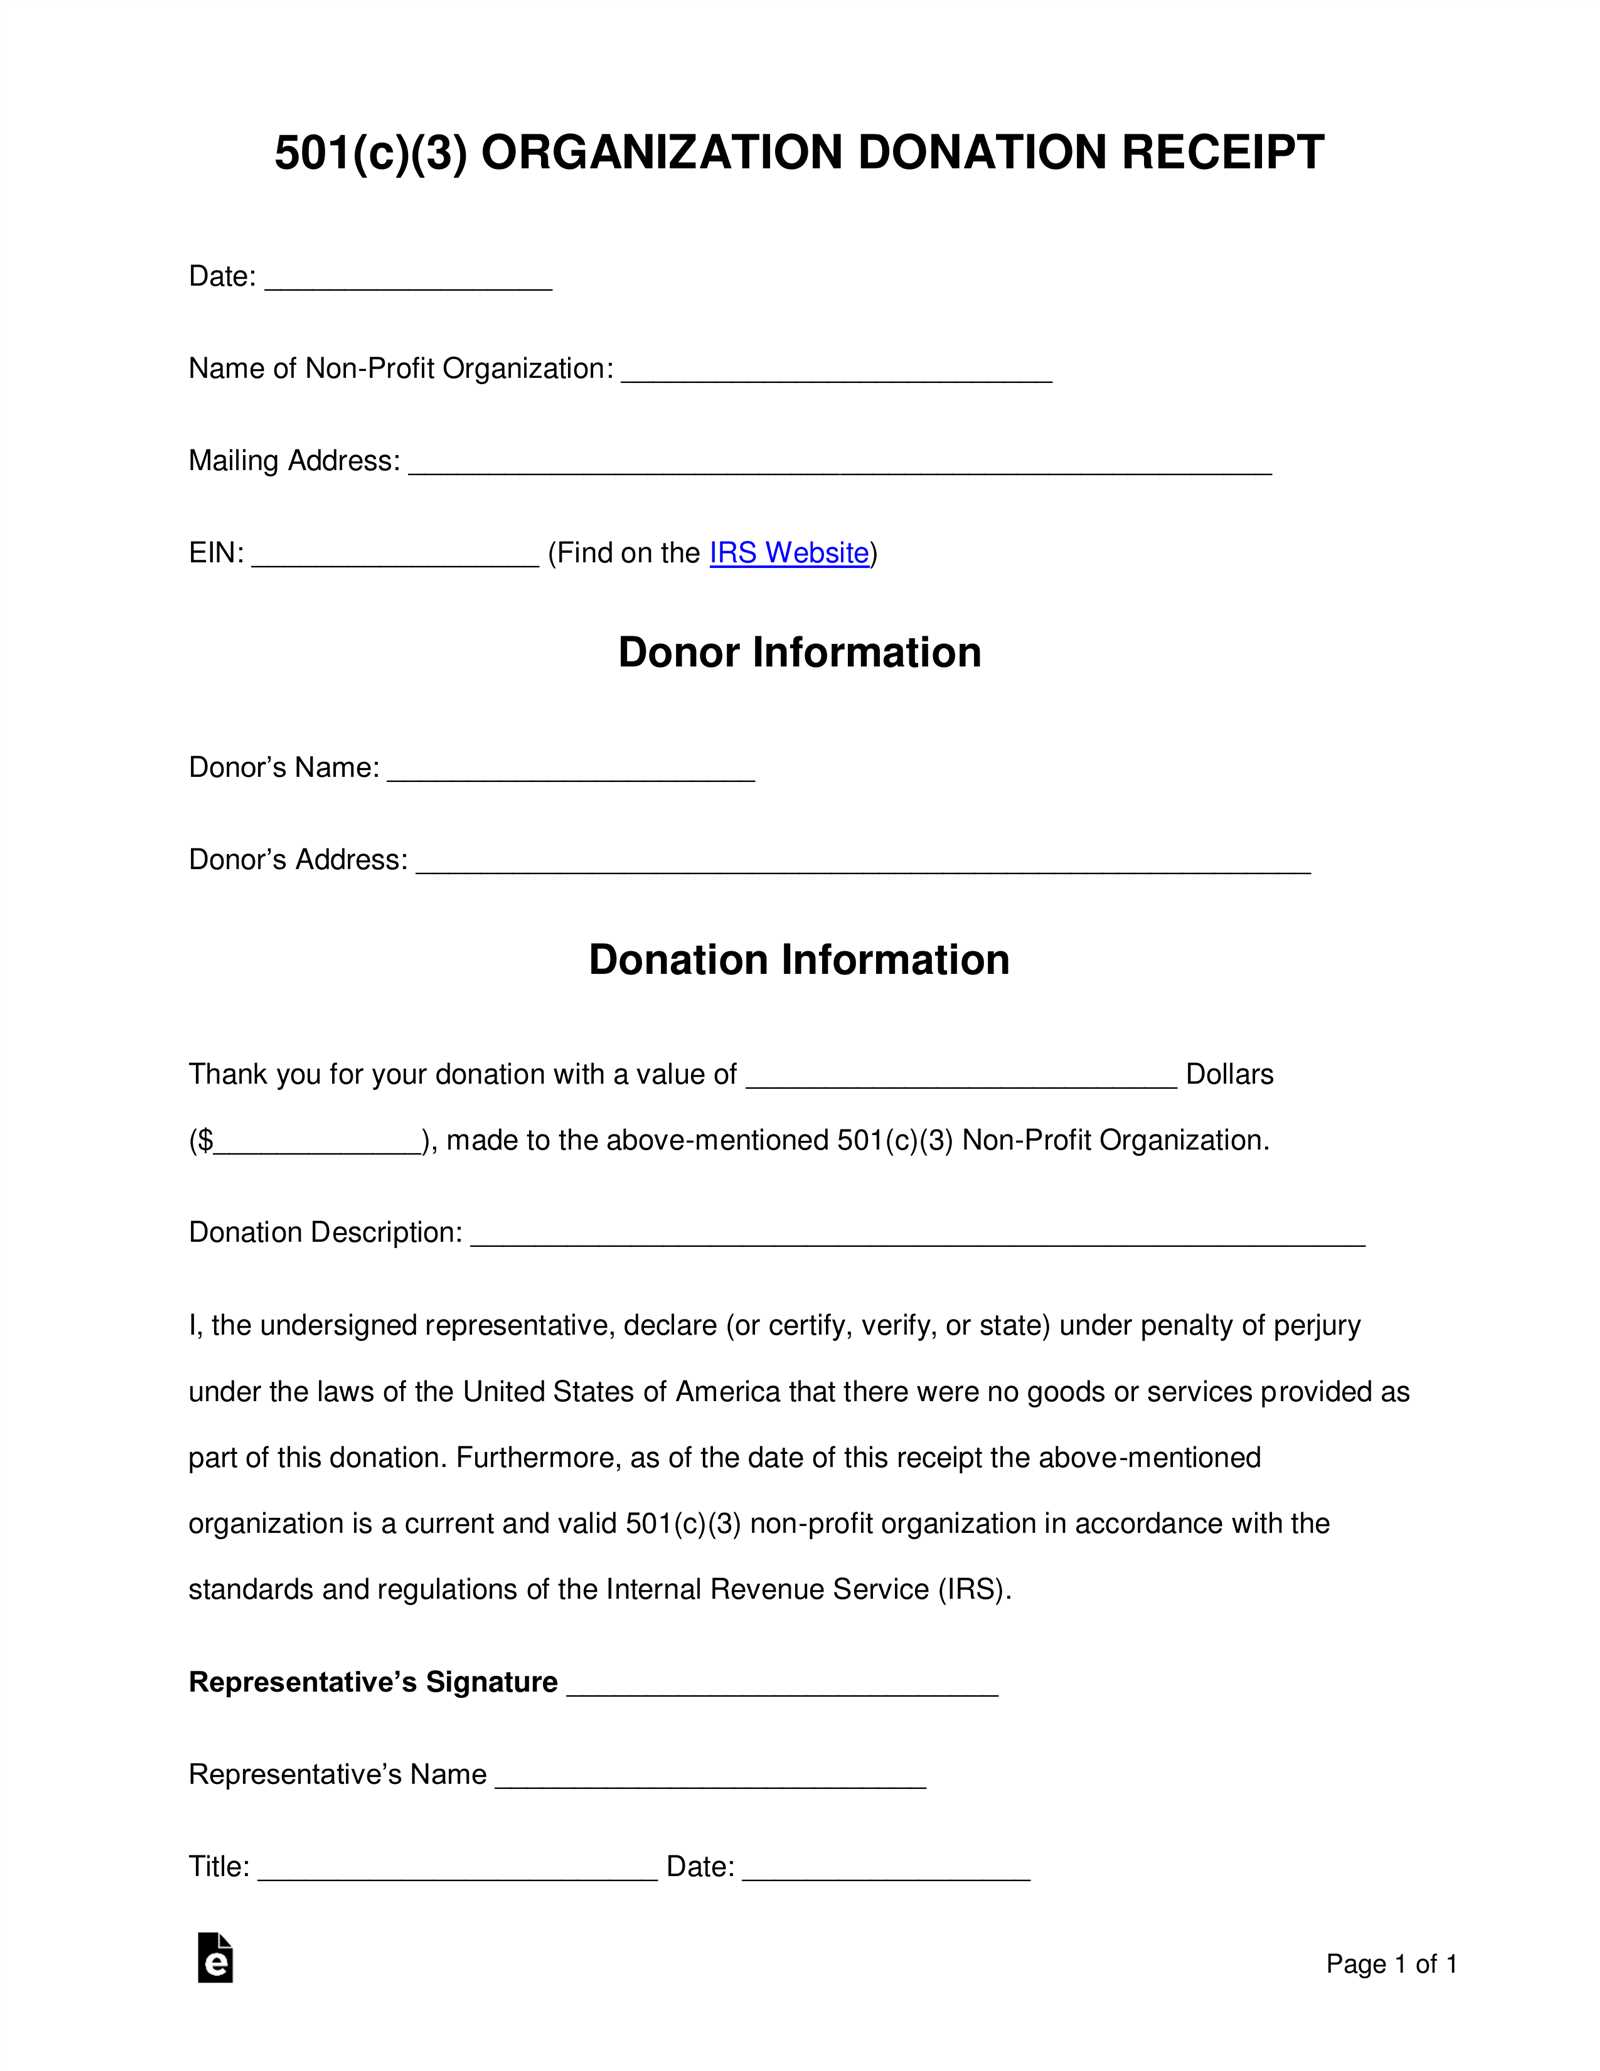
For a smooth and professional approach to documenting card donations, use a customizable receipt template designed for Microsoft Word. This template makes it simple to track and acknowledge contributions, ensuring all the necessary details are included. Customize it with your organization’s branding and personalize it for each donor to create a polished, official document.
The template should clearly indicate the donor’s information, donation amount, and the date of the transaction. You can also add space for the donor’s card type, expiration date, and a reference number to enhance tracking and transparency. To make things even simpler, consider adding a brief thank-you note at the end of the receipt to express appreciation for their support.
Utilizing a Word-based format provides flexibility for printing and sharing receipts digitally, which ensures your records stay accessible and well-organized. This easy-to-edit template allows quick updates, ensuring you’re always prepared for upcoming donations. Just plug in the specific details, and you’re set to go!
Card Donation Receipt Template Word

When creating a donation receipt template for card donations, focus on clear and concise information. Make sure the template includes the following elements:
- Donor’s Name: Include the full name of the person or organization making the donation.
- Donation Amount: Specify the exact amount donated via card.
- Date of Donation: Include the date when the donation was made.
- Payment Method: Indicate the payment method used (e.g., credit card, debit card, etc.).
- Transaction ID: Add the unique transaction or reference number for verification purposes.
- Organization’s Information: Include the name, address, and contact details of your organization.
- Tax Deductibility Notice: Add a statement about whether the donation is tax-deductible and include your tax-exempt number if applicable.
- Signature Line: Include a space for an authorized signature from your organization.
Ensure that the format is easy to read, with enough space for each element to be clearly visible. Consider including your organization’s logo or branding at the top of the receipt for professional appeal. You can create this template in Microsoft Word and save it for future use, or use it as a reusable form to fill out manually for each donation received.
Step-by-Step Guide to Creating a Donation Receipt
Begin by including the donor’s name and address at the top. This helps to personalize the receipt and ensures the donor’s information is properly recorded. Include the date of the donation as well for accurate recordkeeping.
Next, clearly state the amount donated. If it’s a monetary donation, specify the exact amount. If it’s an in-kind donation, describe the item or service donated and, if possible, estimate its value.
Include a brief statement confirming that no goods or services were provided in exchange for the donation, unless there was something provided, in which case, list it and the value of the goods or services.
Finish with the name of the organization receiving the donation. Add contact information and the organization’s tax-exempt status, if applicable, for the donor’s records and for tax deduction purposes.
Before finalizing, review all the details for accuracy. Ensure that the date, donor information, and donation value are correct. A well-organized, clear receipt ensures a smooth experience for both parties involved.
Important Information to Include in the Receipt

Make sure to list the donor’s full name and address clearly on the receipt. This helps identify the donor and provides proper documentation for tax purposes.
Include the date of the donation. This is essential for confirming the timing of the contribution, which is often required by tax authorities.
Specify the donation amount, including the currency used. If the donation is made in-kind, include a description of the donated items and their estimated value.
Donation Method

Indicate how the donation was made, whether by credit card, cash, check, or another method. This ensures transparency and clarity on how the funds were received.
Organization Information
Provide the legal name of the organization, its tax identification number, and contact details. This makes the receipt official and verifiable.
Design and Formatting Tips for Clarity and Professionalism

Choose a clean, readable font such as Arial, Calibri, or Times New Roman. Avoid overly decorative fonts that may distract from the content. Maintain a font size between 10 and 12 points for the main text to ensure legibility.
Use clear headings and subheadings to break up the document. This helps the reader quickly locate key sections, such as donation details or thank-you notes. Headings should be bold and slightly larger than the body text to stand out.
Organize information in logical sections. Group related details together, such as donor information, donation amount, and date of donation. Use bullet points or numbered lists where appropriate to enhance readability.
Maintain consistent spacing and margins. Use a 1-inch margin on all sides and ensure there is enough space between sections to prevent the document from appearing overcrowded. Keep a 1.15 line spacing for better readability.
Incorporate your logo or branding subtly. Placing a logo or your organization’s name at the top or bottom of the receipt adds a professional touch without overwhelming the content.
Highlight key information such as the donation amount and donor’s name by using bold or italics. This makes important details stand out at a glance.
Use color sparingly to emphasize important elements like headings or donation amounts. Stick to neutral tones for the body of the receipt to maintain professionalism. Avoid using too many colors, as this can create visual clutter.
Check alignment and consistency in your layout. Ensure that text, dates, and amounts are aligned neatly in columns or tables for a more structured appearance. Consistent formatting gives the receipt a polished, uniform look.
Include sufficient white space to avoid a cramped appearance. This helps readers focus on the most important details without feeling overwhelmed.


