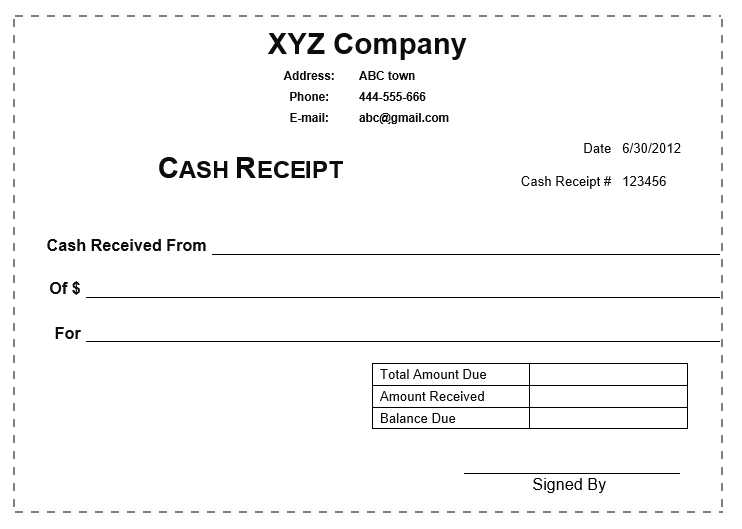
If you’re looking to create a cash receipt quickly, using a template in Microsoft Word is one of the easiest solutions. Word offers flexible formatting, allowing you to personalize the receipt with your company logo, address, and other necessary details. Simply open a blank document or select a pre-designed template to get started.
The key information to include in your receipt is the date of transaction, the amount paid, and the name of the payer. You can also add a description of the goods or services rendered, ensuring clear communication between both parties. If you’re using the receipt for business purposes, don’t forget to add your tax identification number and payment method details for a more formal approach.
Make sure the layout is clean and easy to read. Adjust margins, font sizes, and spacing to keep everything organized. Word provides built-in tools to align text and set up tables for a professional presentation. Once you’ve added all required fields, save the document as a template for future use, so you don’t have to reformat every time.
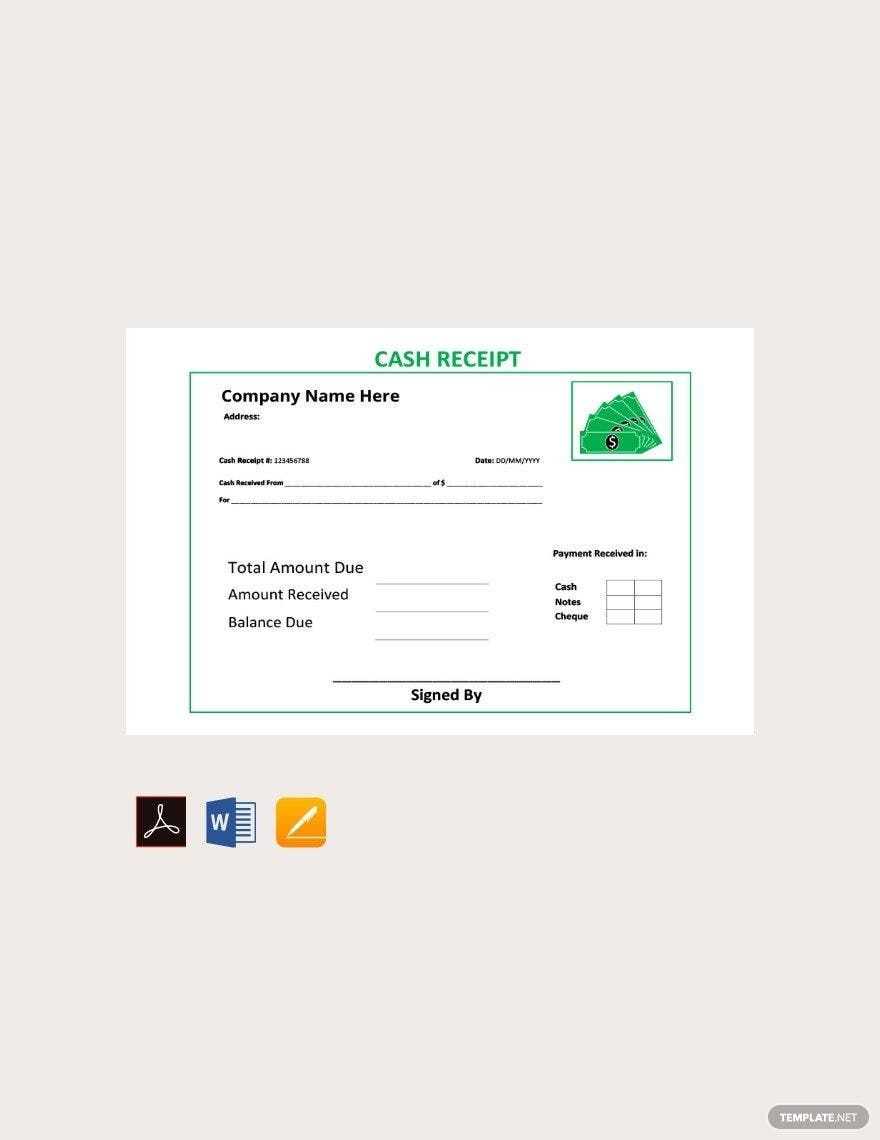
Cash Receipt Template Microsoft Word
To create a cash receipt in Microsoft Word, you can use a ready-made template or design one from scratch. Using a template saves time and ensures all necessary details are included, such as the payer’s name, date, amount received, and signature fields. Follow these steps to make the process easier:
- Find a Template: Open Microsoft Word and search for “cash receipt” in the template section. You’ll find several free templates designed for different purposes. Choose one that matches your needs.
- Customize the Template: Replace placeholders with your specific details. Adjust the logo, fonts, and layout if necessary. Make sure the template includes fields for the payer’s name, date, amount, and method of payment.
- Include Additional Details: If required, add extra fields like transaction number, payment description, or terms of payment. Use the table or text box tools in Word to make the document look organized.
- Save and Print: After customization, save the document as a Word file or PDF. You can print it immediately or email it to the payer as proof of the transaction.
For more control, create a receipt manually by using a table in Word. This approach lets you design the layout exactly as you prefer. Here’s how:
- Create a Table: Insert a simple table with three columns. Use the first column for labels like “Payer Name” or “Amount,” the second column for the actual values, and the third column for any additional notes.
- Design Layout: Adjust the column widths and row heights to ensure everything fits well. You can add bold headings, shading, or borders to make the receipt look professional.
- Final Review: Make sure you have all the required details: payment method, payer details, and a section for the signature. Double-check for accuracy before saving or printing.
Whether you use a template or create your own, a well-organized cash receipt can be a useful document for both you and the payer to track financial transactions.
How to Create a Custom Cash Receipt Template in Microsoft Word
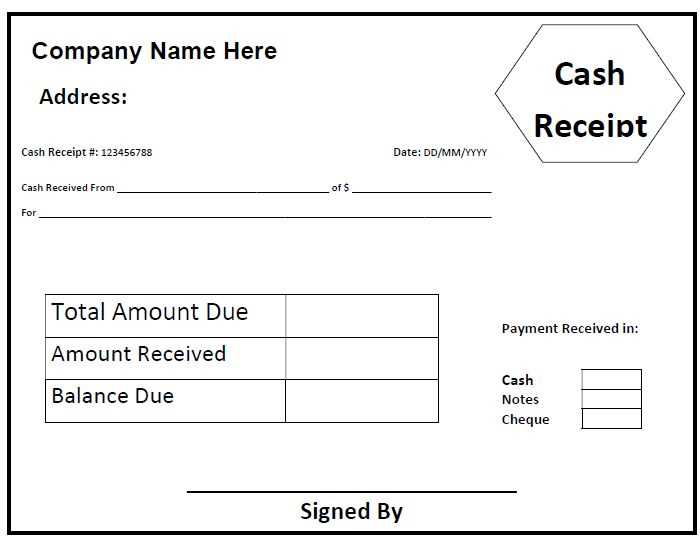
Open Microsoft Word and create a blank document. Adjust the page layout to fit your needs by selecting “Layout” and setting margins and orientation. For a standard receipt, use the “Portrait” orientation with narrow margins.
Step 1: Set Up Header and Contact Information
At the top of the document, add the name of your business or organization, along with contact details. Use a larger font size for the business name to make it stand out. Include the address, phone number, and email in smaller font below. You can align this information to the center or left, depending on your preference.
Step 2: Design the Receipt Layout
Next, create a table with multiple rows and columns to organize the receipt information. Include columns for the date, description of the transaction, payment amount, and balance if applicable. Use simple borders for the table to keep the layout clean. You can adjust the cell sizes for easy readability and leave space for the recipient’s signature.
Use bold text for headings like “Date”, “Description”, and “Amount”. Format the amounts with a currency symbol to maintain consistency. You can also add a footer with additional details such as payment terms or a thank-you note.
Once you’re satisfied with the design, save the template for future use. You can easily adjust the details as needed for each transaction.
Adjusting Layout and Formatting for Easy Data Entry
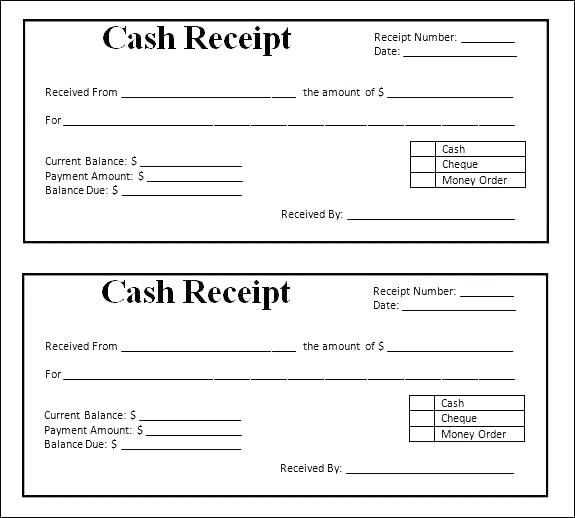
Use clear and simple table structures to ensure quick and accurate data entry. Align columns consistently, with enough space for each field. Adjust the width of the cells based on the expected data, such as dates, amounts, or descriptions. Avoid overcrowding the template with excessive text or complex formatting that could slow down the process.
Set Tab Stops and Use Forms
Enable tab stops for quick navigation through fields. Set up form fields where users can easily input data without needing to manually align or format text. This will speed up the process and reduce errors. Use checkboxes or drop-down menus when appropriate for predefined options, such as payment methods or receipt types.
Make Data Entry Intuitive
Highlight key fields using bold or colored text for immediate recognition. Position fields in a logical order that follows the flow of the data being entered. Group similar items together–such as contact details, item descriptions, and payment information–so users can complete sections without hesitation.
Test the template with sample data to ensure all fields are easily accessible and align well with the printed version. Adjust margins and spacing to avoid data being cut off when printed or saved as a PDF.
Best Practices for Using and Sharing Your Cash Receipt Template
Keep your cash receipt template clear and simple. Include only the necessary details, such as the date, amount received, payment method, and recipient’s name. Avoid cluttering the template with irrelevant information that can confuse users or increase the chance of mistakes. Always double-check for accuracy before finalizing the receipt.
Update and Customize for Specific Needs
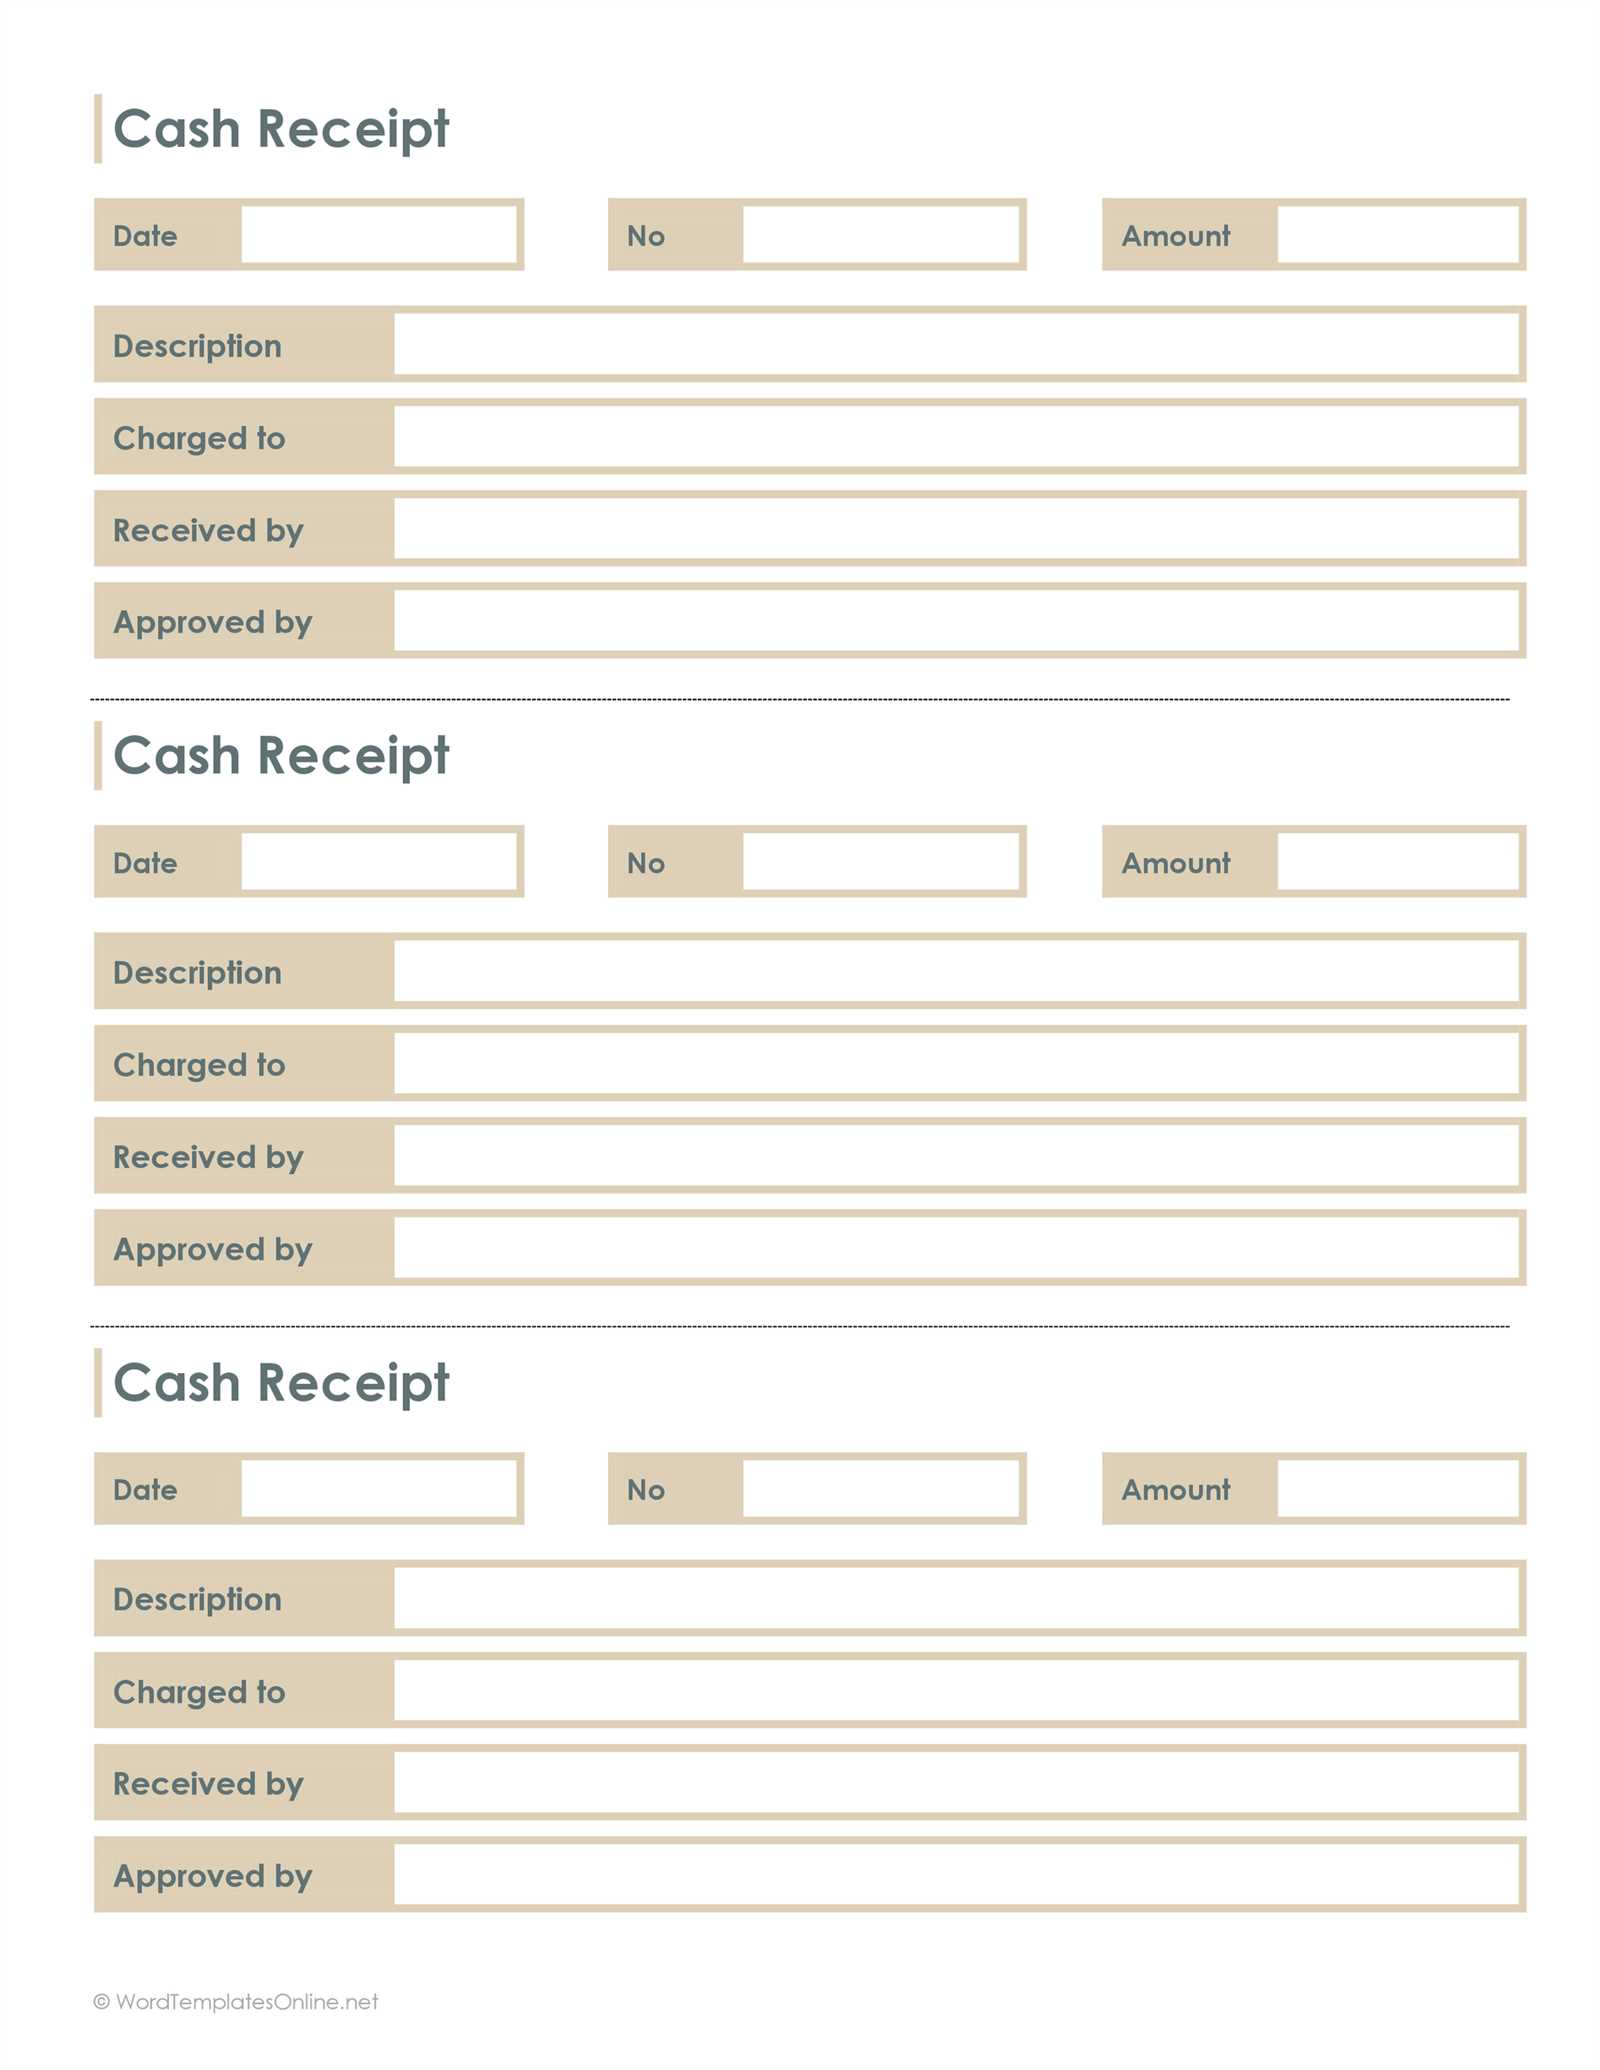
Regularly update the template to reflect changes in your business or legal requirements. If you’re using it for different payment types (e.g., cash, card, check), ensure that the template accommodates these variations. Customizing the template for specific purposes, like donations or sales, ensures clarity and accuracy.
Secure Sharing and Storage
When sharing your cash receipt template, ensure that it’s stored and transmitted securely. Use encrypted email or a cloud-based service with access control to protect sensitive financial data. Always save completed receipts in an organized, easily accessible system to avoid confusion later.


