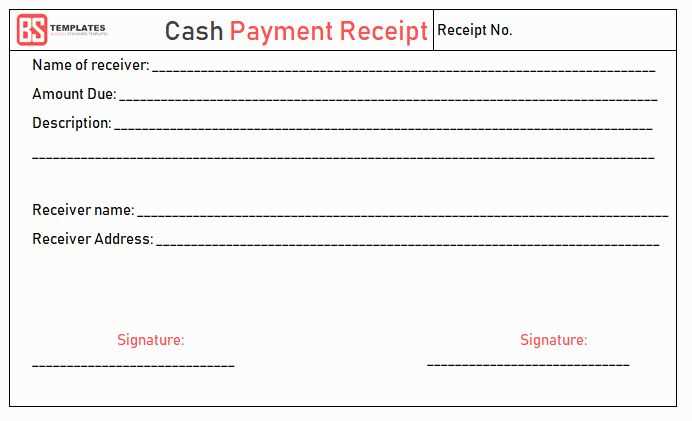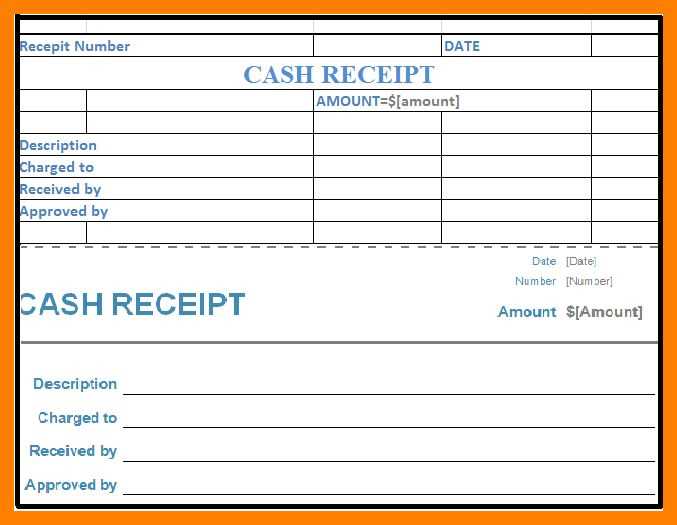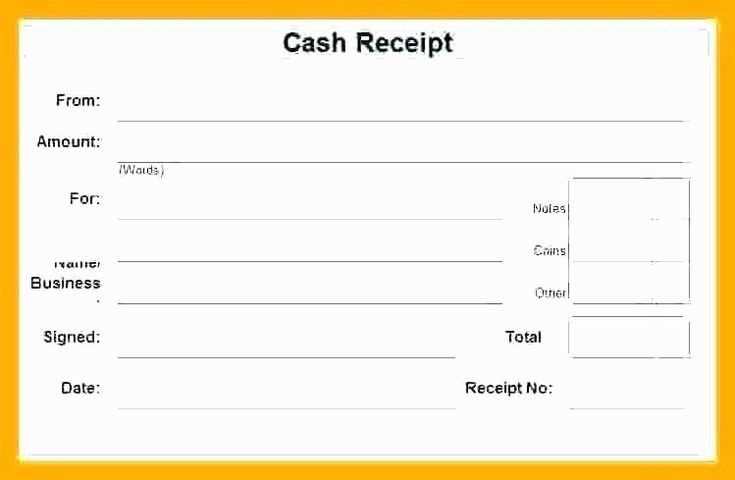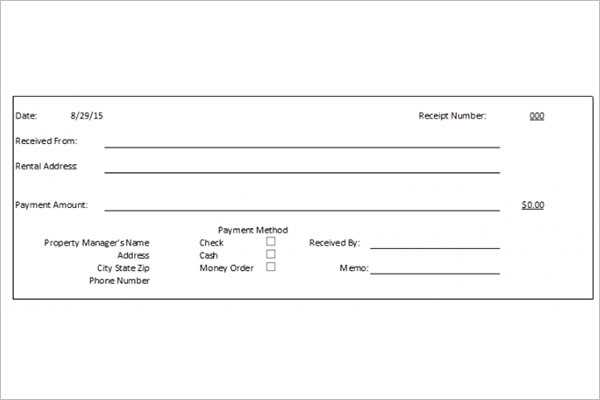
If you need a quick and easy way to document cash transactions, using a cash receipt template in Word is a great solution. It simplifies record-keeping and ensures accuracy. Here’s how to create a straightforward, customizable receipt.
Key Sections in a Cash Receipt
A typical cash receipt should include the following details:
- Receipt Number: Assign a unique number to each receipt for easy tracking.
- Date of Transaction: Include the exact date of payment for reference.
- Amount Paid: Clearly state the total amount received in words and figures.
- Payment Method: Indicate if the payment was made in cash, by check, or through other means.
- Recipient’s Information: Include the name and contact details of the person receiving the payment.
- Reason for Payment: State the reason for the transaction (e.g., purchase of goods, services rendered).
- Signature: Both parties involved should sign the receipt for confirmation.
Creating the Template in Word
To create a clean and professional cash receipt template in Word, follow these steps:
- Open a New Document: Start by opening a blank document in Word.
- Set Up the Header: Add your business name and contact details at the top for easy identification.
- Create a Table for Receipt Details: Use a simple table to organize the information. For example, create a row for the receipt number, date, amount, and payment method.
- Include Sections for Signatures: Leave space at the bottom for both the payer and recipient’s signatures.
- Save the Template: Once you’ve created the template, save it for future use. You can easily update the details for each transaction.
Customizing Your Template
Modify the template to fit your needs. For example, you can add your company logo, adjust the fonts, or include additional fields for any special information. Customize the layout to ensure it’s clear and professional. Once your template is set, you can quickly generate receipts for each cash transaction.
Using the Template

Every time you receive a payment, fill in the required details in the template. Ensure accuracy in documenting the payment method and amount. After printing or saving the receipt, hand it over to the payer as proof of the transaction.
By using a cash receipt template in Word, you save time and maintain organized records of cash transactions, making accounting and tracking easier.
Cash Receipt Template in Word Doc: A Practical Guide
How to Download a Cash Receipt Template in Word Format
Customizing Your Template for Different Transactions
Adding Company Logo and Contact Info to the Template
Incorporating Payment Methods and Details into Your Receipt
Ensuring Proper Alignment and Formatting in Word Document
Saving and Printing Your Customized Receipt Template

To download a cash receipt template in Word format, search for reliable sources that offer free downloadable templates, such as Microsoft’s template library or other trusted websites. Choose a design that suits your needs and save it to your device. These templates are easily customizable, providing a strong foundation for your receipts.
Customizing Your Template for Different Transactions

Adapt your template based on transaction types. Add sections for payment breakdowns or discounts when applicable. Customize the fields for date, transaction number, and items or services sold. Tailoring the layout to reflect your business style ensures clarity and organization, making the receipt both functional and professional.
Adding Company Logo and Contact Info to the Template

Incorporate your company’s logo at the top of the receipt for brand consistency. Update the contact section with your business’s name, address, phone number, and email. This not only helps with identification but also adds a professional touch to your receipts.
For payments made via different methods, ensure you add a section for payment type (cash, credit card, check, etc.) along with relevant details like card type or check number if needed. This ensures that all necessary payment information is documented clearly for both parties.
To avoid formatting issues, adjust margins and spacing to align text neatly. Use tables for itemized lists to ensure proper alignment and readability. Make sure font sizes and styles are consistent throughout the document to maintain a clean and polished appearance.
Once you’ve made your adjustments, save the document as a template so it’s easy to access for future transactions. Before printing, review the template to ensure all fields are filled out correctly, and then print it for physical records or email it to the customer for their reference.


