Designing a receipt template in Word can save time and provide a professional look for your transactions. Start by opening Microsoft Word and selecting a blank document. You can either use the built-in templates or create a custom one from scratch to suit your specific needs.
Focus on including key details such as business name, contact information, transaction date, items or services provided, and the total amount paid. To make the document clear and well-organized, divide the content into sections using tables, lines, or text boxes. Use consistent font styles and sizes for a clean and readable design.
For better customization, add your company logo, adjust the header for company details, and include space for the customer’s information. You can also incorporate payment methods, taxes, and any additional charges or discounts if necessary. Once the layout looks right, save the document as a template so it’s easy to reuse for future receipts.
Create a Receipt Template in Word
Open Microsoft Word and create a blank document. Adjust the page size if needed by going to the “Layout” tab and selecting your preferred dimensions.
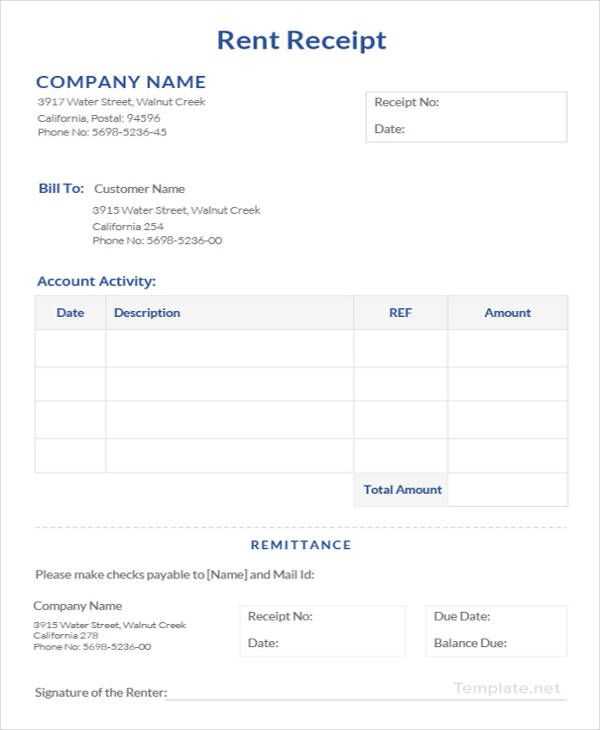
At the top, insert your business name or personal name, followed by your contact details (address, phone number, and email). This ensures that the receipt looks professional and has all necessary information.
Next, add a section for the receipt number and date. Position these fields near the top-right corner for easy reference. You can use the “Insert” tab to add text boxes for these fields if you want more flexibility in layout.
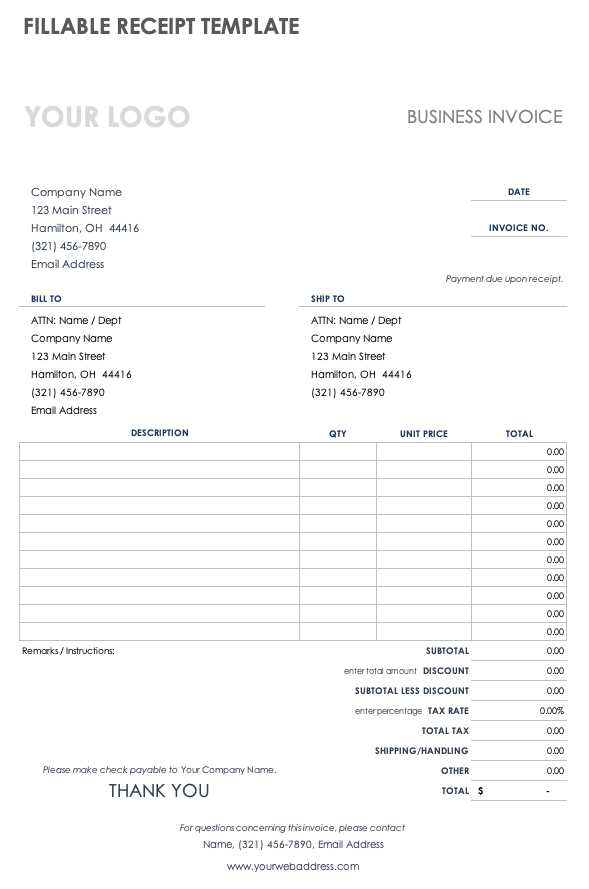
For the transaction details, create a table with columns for item description, quantity, unit price, and total price. Ensure the table is clear and well-spaced for readability. You can adjust the column width to fit your content perfectly.
Below the table, insert a section for payment method (cash, credit card, etc.) and total amount due. This section should be clearly separated from the rest of the receipt to highlight the final amount.
Lastly, add a footer with any additional information, such as a thank you message or refund policy. This can also be a place to include your company’s legal terms if necessary.
Save your document as a template so you can easily reuse it for future transactions. You can now customize this template each time you issue a receipt, keeping things consistent and professional.
Set Up Document Layout for a Receipt
Begin by setting the page size to standard dimensions, such as A4 or Letter. This ensures your receipt prints correctly without any issues.
Next, adjust the margins. Set narrow margins to maximize space for content. Typically, 0.5″ or 1.27 cm on all sides works well for receipts.
Organize the layout in a clean, structured way:
- Place the company name or logo at the top, centered or aligned to the left, depending on your preference.
- Include contact details below the company name, ensuring they are easy to read.
- Incorporate a section for the transaction details–date, time, receipt number–usually in the top-right or center.
- List the purchased items or services, aligned neatly in columns with space for descriptions, quantities, and prices.
- Include a subtotal and tax section right before the final total. Make sure these are clearly separated and easy to find.
- Finish with a thank-you note or return policy at the bottom, if desired.
Use consistent spacing between sections to avoid overcrowding. Keep font size readable but not too large, with headings bolded for emphasis.
Consider using a table or grid layout to organize item descriptions, prices, and totals clearly.
Finally, review the document to ensure that all key information is visible and aligned properly. Adjust any elements that seem off-balance or misaligned before finalizing.
Customize Header with Business Information
To add your business details to the receipt header, focus on providing clear and concise information. Include your business name, address, phone number, email, and website if applicable. This ensures your customers can easily reach you after the transaction.
Business Information to Include
Consider displaying the following elements in the header section:
| Detail | Description |
|---|---|
| Business Name | Your company name should be prominently displayed at the top. Use a larger font size to make it stand out. |
| Address | List your physical store location or business address. Include city, state, and ZIP code for complete clarity. |
| Phone Number | Make sure to add a contact number for customer inquiries or assistance. |
| If applicable, provide an email address for customer support or general inquiries. | |
| Website | If you have an online presence, include your website URL to drive traffic and provide additional resources. |
Formatting Tips
Keep the header layout clean. Align your business name centrally or to the left, and stack the other contact details in a vertical format below. This layout ensures that your information is easy to read and makes a professional first impression. If you’re using Word, you can adjust font sizes, styles, and colors to match your branding. Make sure your contact details are in a smaller but legible font to avoid overwhelming the header with text.
Design a Table for Itemized Charges

When creating an itemized table for charges, ensure clarity by using well-defined columns for each detail. Start with a column for the description of the item or service. This should include enough information to make the charge clear. Use a concise and readable format to list each item.
Next, include a column for the quantity or number of items, followed by the unit price. This allows customers to easily track what they are being charged for and how much each item costs. Add a column for the total price per item, calculated by multiplying the quantity and unit price.
A column for discounts, if applicable, can follow the total price, showing any adjustments made to the charge. Ensure the discount is clearly labeled to avoid confusion. Lastly, include a final column for the total amount due, which should sum up all the charges, including any discounts.
For easy readability, align the numbers to the right, and use a simple grid layout. Bold headings for each column to make the table visually clear. Keep the design minimal to maintain focus on the details of the charges.
Add Date, Receipt Number, and Payment Details
Include the date at the top of the receipt, typically placed in the header section. This provides an immediate reference for when the transaction took place. Use the format that best suits your location, such as “MM/DD/YYYY” or “DD/MM/YYYY.” Keep it consistent across all receipts.
Next, insert a unique receipt number. This helps track and manage transactions efficiently. It can be a simple sequential number or a more complex combination of numbers and letters. For example, you can use “RCP-001,” “INV-2025-001,” or a similar system. Ensure that the numbering is consistent to avoid confusion and maintain order.
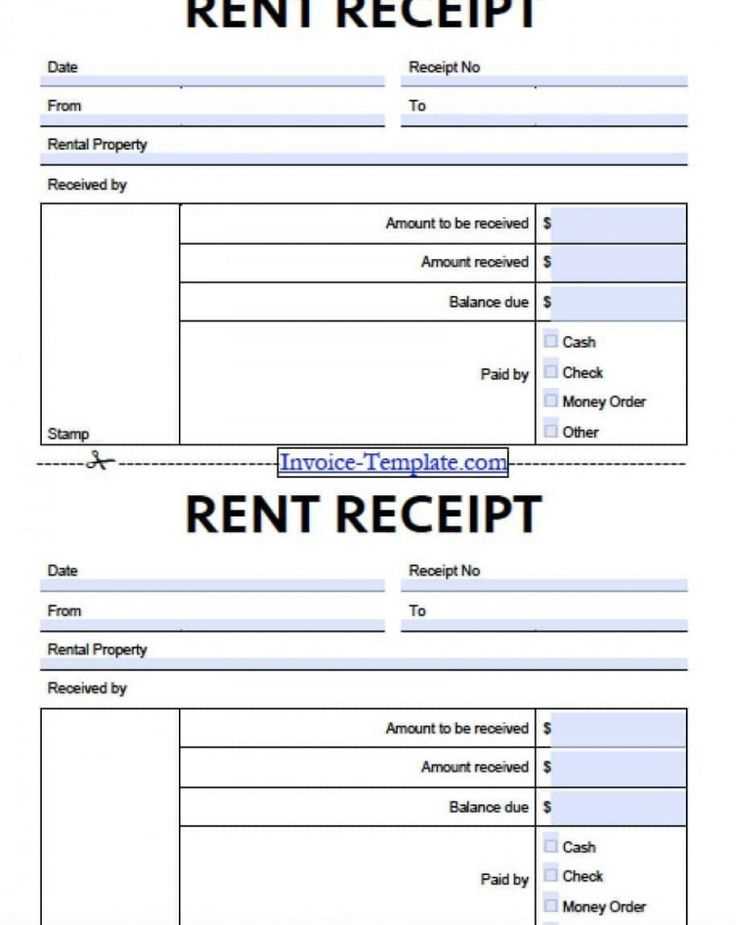
Provide clear payment details. Include the amount paid, the method of payment (cash, card, bank transfer, etc.), and any relevant transaction IDs if applicable. If the payment was partial, mention the outstanding balance. This section helps clarify the payment status and provides transparency for both parties involved.
Include Tax Calculation and Total Amount

List the subtotal first, which includes the cost of all items before tax. Then calculate the tax by multiplying the subtotal by the applicable tax rate. For example, with a 7% tax rate on a $200 subtotal, the tax would be $14.
Clearly label the tax amount on the receipt and show the total by adding it to the subtotal. For instance, with the $200 subtotal and $14 tax, the total would be $214.
Ensure the total amount is bold or highlighted to make it stand out for easy reference. This ensures clarity for both the customer and the business.
Save and Reuse the Template for Future Receipts
To save time and maintain consistency, store your receipt template for easy access and reuse. Follow these steps to save and reuse your template:
- Save the Document: After creating your template, click “File” and select “Save As”. Choose a location on your computer or cloud storage where you can easily find the file later.
- Use a Descriptive Name: Name the file something easy to identify, like “Receipt Template” or “Invoice Template”, to quickly locate it in the future.
- Save in a Universal Format: If you’re using Microsoft Word, save the file in “.docx” format. This ensures compatibility with most devices and word processing software.
- Create a Template File: To make it a reusable template, save it as a Word template by selecting “Save As” and choosing the “.dotx” format. This prevents accidental overwriting and keeps the original intact.
- Access and Edit the Template: To use the saved template, open the file and fill in the specific details of the new receipt. Save the new document with a unique name, leaving the template unchanged.
- Backup Your Template: For extra security, keep a backup copy in a different location, such as an external drive or cloud service, to avoid losing your work.
By saving and reusing your template, you can create receipts quickly and maintain consistency across all your transactions.


