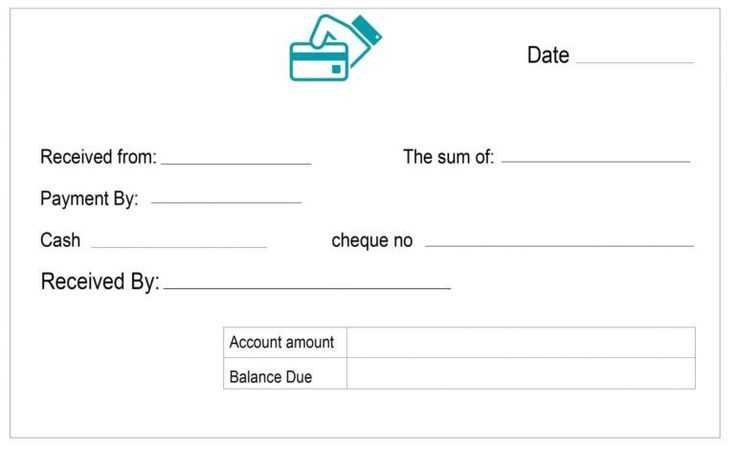
If you need a customer receipt template for Word, you can easily create one tailored to your business needs. A clean and organized receipt layout helps ensure that all necessary details are captured without overwhelming the customer. Include key elements like the transaction date, customer information, items purchased, total amount, and payment method.
Start by selecting a simple layout with a header section that clearly displays your company name, contact details, and any relevant branding. This helps create a professional look while making your business easily identifiable. Keep the itemized list concise and use bullet points for quick readability.
Don’t forget to add a footer section where you can place your return policy, thank you note, or additional customer instructions. This section can also include your company’s website or social media links for further engagement.
For ease of use, ensure the font size is readable and the sections are well-spaced. It is best to use a common font like Arial or Times New Roman, with clear headings for each part of the receipt. This design approach not only looks clean but also ensures that all relevant details are easy to find for both you and your customers.
How to Create a Basic Receipt Template
Open Microsoft Word and create a new blank document. Set the page size and margins according to your needs–typically, 8.5×11 inches works well for receipts.
Step 1: Set Up Header Information
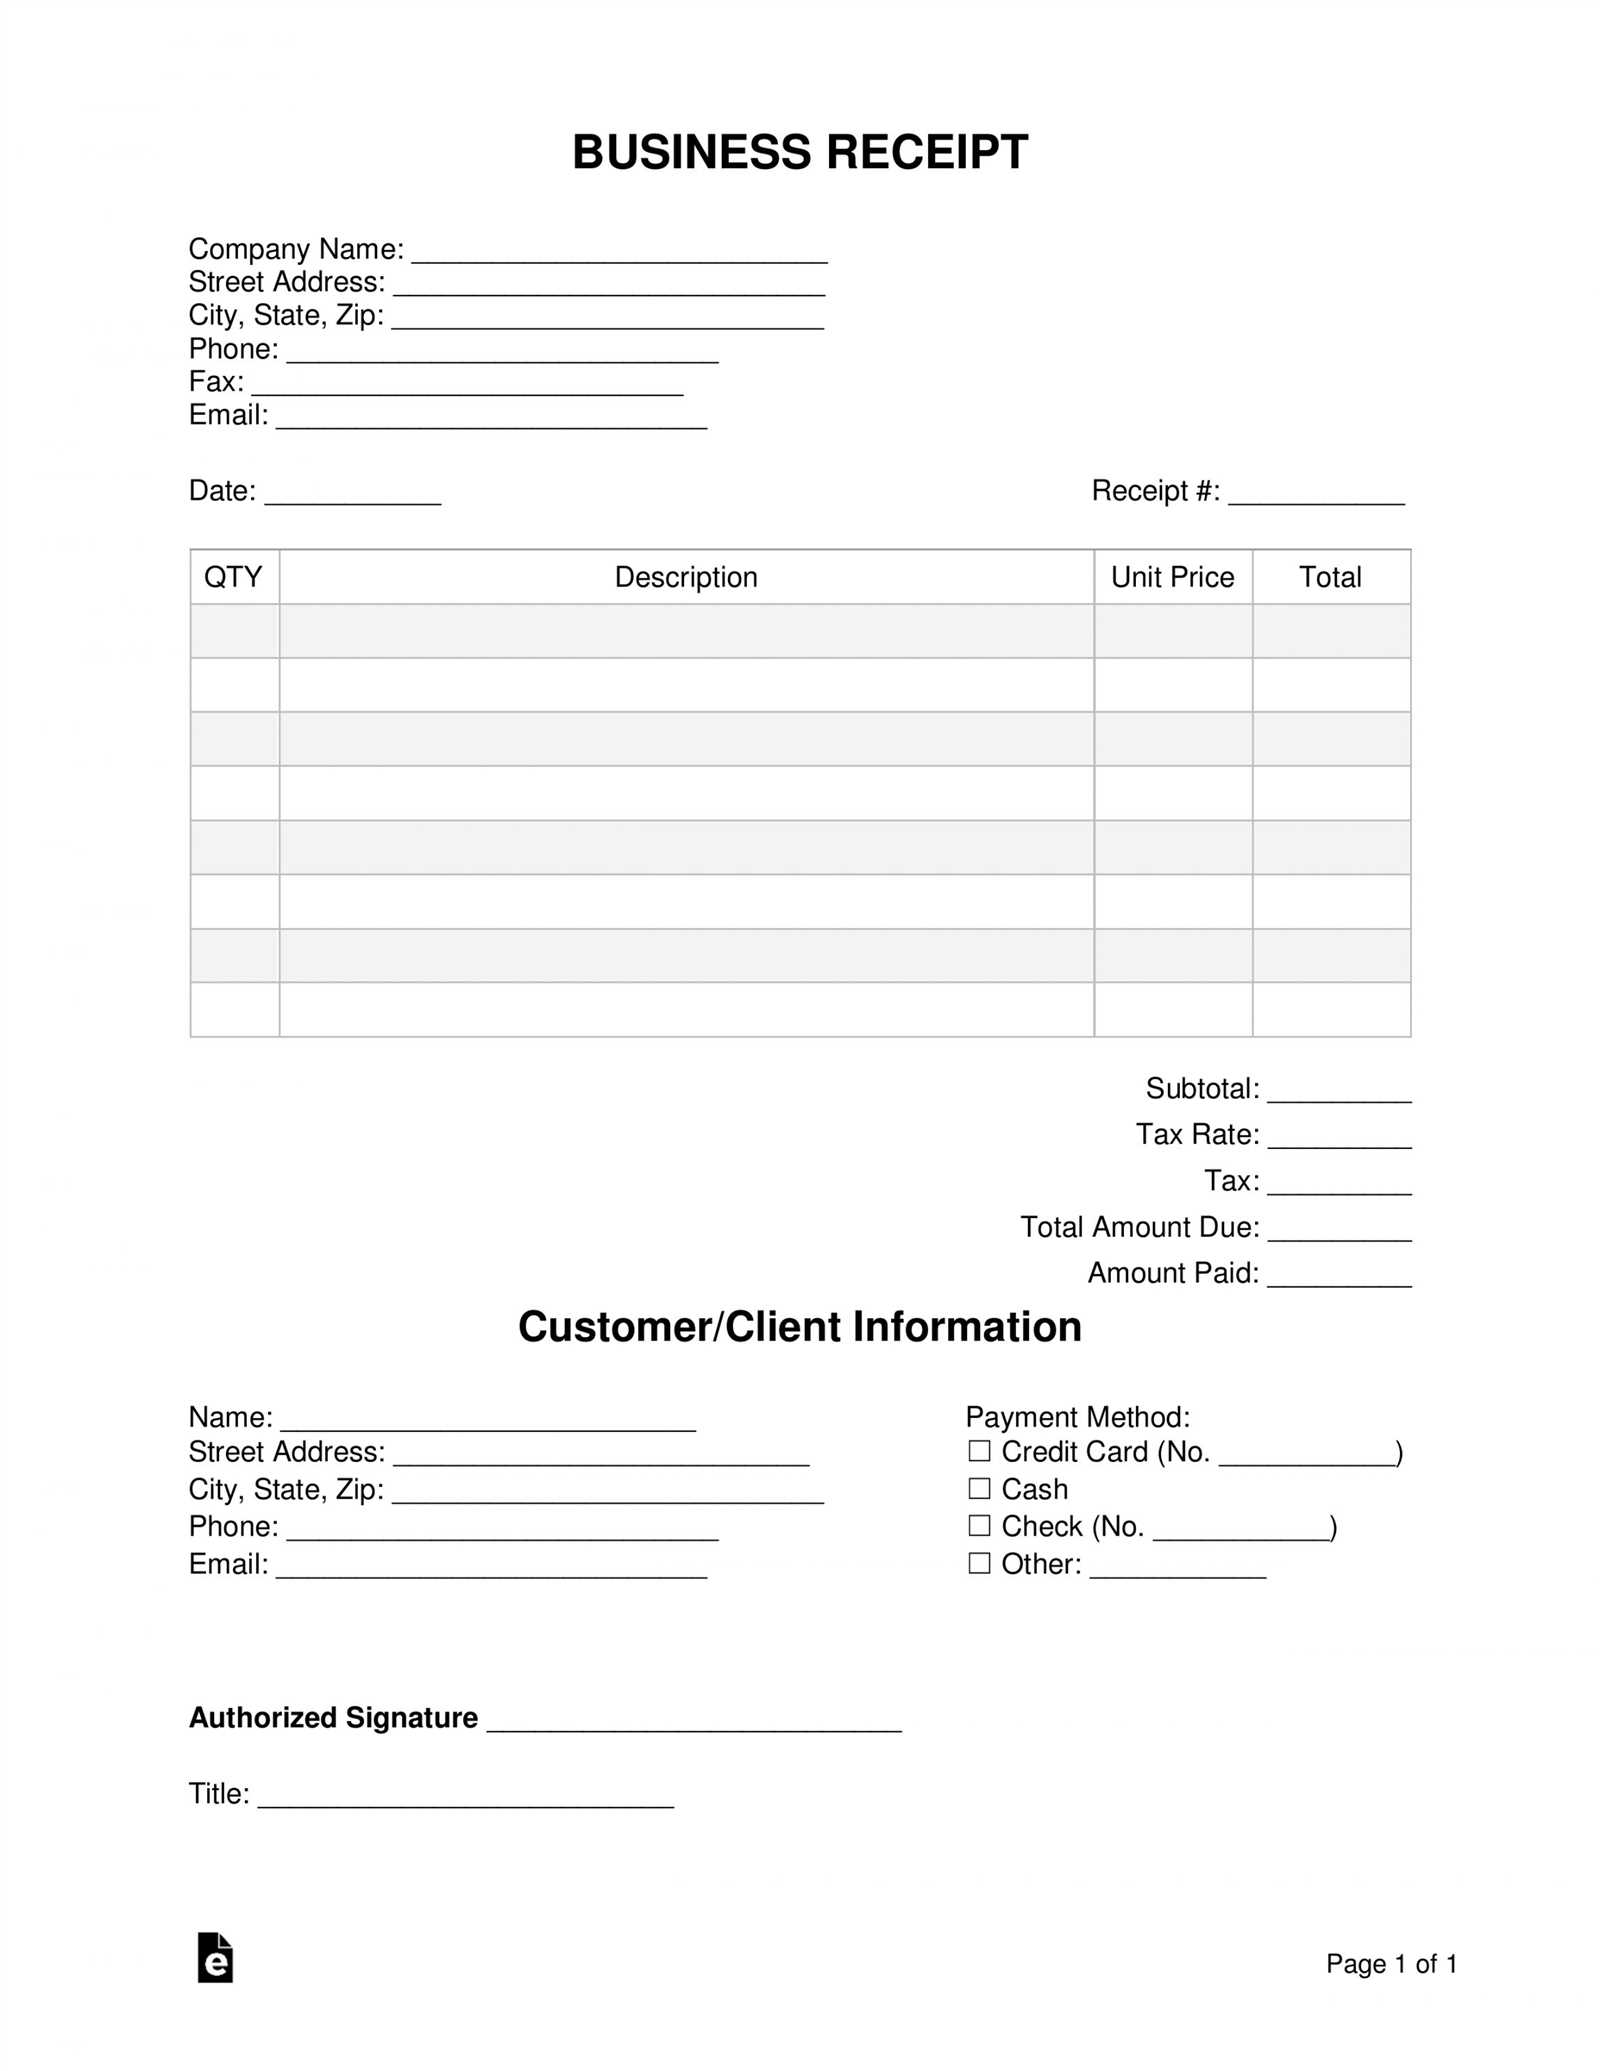
At the top of the page, insert your company name, address, contact number, and email. Make sure this information stands out by using a larger font size or bold formatting. This ensures the recipient easily identifies your business.
Step 2: Include Transaction Details
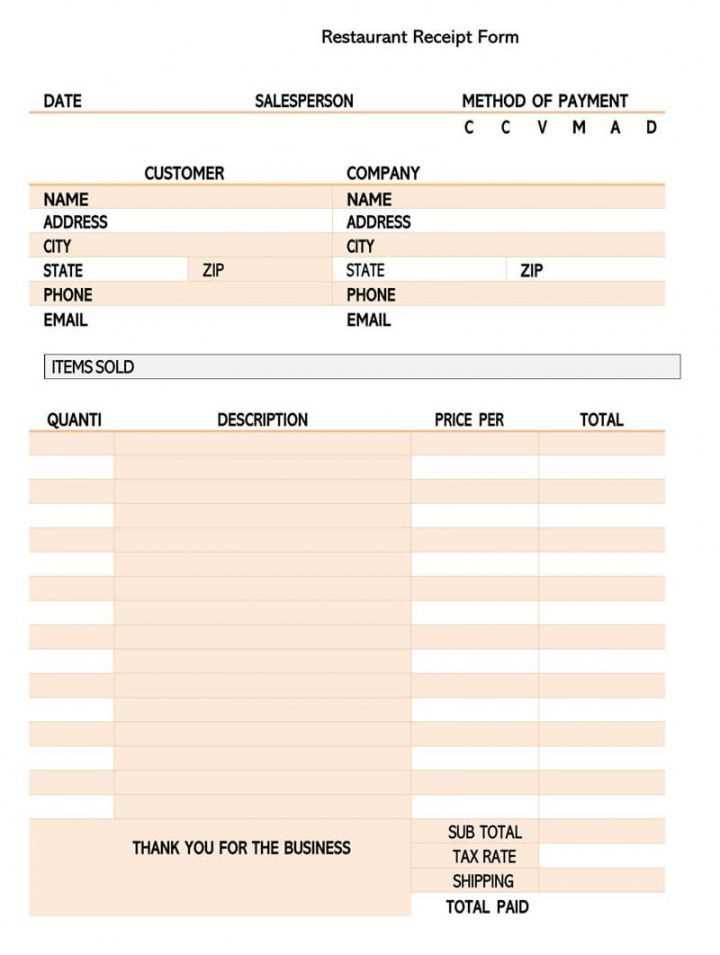
Below the header, add a section for the receipt number and date. These fields help both you and the customer track the transaction. Use clear labels like “Receipt Number” and “Date” so they’re easy to understand. Below this, list the items or services provided, along with the respective quantities and prices.
For clarity, use a table with columns for “Item Description,” “Quantity,” “Unit Price,” and “Total Price.” Ensure there’s enough space for each entry, and make the table borders thin so it doesn’t look too heavy. You can format the totals section with bold text to make it stand out.
Finally, at the bottom, include payment details. If applicable, mention any discounts or taxes. End with a “Thank You” note or a reminder for customers to save the receipt for their records.
Customizing Your Receipt for Specific Needs
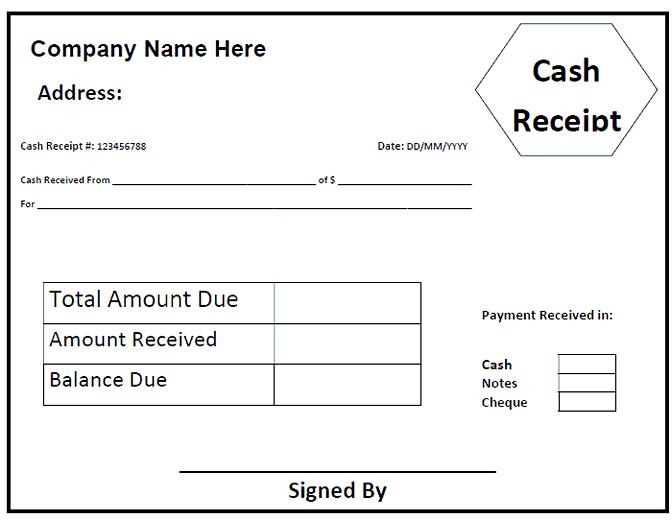
Adjust your receipt layout to match your business type and customer expectations. For example, add sections like “Product Details,” “Service Charges,” or “Discounts” to reflect the transaction’s specifics. Customize fonts and colors to align with your branding, ensuring the receipt feels professional and tailored to your company’s image.
Make sure to include necessary legal information such as tax identification numbers or business registration details. If your business is in a specific industry, consider adding fields like “License Number” for regulated services or “Warranty Period” for product-based businesses.
For customers who require it, create a receipt template that allows space for tips, gratuities, or even personalized messages. Use a clear format so that every section is easily understood, and avoid cluttering the receipt with irrelevant information.
For businesses offering loyalty programs, add a section to track points or rewards accumulated with the current purchase. Ensure this is prominently displayed without overshadowing the transaction summary.
Review and update your template regularly to adapt to changes in your business practices or legal requirements. Keeping the receipt clear, informative, and aligned with your brand helps ensure customer satisfaction and smooth transactions.
Best Practices for Receipt Template Layout
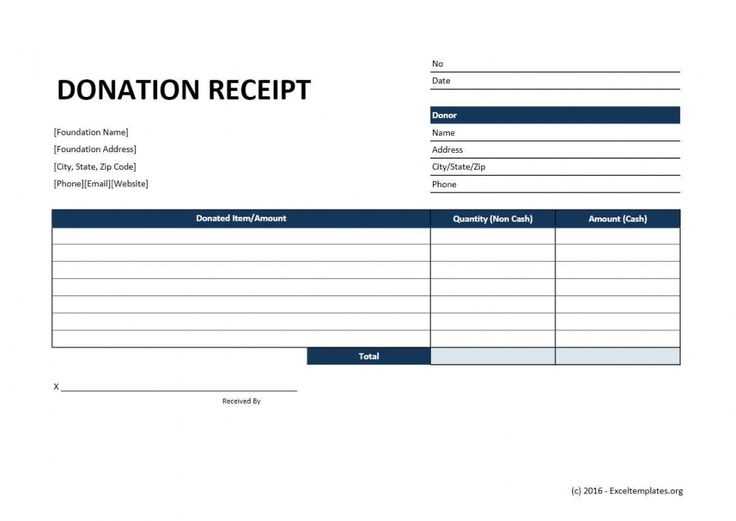
Prioritize clarity and simplicity. Use a clean, easy-to-read font like Arial or Calibri. Avoid overly decorative fonts that might make details hard to read. Ensure the text size is large enough for comfortable reading, especially for the total amount due.
Organize key information logically. Place the business name, contact details, and logo at the top. Follow with a clear section for the transaction details: item names, quantities, and prices. The total should be at the bottom, standing out with bold text.
Keep space between elements. Avoid clutter. Use enough white space between sections to make each part distinct. This helps the customer quickly locate relevant details without feeling overwhelmed.
Highlight the most important details. Make the total amount due easy to find. Consider using a larger font size or a box around the total to give it prominence.
Provide room for additional notes. A section for notes or return policies allows businesses to share important information without overwhelming the rest of the layout.
Stay consistent with branding. Ensure your receipt matches your brand’s visual identity. Use colors, logos, and font choices that align with your business’s look to make it instantly recognizable to your customers.


