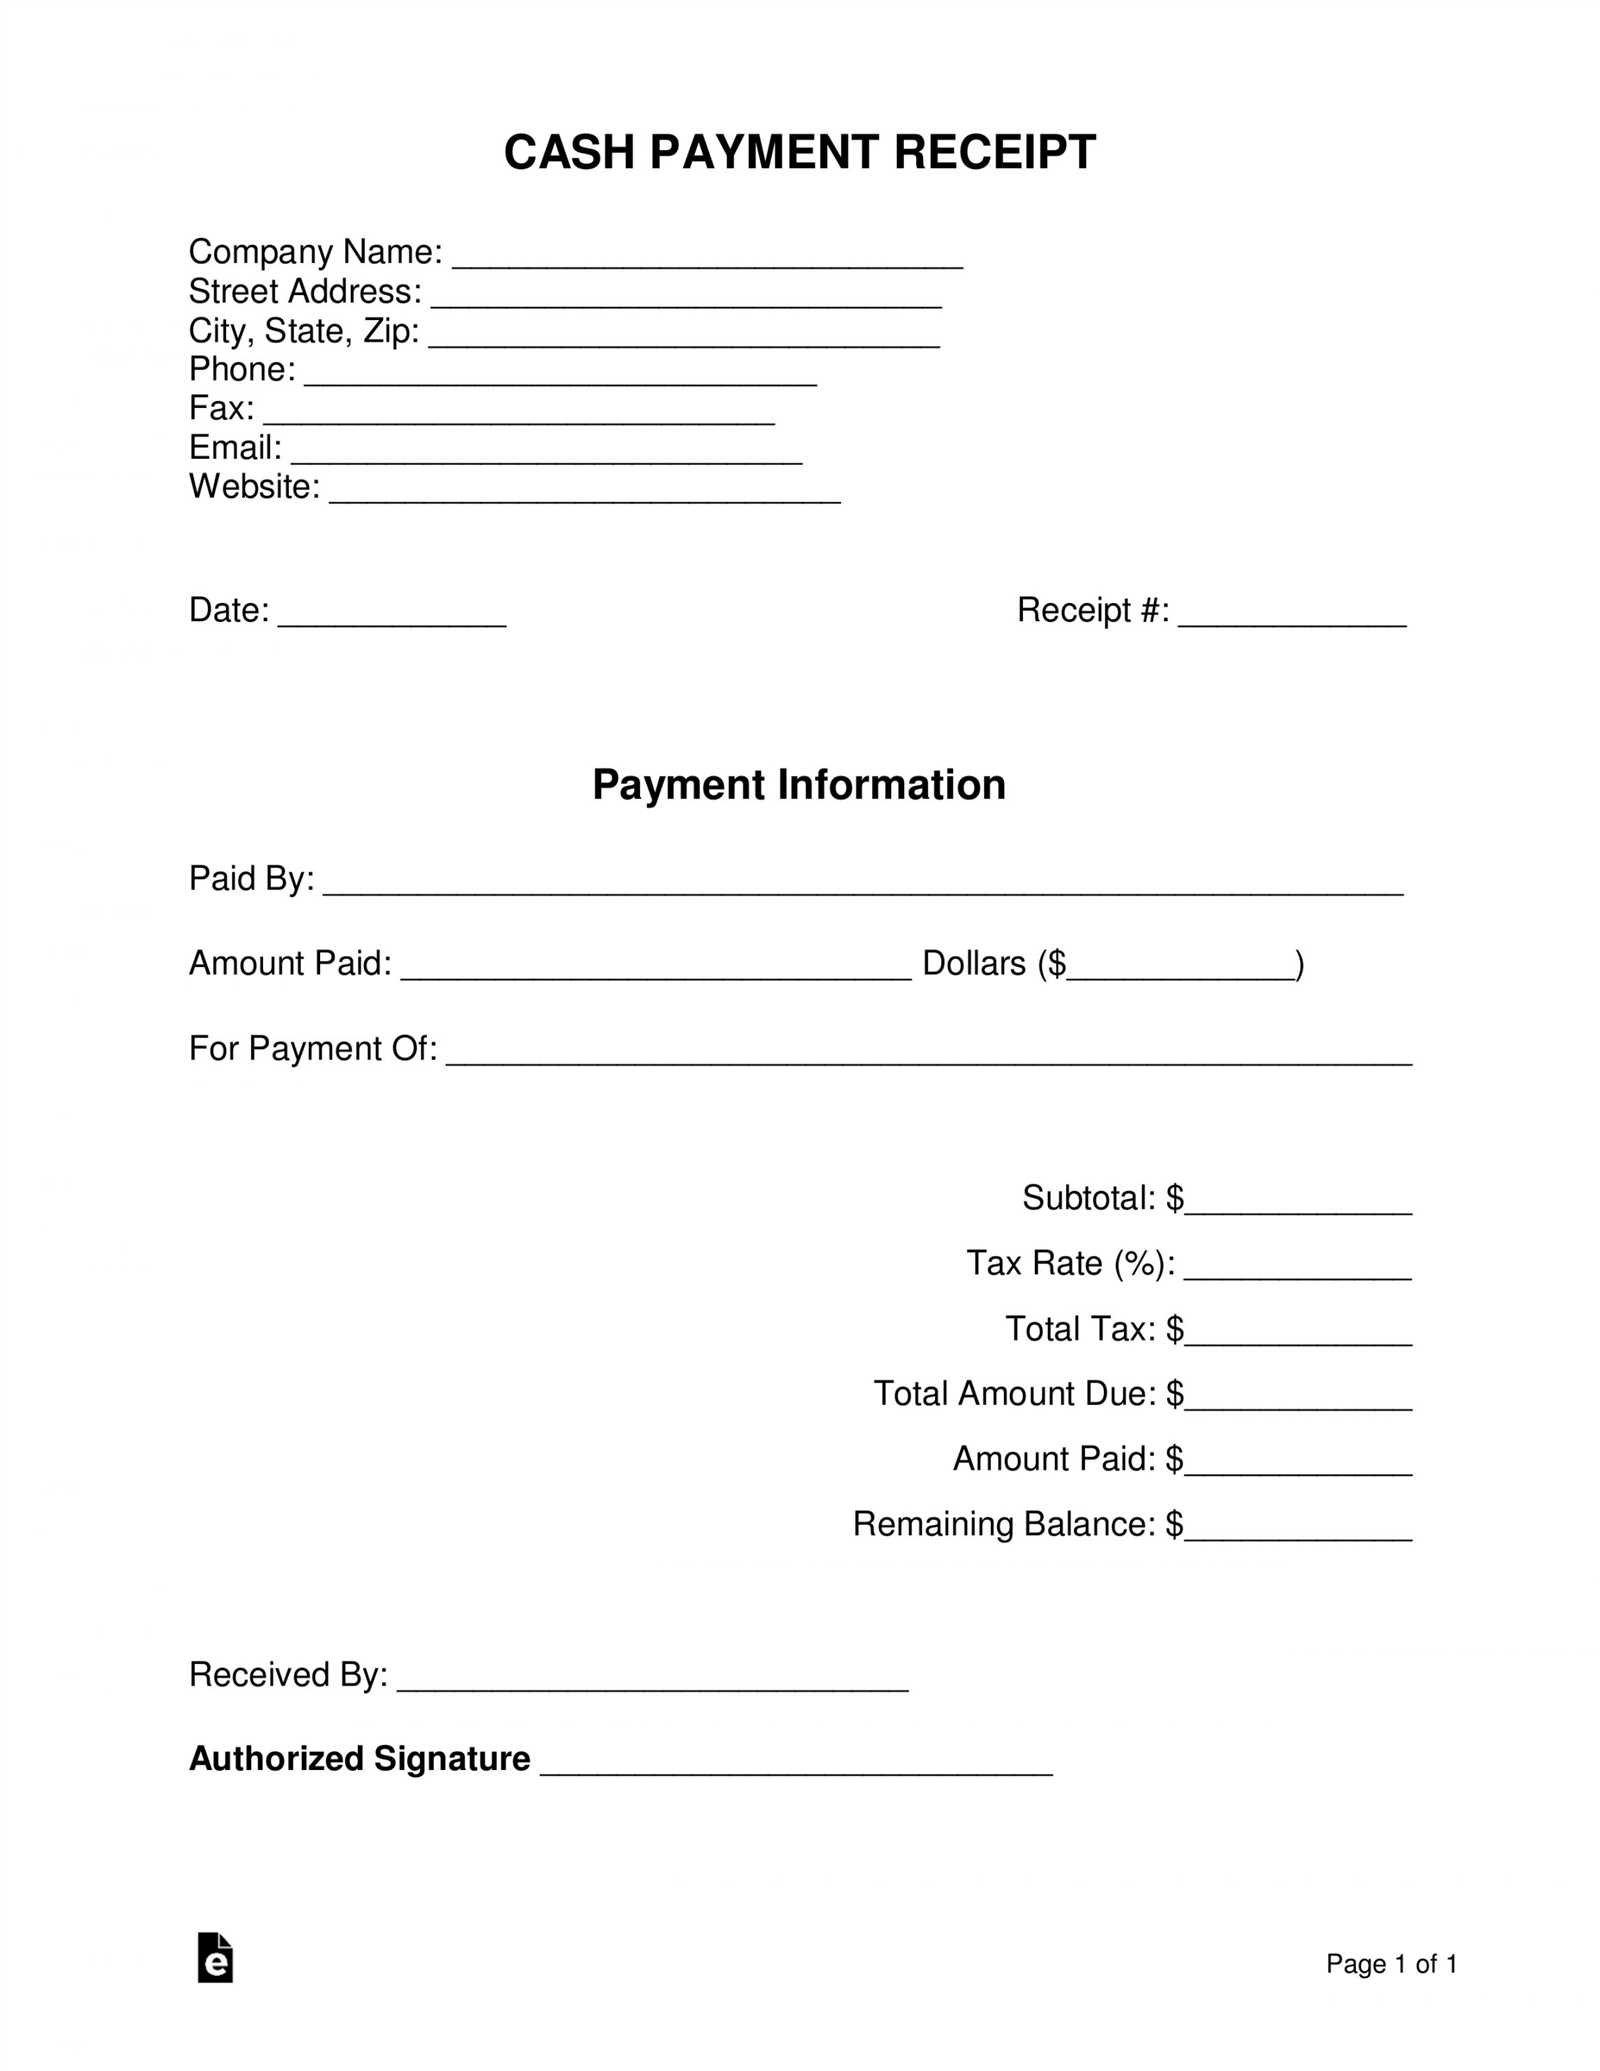
To simplify transactions involving down payments, use a clear and straightforward template in Microsoft Word. A well-structured receipt can prevent misunderstandings and ensure that both parties have a clear record of the transaction.
Start by including the name and contact details of both the payer and the payee. It’s helpful to include the date of the transaction and the amount received. This ensures there is no confusion about the timing or specifics of the payment.
Next, outline the terms of the down payment, including any agreements about the remaining balance, payment deadlines, and any conditions attached to the payment. Using specific language prevents ambiguity and helps protect both parties involved.
Lastly, include a signature section to formalize the receipt. This final step adds legitimacy and accountability to the document, making it a reliable reference in case of future disputes or clarifications.
Down Payment Receipt Template Guide
To create a clear and professional down payment receipt template, include these key elements:
- Company Name and Address: Ensure the business name, address, and contact details are prominently displayed at the top.
- Receipt Title: Label the document as “Down Payment Receipt” to avoid confusion with other types of receipts.
- Payment Details: Include the amount received, payment method, and date of the payment. Specify if the payment is in full or part of a larger transaction.
- Buyer Information: Include the buyer’s name, address, and contact details for easy reference.
- Transaction Description: Add a brief description of the product or service related to the down payment.
- Remaining Balance: Clearly state the balance due, if applicable.
- Signature Section: Provide space for the authorized signature of the receiver and the date of signing.
Tips for Customizing Your Template
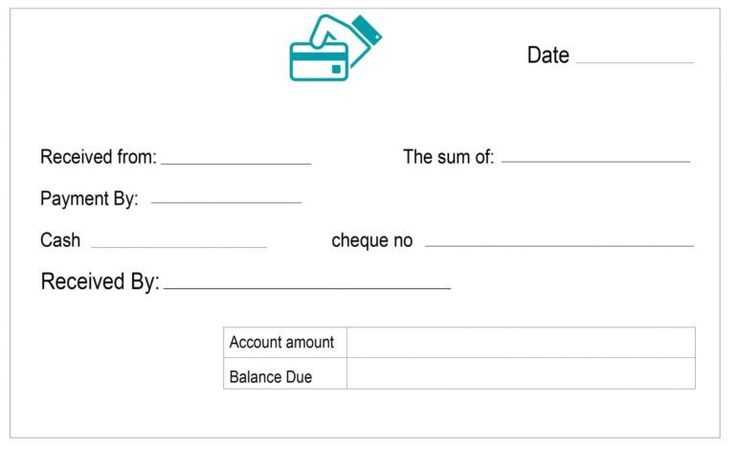
Adjust the template layout to suit your brand’s needs while keeping it professional and easy to read. Add or remove sections as necessary based on your specific transaction requirements. Include terms like “non-refundable” or “deposit” if applicable to the agreement.
Example Template Structure
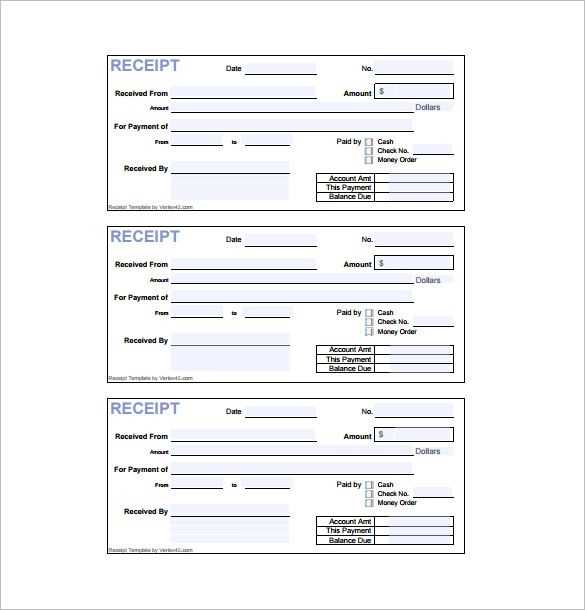
- Header with company details
- Title: “Down Payment Receipt”
- Buyer’s details
- Payment amount and method
- Description of the transaction
- Remaining balance (if applicable)
- Signature lines
How to Create a Simple Down Payment Receipt
Begin by including a clear title at the top of the document, such as “Down Payment Receipt.” This will immediately inform the recipient of the purpose of the document.
Next, include the full name and contact details of both the payer and the payee. Ensure the payer’s name, address, and phone number are listed correctly, along with the payee’s business or personal information.
Details of the Transaction
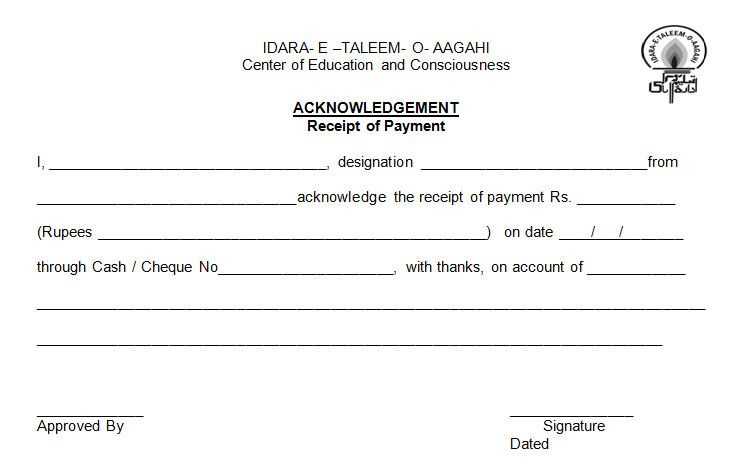
Include the date of the payment. Write the amount paid in both numerical and written forms to avoid any confusion. Specify the payment method, such as cash, check, or bank transfer. If relevant, provide transaction details such as a check number or bank reference number.
Payment Description
Clarify what the payment is for, such as a deposit on goods, services, or a property. This helps avoid any future misunderstandings. If there is an agreement regarding the balance due, mention the total amount and any terms related to future payments.
End the receipt with the payee’s signature and space for the payer’s signature if required. This ensures both parties acknowledge the transaction and its terms.
Key Elements to Include in a Down Payment Receipt
Start with a clear title at the top of the document, such as “Down Payment Receipt” or “Receipt for Down Payment.” This immediately identifies the purpose of the document.
Transaction Details
Include the date of payment and the full name of the person making the payment. Specify the amount received and the method of payment, whether cash, credit card, or bank transfer. This ensures transparency and clarity.
Payment Terms and Description
Provide a brief description of the transaction, including the reason for the down payment, such as a deposit for a product, service, or contract. Clearly state if this payment will be deducted from the final amount due or if it’s a non-refundable deposit.
Conclude the receipt with contact details for both parties involved, including phone numbers or email addresses, and the signatures of the payer and recipient. This adds an extra layer of authenticity and confirms mutual understanding of the terms.
Customizing Your Template for Specific Transactions
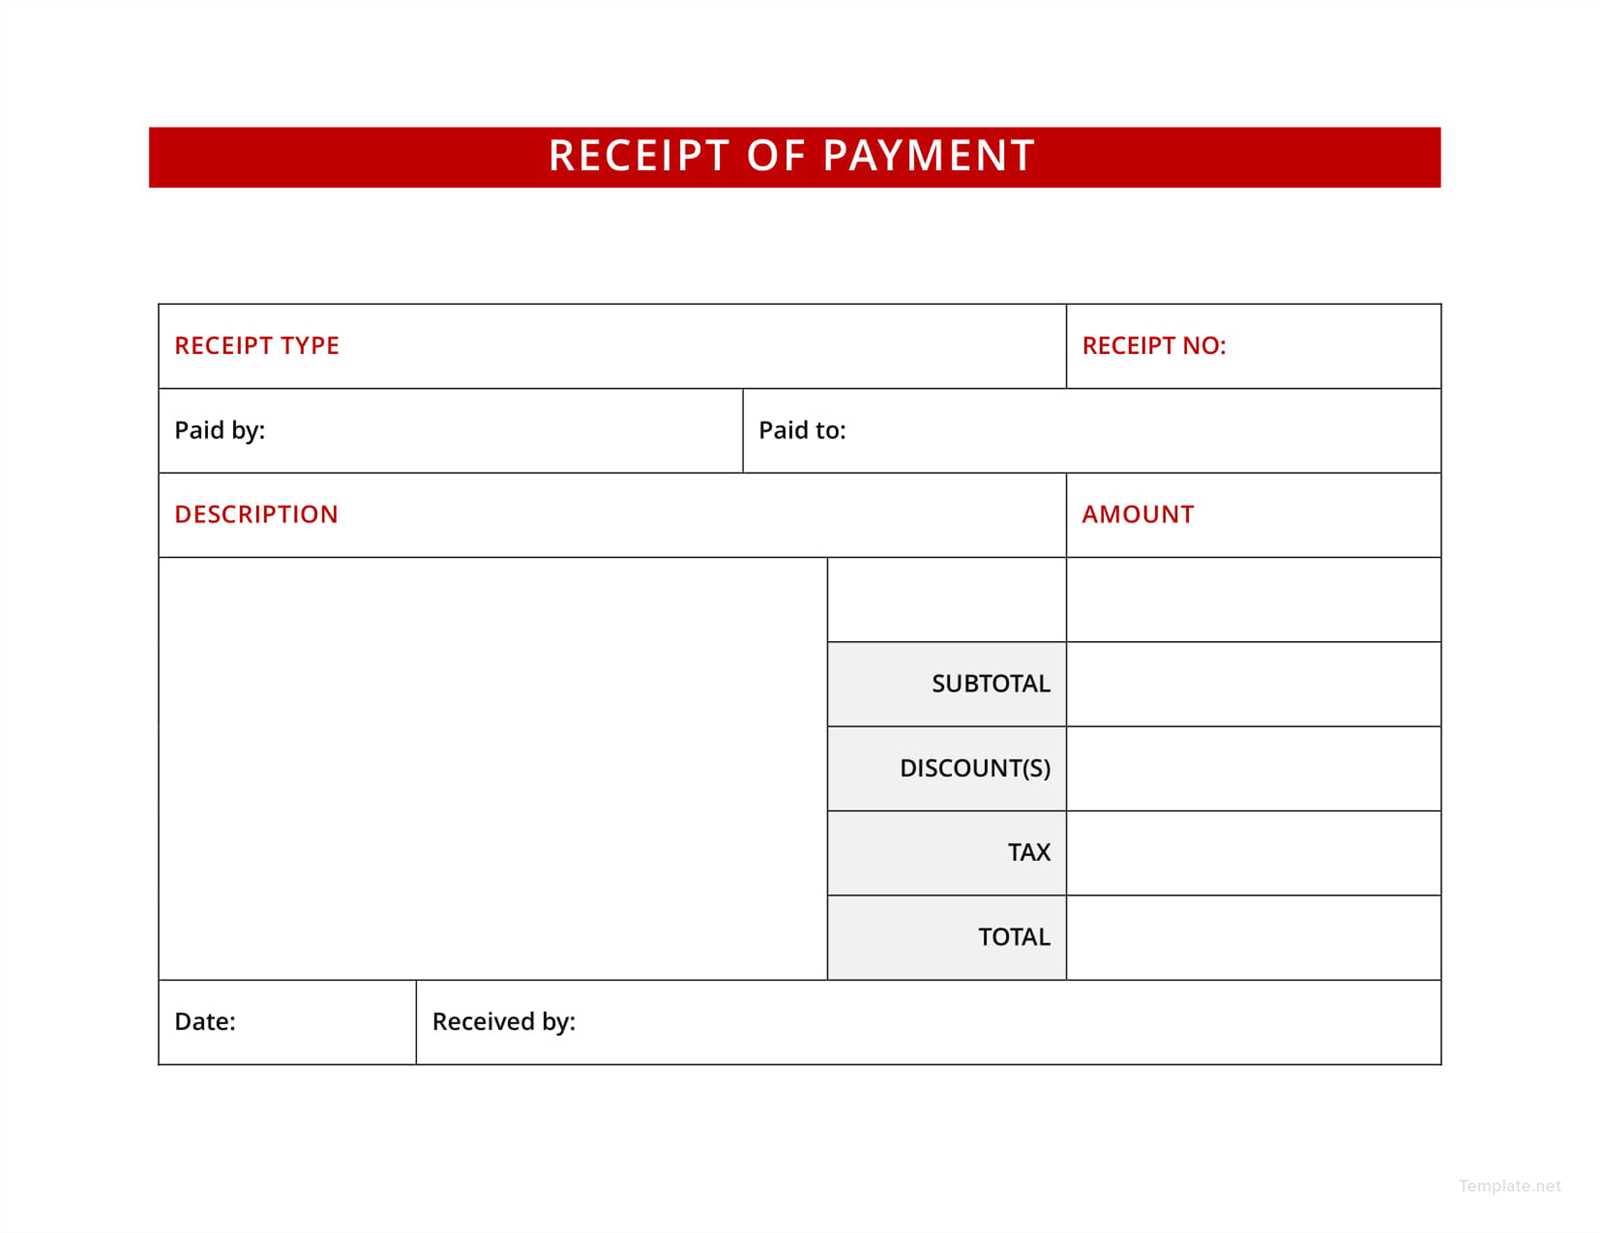
Adjust the fields in your receipt template to match the specifics of the transaction. For example, if the payment is part of a larger contract, include the contract number and any relevant dates. If the down payment is for a special offer or promotion, make sure to add a line specifying that to avoid confusion later.
When customizing, consider including clear descriptions of the goods or services involved. Specify the amount of the down payment as a percentage of the total amount, especially if it’s a large transaction. This helps both parties understand the financial breakdown.
Use a section to list payment terms, such as when the remaining balance is due. If applicable, include details about late fees or payment methods accepted. This ensures that all payment-related conditions are transparent and agreed upon upfront.
For transactions involving multiple installments, create a schedule within the template. This can help track each payment and provide clear records for both the buyer and the seller. Tailor this part to fit the specific agreement, whether it’s a monthly payment plan or a one-time future payment.


