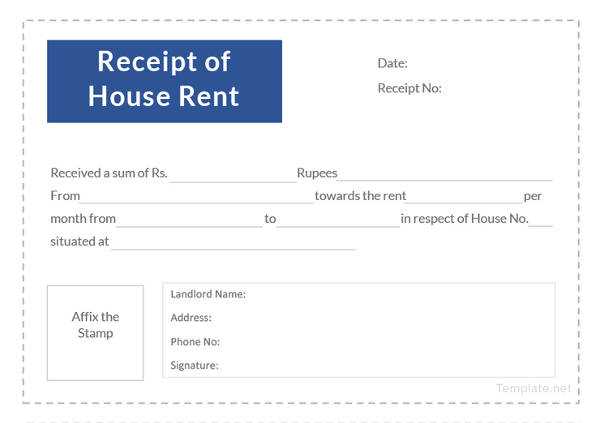
Creating a house rental receipt in Word can simplify rental transactions for both tenants and landlords. This template allows you to clearly document rent payments, ensuring both parties have accurate records for their reference.
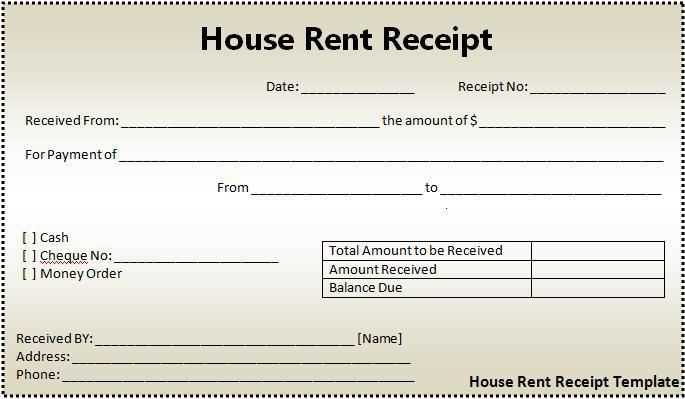
Start by including key details such as the tenant’s name, rental property address, payment date, and the rental amount. You can also specify the payment method, whether it’s cash, check, or bank transfer, to avoid confusion. Including a receipt number can help keep track of multiple transactions easily.
Customize the template to match the specific terms of your rental agreement. For instance, you may add fields for late fees or additional charges like utilities. This flexibility ensures your receipts cover all aspects of the transaction, promoting transparency.
When using the template, make sure it includes spaces for both the landlord’s and tenant’s signatures. This step confirms that both parties agree on the details of the payment. By maintaining these records, you can prevent misunderstandings and provide legal protection if necessary.
Creating a Customizable Template
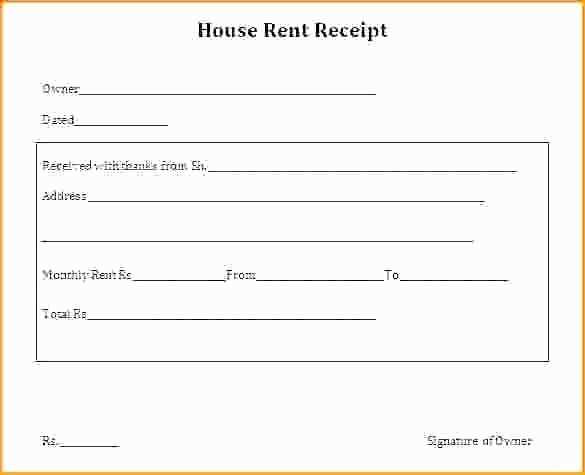
Begin by opening Microsoft Word and creating a new blank document. To design a flexible house rental receipt, set up basic sections that users can easily modify. These sections include the landlord’s and tenant’s information, rental details, payment method, and any additional clauses or conditions. Place placeholders in each section where details can be filled in later, ensuring the template is adaptable for various rental scenarios.
Use tables to structure the content cleanly. For example, create a table with columns for the date, payment amount, and receipt number. This allows for quick updates without affecting the overall layout. Incorporate fields such as “Tenant Name,” “Property Address,” and “Payment Period” with clear labels to guide users in entering the correct information.
Customize font styles and sizes to make each section distinguishable. A larger font for headings or bold text for important details like the total amount due helps draw attention to critical areas. Ensure that the text is legible, with enough spacing between sections for clarity. Maintain a professional, easy-to-read format that simplifies updates and customizations.
For ease of use, include drop-down lists or checkboxes where applicable. For example, in the “Payment Method” section, provide options like cash, check, or bank transfer. This minimizes typing errors and streamlines the process for both the landlord and tenant.
Save the document as a template file (.dotx) to allow others to use and modify it without altering the original design. This ensures flexibility, as users can adjust sections such as the rent amount, due dates, or payment history based on their specific needs.
Formatting and Style Considerations
For a rental receipt template, clarity and simplicity are paramount. Choose a clean, legible font like Arial or Times New Roman with a size between 10 and 12 points to ensure readability. Keep line spacing at 1.5 or double to avoid text feeling cramped. This will enhance the document’s overall presentation and make it easier for recipients to read.
Consistency and Structure
Ensure all elements follow a consistent style. Align text to the left for a professional look, with headers bolded to stand out. The receipt should be divided into clear sections: the header (including the title, landlord details), the body (rental amount, payment date), and the footer (signature, receipt number). Use borders or lines to separate these sections, providing visual clarity without overwhelming the document.
Details and Readability
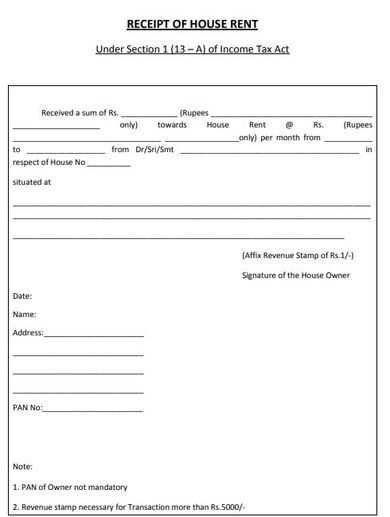
In the body section, list important information such as rental amount, payment terms, and due dates in bullet points or short lines. This makes it easier for the tenant to review. Use minimal shading or highlights to draw attention to key areas, like payment amounts or due dates, without overusing colors. Avoid decorative fonts or unnecessary graphics that can distract from the purpose of the document.
Incorporating Legal and Tax Information
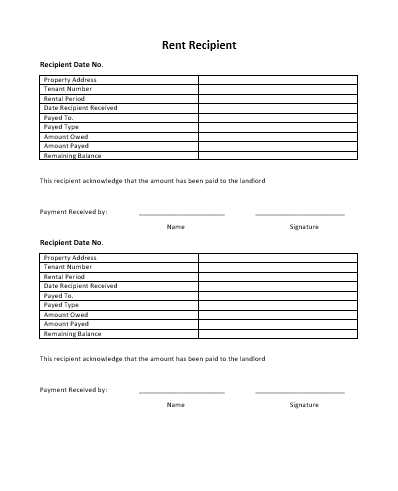
Include the full legal names of both the landlord and tenant in the receipt. This helps establish the identities of the parties involved and provides clarity for both sides. Ensure that the document lists the property address being rented, along with the rental period, to avoid any potential disputes over location or timeframe.
Specify the rental amount, payment frequency, and any additional fees, such as utilities or maintenance charges, to ensure transparency. It’s also helpful to note any applicable late fees or penalties for missed payments. Be sure to document the payment method used, whether by cash, check, or electronic transfer, to provide an accurate record of the transaction.
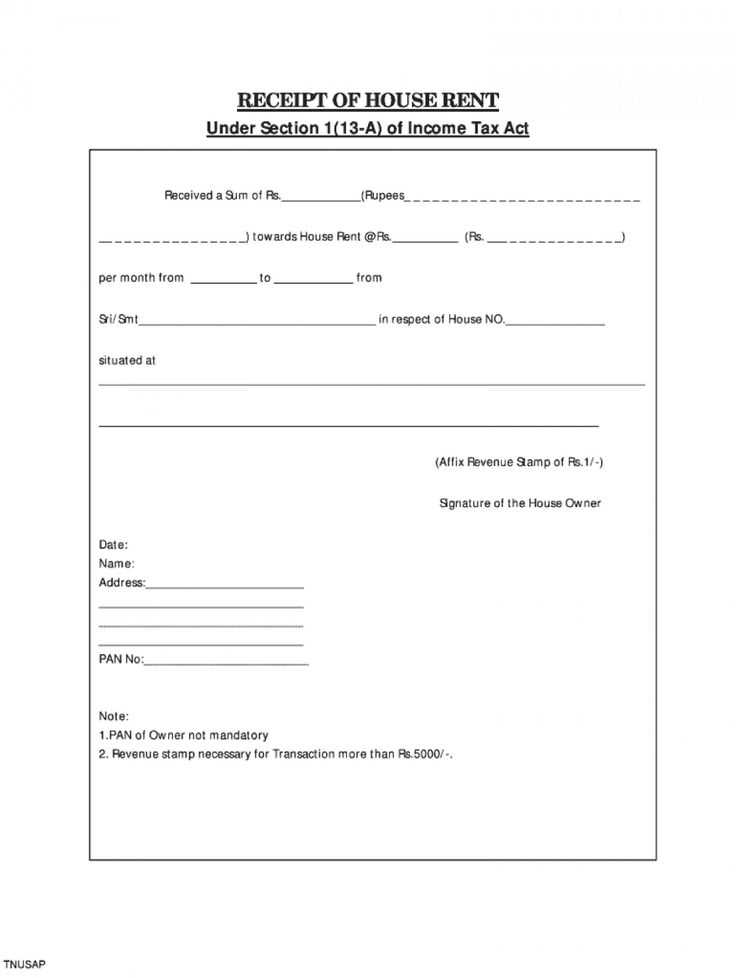
If required by local tax regulations, include a tax identification number for both the landlord and tenant. This is particularly important for income tax purposes and may be required for certain rental agreements. Consult with a tax advisor to determine whether sales tax or other rental-related taxes need to be included on the receipt.
Clarify whether the rental payments are tax-deductible or if there are any specific tax exemptions that apply to the rental arrangement. This can prevent misunderstandings when filing taxes and offer guidance on deductions if applicable.
Lastly, ensure that the receipt includes a disclaimer that it is a record of payment, not a contract or agreement. This helps avoid confusion regarding the terms of the rental arrangement, which should be outlined in a separate lease or rental agreement document.


