Setting Up Your Template
Open Microsoft Word and create a new document. Select the “Blank Document” option to start with a clean slate. For ease of use, consider setting up a standard page layout that suits receipt formatting–typically, A4 size with standard margins of 1 inch on all sides.
Design Your Receipt Layout

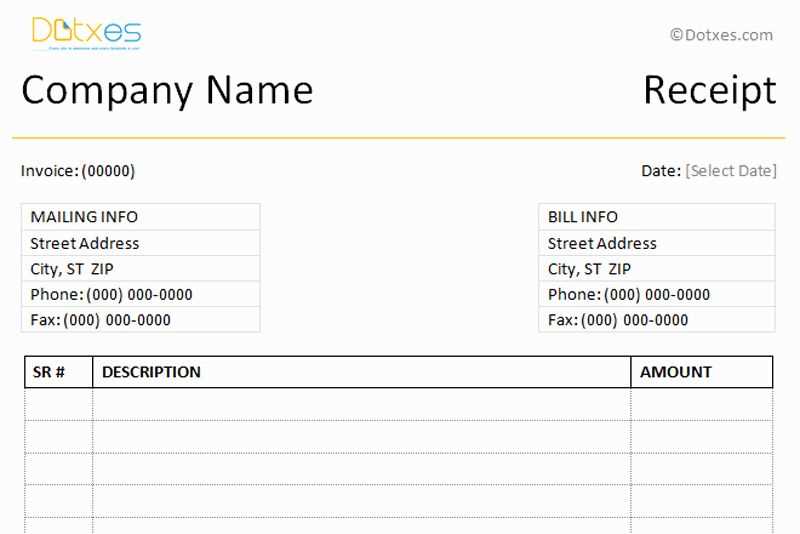
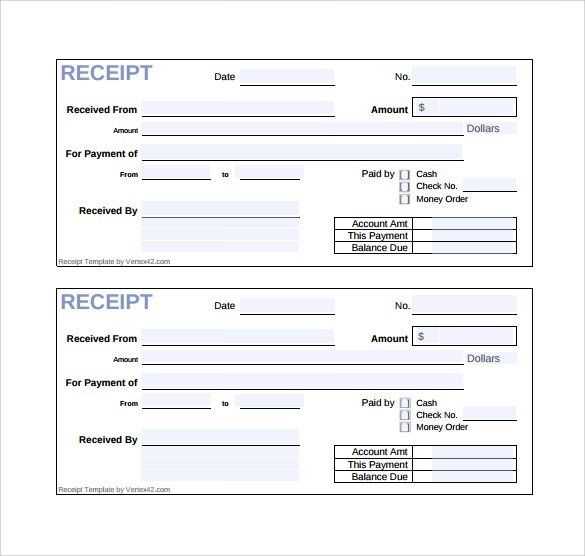
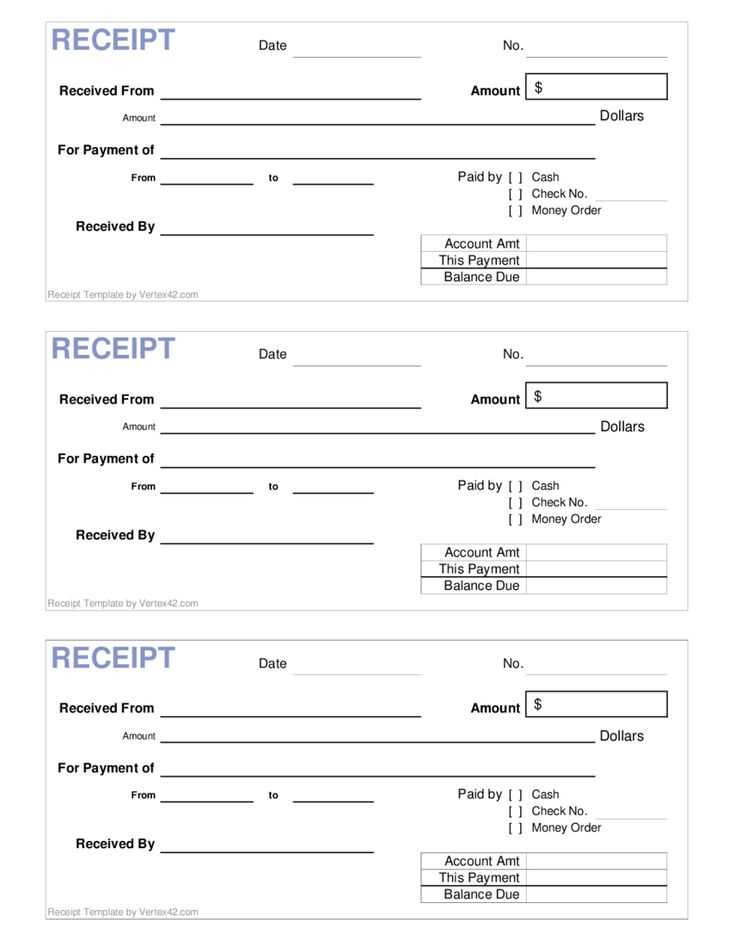
Use tables to organize your receipt sections. Start with a table for the header area where you’ll include your business name, address, contact information, and logo. Choose a simple layout with clear columns and rows. Keep it neat and avoid excessive details. For example, a 2×2 table is enough for the header to align contact details and business name properly.
Adding Receipt Information

- Date: Use a text box or a simple table to place the date field on the receipt. You can insert a date automatically by selecting “Insert” then “Date & Time” and choosing your preferred format.
- Item Description: Include a table with rows for item names, quantities, and prices. A 3-column table works well for this, and you can adjust column widths for neatness.
- Total: Add another table row to sum the total amount. This can be calculated manually or using a formula if necessary. If you choose to use a formula, go to the “Table Tools” menu and select “Formula” to add a simple sum calculation.
Formatting for Readability
Adjust the font to something clear and readable, such as Arial or Calibri, with a font size of 10-12 pt. Use bold for headers and totals to make them stand out. Keep the text alignment consistent, especially for numerical data like prices or totals, to ensure everything is well-organized.
If you’d like to add extra functionality, you can insert a footer with additional details like return policies or payment methods. Using a smaller font size (8-10 pt) for this section can help keep it unobtrusive.
Saving Your Template

Once you’ve finished designing the template, save it as a reusable template file. Click “File” then “Save As” and select “Word Template” from the save options. This allows you to easily access and modify the template for future receipts without needing to redesign the layout each time.
Customizing the Template Layout and Format
Adding Company Information and Logo to the Receipt
Adjusting Margins and Print Settings for Receipts
Saving and Exporting the Receipt in Various Formats
Start by adjusting the layout and format of your receipt template. Ensure that the key sections, like itemized charges, total amount, and taxes, are clearly visible. Arrange these sections with appropriate spacing to make the document easy to read. Use a simple, consistent font style for a professional look.
To add company information and logo, insert your company name, address, phone number, and email at the top of the receipt. Place the company logo near the header for a personalized touch. This ensures your receipts reflect your brand identity and provides important contact details for customers.
Next, adjust the margins to ensure the receipt fits within the printable area of your paper. Standard margins of 1 inch (2.54 cm) are usually a safe choice, but you can reduce them slightly if you need more space. Verify print settings to ensure the document will print properly without cutting off any content. Test the layout on actual paper to confirm that everything aligns correctly.
Finally, save and export the receipt in different formats like DOCX, PDF, or as an image file, depending on your needs. Saving it as a PDF ensures it looks the same across all devices. Exporting as an image can be useful for online transactions or sharing via email. Always double-check the formatting before saving to avoid any issues during printing or sharing.


