Use a Pre-Made Template

Microsoft Word includes built-in templates that simplify the process. Open Word, go to File > New, and search for “rent receipt.” If a suitable template appears, select it and customize the fields to match your needs.
Create a Custom Rent Receipt

Set Up the Document

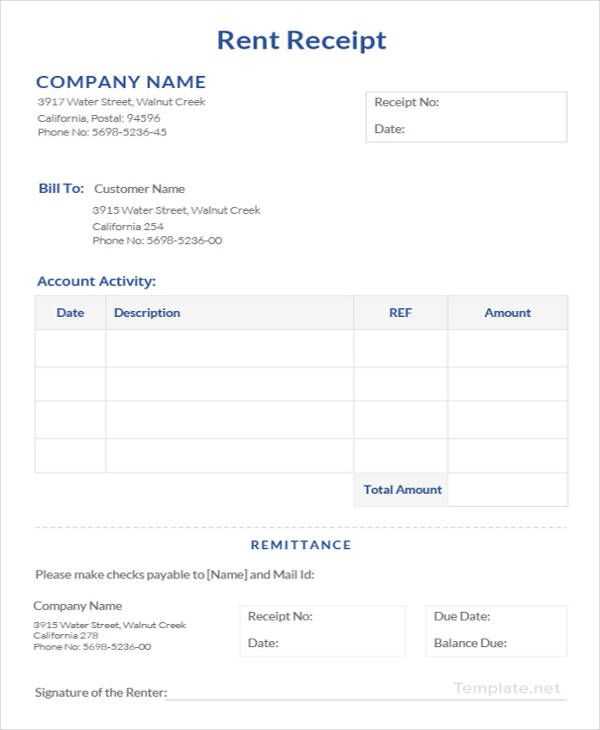
Open a new document and adjust the page layout. Use the Table tool to create a structured format, ensuring clarity.
Add Essential Details
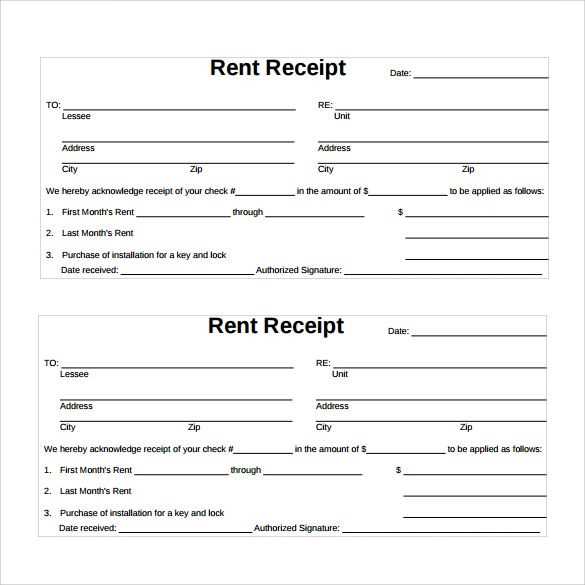
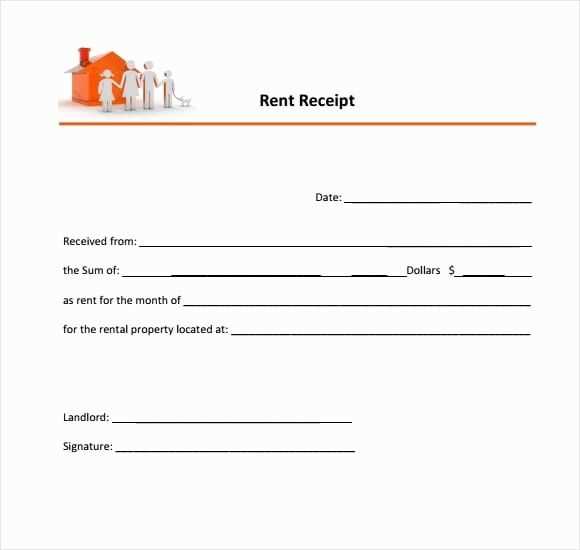
- Title: “Rent Receipt” at the top.
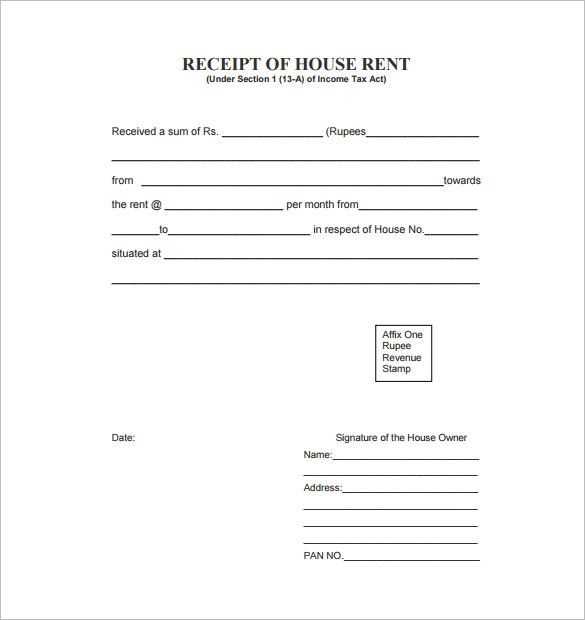
- Landlord Information: Name, address, and contact details.
- Tenant Information: Name and rental address.
- Payment Details: Amount, payment method, and date.
- Receipt Number: Unique identifier for record-keeping.
Format for Readability
Use bold text for key details, align sections properly, and ensure consistency in font size. Consider adding a signature line for both parties.
Save and Print
Once finalized, save the document as a .docx file for future edits. If printing, use high-quality paper for a professional look.
Make a Rent Receipt Template in Word
Choosing the Best Format for a Receipt
Key Details to Include in the Document
Using Microsoft Word for Design
Customizing Fonts, Colors, and Layout
Adding Tables and Sections for Clarity
Saving, Printing, and Sharing the Final Version
Use a structured table in Microsoft Word to create a clear and professional rent receipt. Open a new document, go to the “Insert” tab, and select “Table” to add a structured format for date, tenant information, rental amount, and payment method. Adjust column widths for readability and ensure key details fit within their respective fields.
Choose a simple, legible font like Arial or Calibri. Set font size between 11 and 12 points for clarity. Use bold formatting for important labels such as “Received From,” “Amount Paid,” and “Payment Date.” Align text properly to avoid misinterpretation.
Enhance visual clarity by using subtle color accents. Go to the “Design” tab under “Table Tools” and select a professional color scheme. Light gray or blue shades work well for headers, making sections distinct without overwhelming the document.
For easy customization, use placeholders such as “[Tenant Name]” and “[Payment Date]” so that each receipt can be quickly modified. Save the document as a template by selecting “Save As” and choosing “Word Template (*.dotx)” to reuse the layout without altering the original file.
Print on standard letter-sized paper with adequate spacing for signatures. If sharing digitally, export as a PDF to ensure formatting remains intact. Attach the receipt via email or store a copy in cloud storage for quick access.


