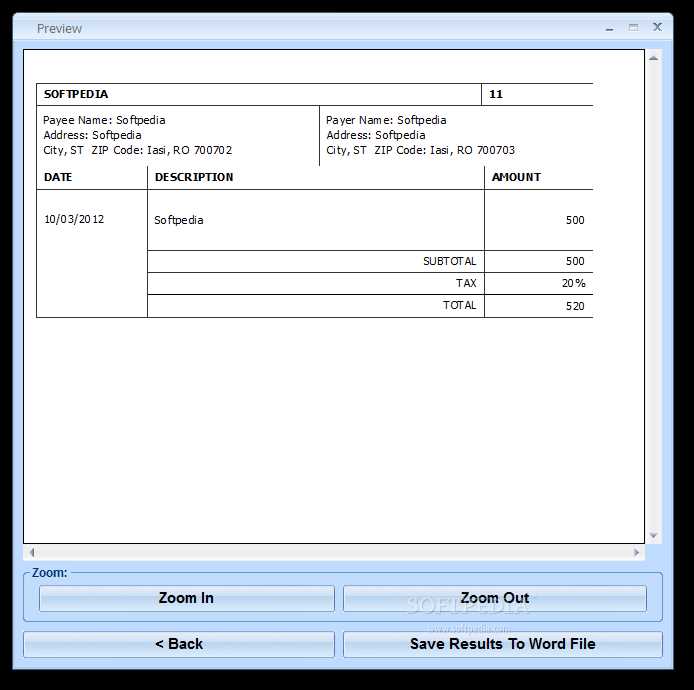
Creating a Simple Tax Receipt
For a quick solution, use a ready-made Microsoft Word template to generate tax receipts. Open Word, select “New” from the File menu, and search for “Tax Receipt” under templates. Pick a template that suits your needs. The basic elements are already filled in, but make sure to customize the details such as the payer’s name, amount, and date to match the transaction.
Key Sections of a Tax Receipt Template
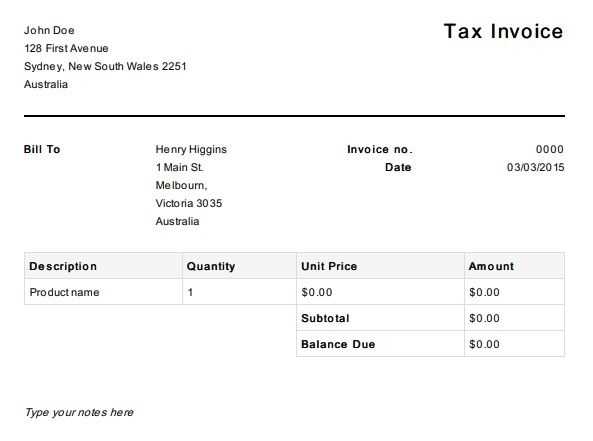
- Receipt Number: Assign a unique reference number for tracking purposes.
- Date: Include the exact date of the transaction.
- Payer’s Information: Name, address, and contact details of the person or business making the payment.
- Payment Details: Specify the payment method and any relevant reference numbers.
- Description of Service/Product: Briefly describe what the payment was for.
- Amount: Clearly list the amount paid, along with applicable taxes if necessary.
Personalizing the Template
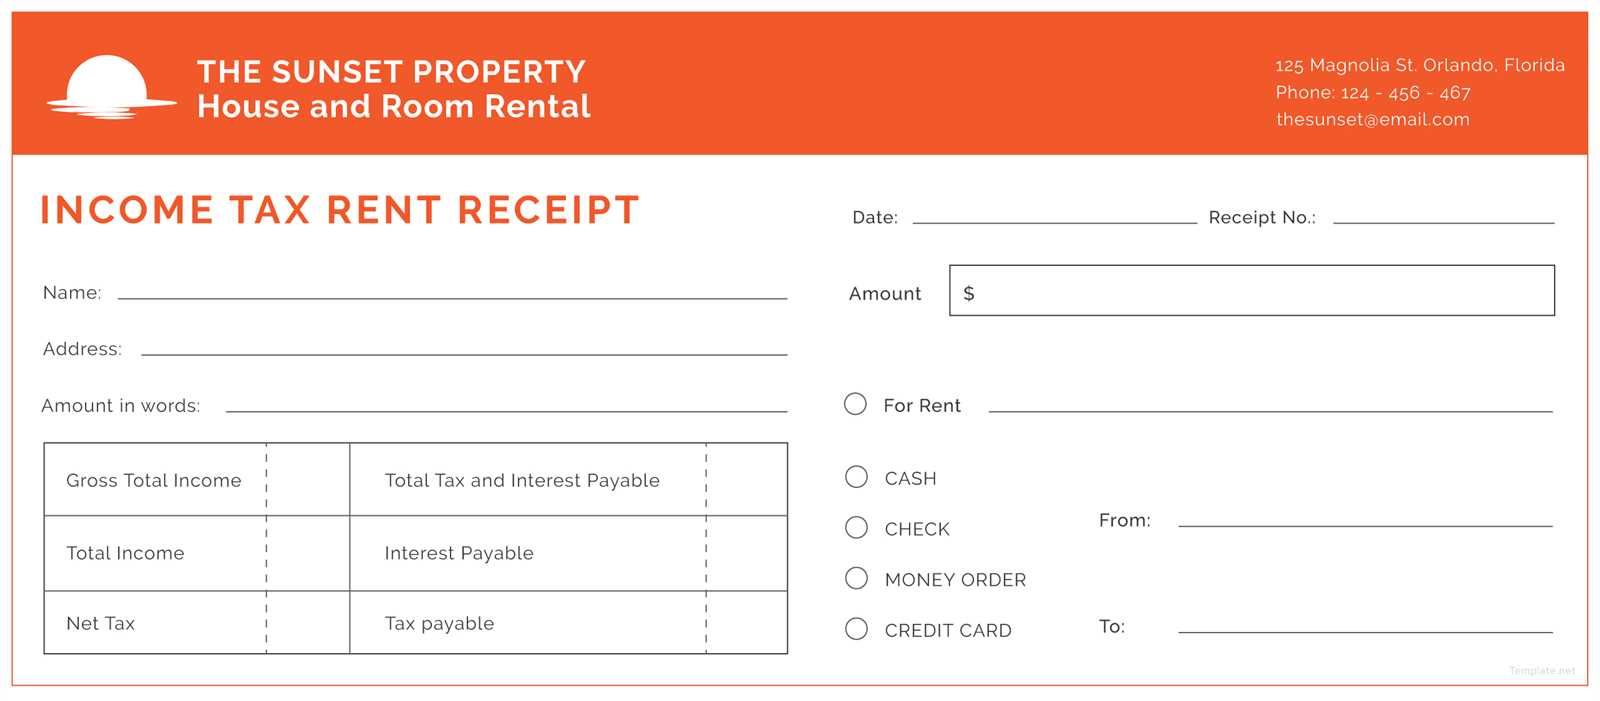
Customize fonts and colors for your receipt, but ensure that it remains professional and easy to read. Make sure your logo or business name is visible. Avoid clutter, and focus on presenting key details clearly. Adjust margins and line spacing if needed to make everything fit well on one page.
Printing and Saving the Receipt
Once the template is filled out, print the receipt or save it as a PDF. Word allows you to save your file in different formats, so you can also send it digitally to your clients. Ensure your file is named appropriately for easy reference and keep a copy for your records.
Microsoft Word Tax Receipt Template
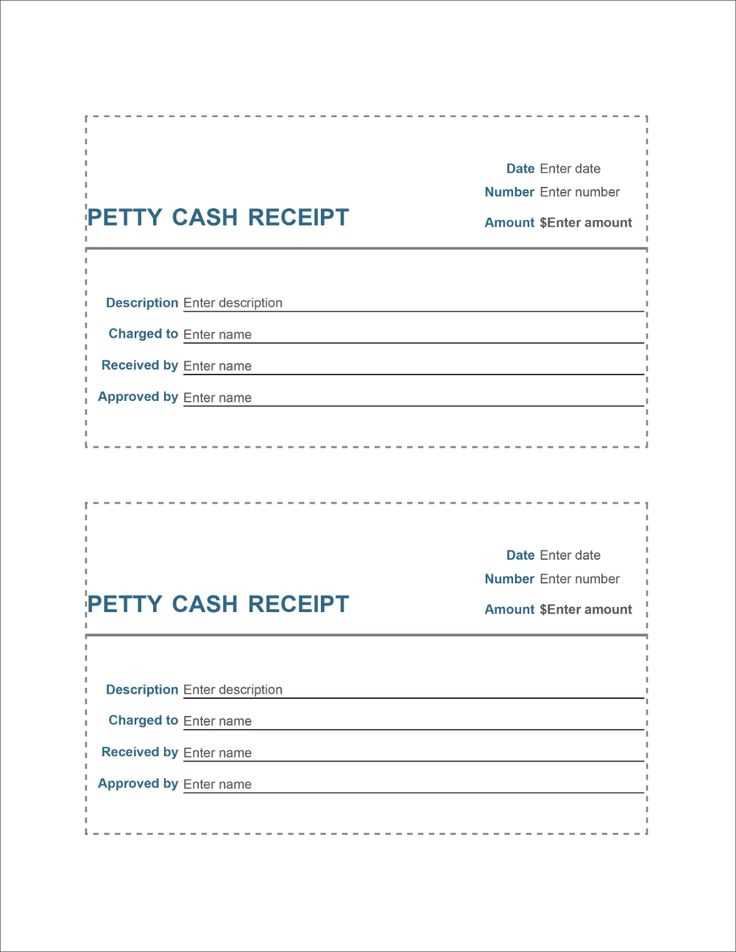
How to Create a Tax Invoice Form in Word
Begin by opening Microsoft Word and selecting a blank document. Go to the “Insert” tab and click on “Table” to create rows and columns for the invoice details, such as the date, receipt number, payer’s name, and amount paid. Add additional rows for a detailed breakdown of the transaction. Include spaces for the tax rate and total amount, ensuring clear distinctions between the items. Customize font styles and sizes to make important information stand out.
Customizing a Donation Receipt Format for Your Needs
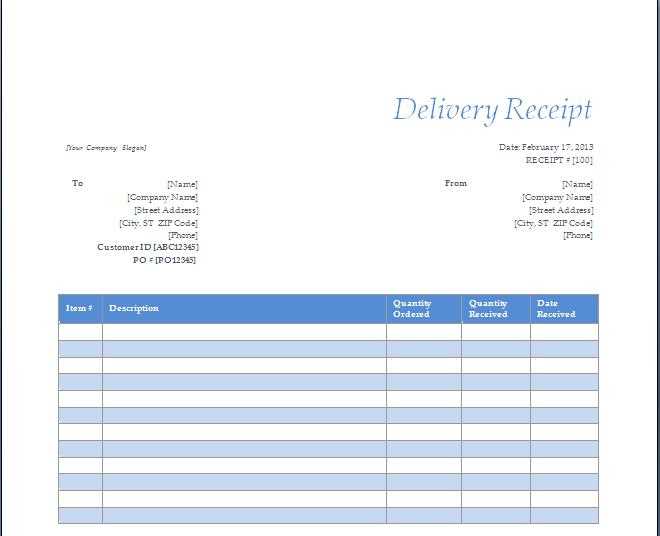
To modify a standard tax receipt into a donation receipt, adjust the template to include fields like the donor’s name, donation amount, and tax-exempt status. Remove any product-specific fields and replace them with a thank-you note. You can also add a nonprofit organization’s logo for a professional touch. Ensure that all necessary legal disclaimers related to charitable donations are included and are easy to read.
For a more personalized touch, you can change the receipt layout or color scheme to align with your branding or organizational style. Using Word’s “Design” tab, experiment with different themes and formatting options to tailor the document’s appearance.
Saving and Printing Financial Receipts in Word
Once your tax receipt or donation form is ready, save the document by selecting “File” and then “Save As.” Choose a file location and select either a .docx or .pdf format for easy sharing and printing. To print the receipt, click “File,” then “Print,” and ensure the document is set to print on the correct paper size. If you need multiple copies, adjust the printer settings to print multiple pages at once.


