Choosing the Right Template

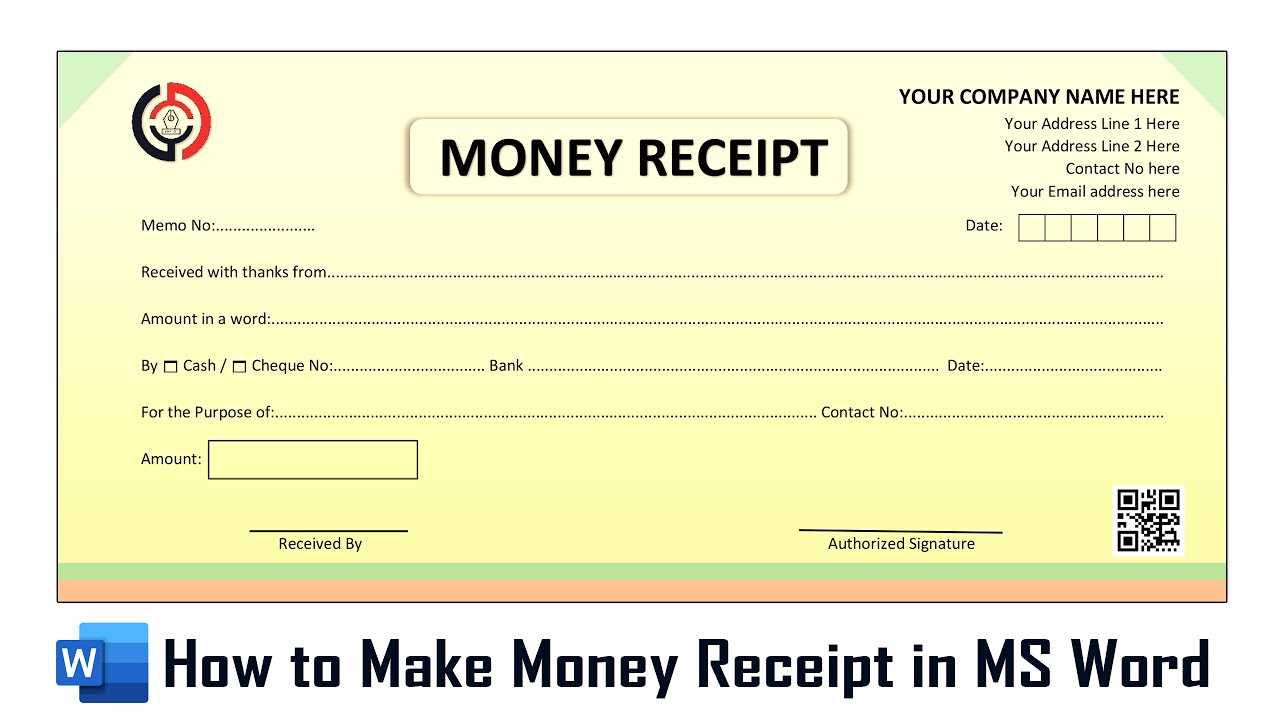
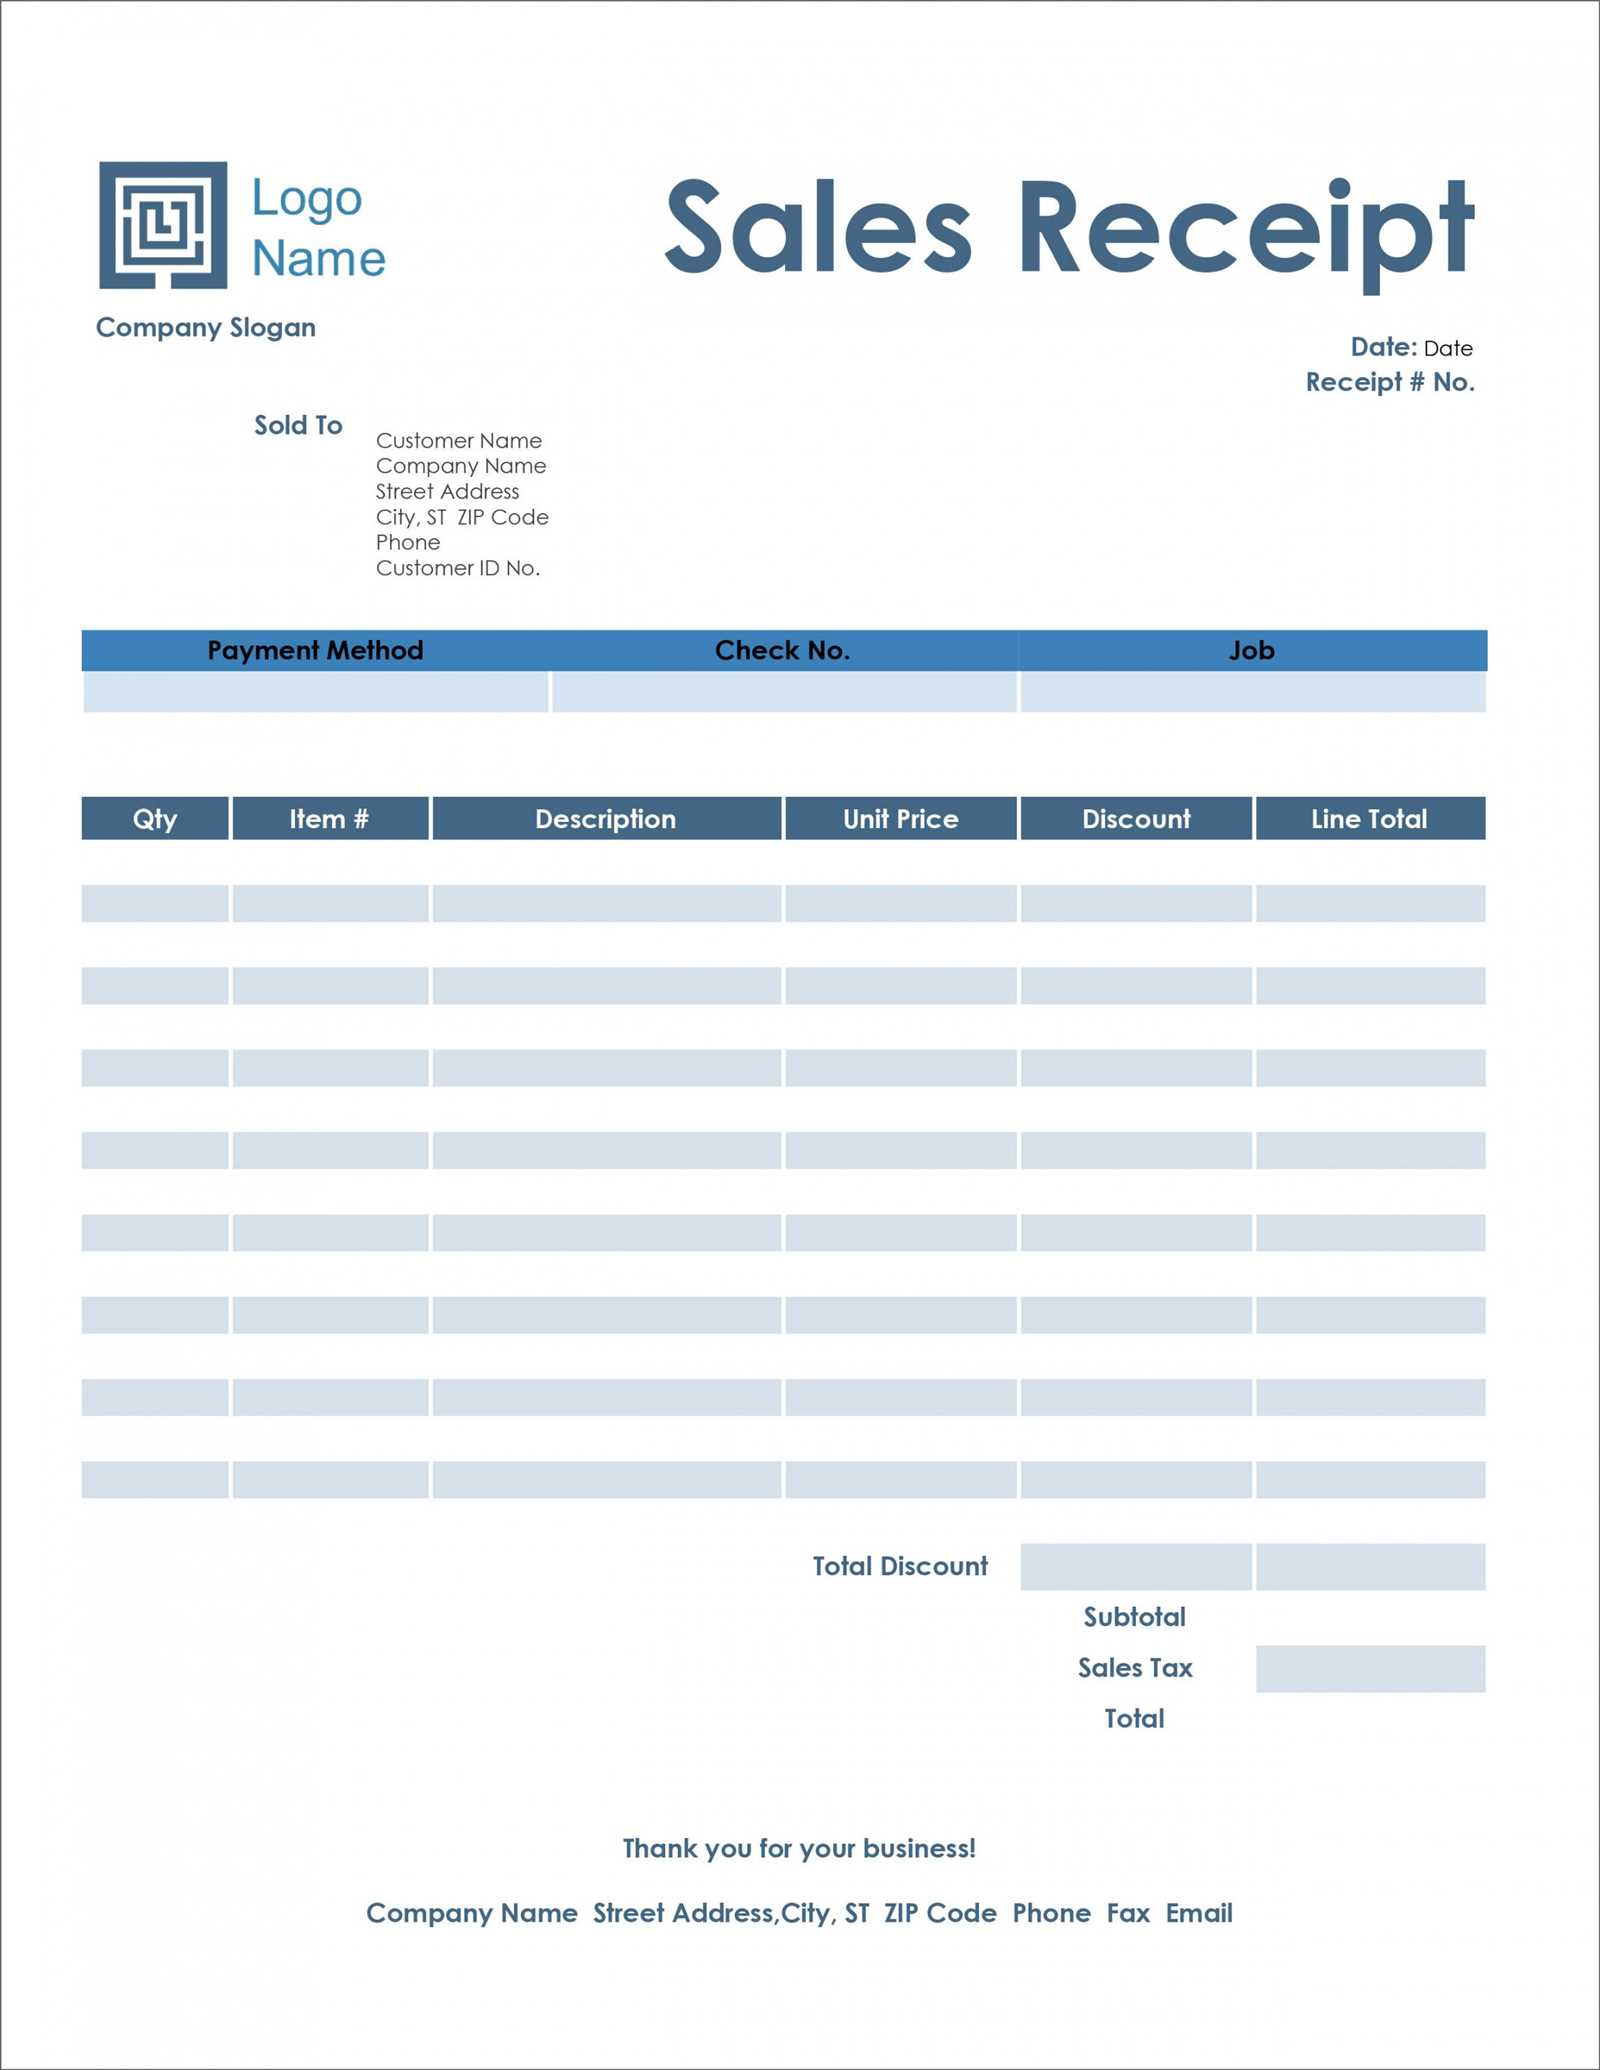
Start with selecting a simple, clear template that matches your needs. A receipt should clearly display key information: date, item details, total amount, and payment method. You can find templates directly in Microsoft Word under the “Receipts” category, or use third-party sources offering customizable designs.
Customizing Your Template

Once you select a template, focus on personalizing it. Adjust the logo, business name, and contact details for a professional touch. Pay attention to the layout; make sure there’s enough space for each detail, especially the itemized list and prices.
Formatting Tips
- Font Choice: Use legible fonts like Arial or Calibri for easy readability.
- Alignment: Align text properly to maintain consistency. Price information should be right-aligned for neatness.
- Spacing: Ensure proper spacing between sections for a clean look. Avoid overcrowding the template with excessive text.
Adding Payment Information
It’s essential to clearly list the payment method used. Whether it’s cash, card, or online payment, make sure to specify the transaction ID or reference number. This helps in tracking payments and resolving any disputes.
Saving and Sharing
After editing, save the receipt as a template for future use. Word allows saving documents in formats like .docx or PDF. PDF is ideal for sharing since it preserves formatting. Use email or cloud storage to share receipts easily.
Ms Word Receipt Templates
Choosing the Right Template for Your Business
Customizing Templates to Reflect Your Brand Identity
Incorporating Legal and Tax Details into Receipt Templates
How to Add Itemized Lists and Prices to Your Receipt
Ensuring Security and Protection of Data in Digital Receipts
Printing and Distributing Receipts: Recommended Practices
Choose a receipt template that fits the transaction type and business needs. Ensure that it is clean, clear, and includes all the necessary fields, such as date, items, and prices. MS Word offers various formats that are customizable for small businesses, service providers, or retail companies.
Customizing Templates to Reflect Your Brand Identity
Adapt the template by adding your logo, using brand colors, and adjusting the font to match your company’s visual identity. A personalized receipt reinforces brand recognition and ensures that every customer interaction reflects your business values.
Incorporating Legal and Tax Details into Receipt Templates
Include required tax information such as VAT rates or tax-exempt status, depending on your region. Additionally, consider adding a statement of terms and conditions or return policy to comply with legal requirements. MS Word allows easy adjustments to accommodate specific tax laws in various countries.
For itemized receipts, use tables to clearly list individual items, quantities, and prices. This helps customers understand the breakdown of their purchase and provides transparency in your transactions. Ensure that each item has a corresponding price and totals are calculated accurately.
For digital receipts, protect sensitive information by using password encryption or secure platforms to distribute receipts. MS Word provides options to save and share receipts securely, reducing the risk of unauthorized access.
When printing receipts, ensure they are clear and legible. Use quality paper and appropriate print settings to ensure the text is sharp. For distribution, consider offering both digital and physical copies to cater to customer preferences.


