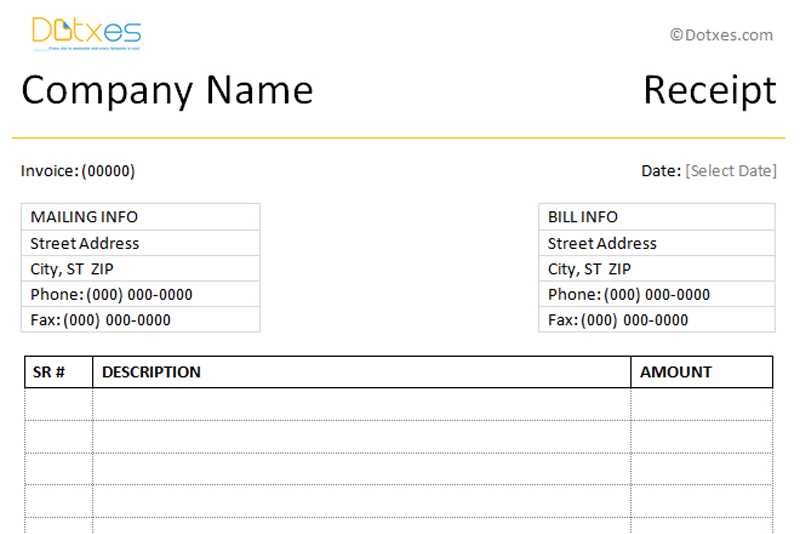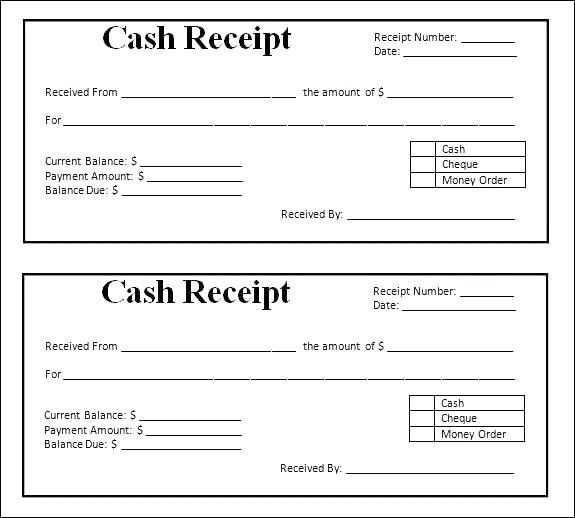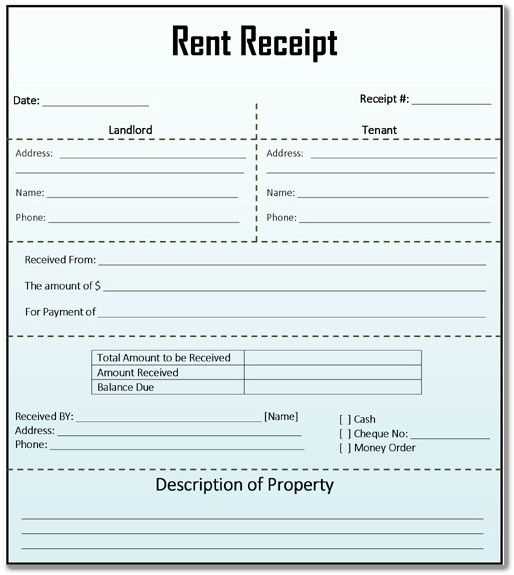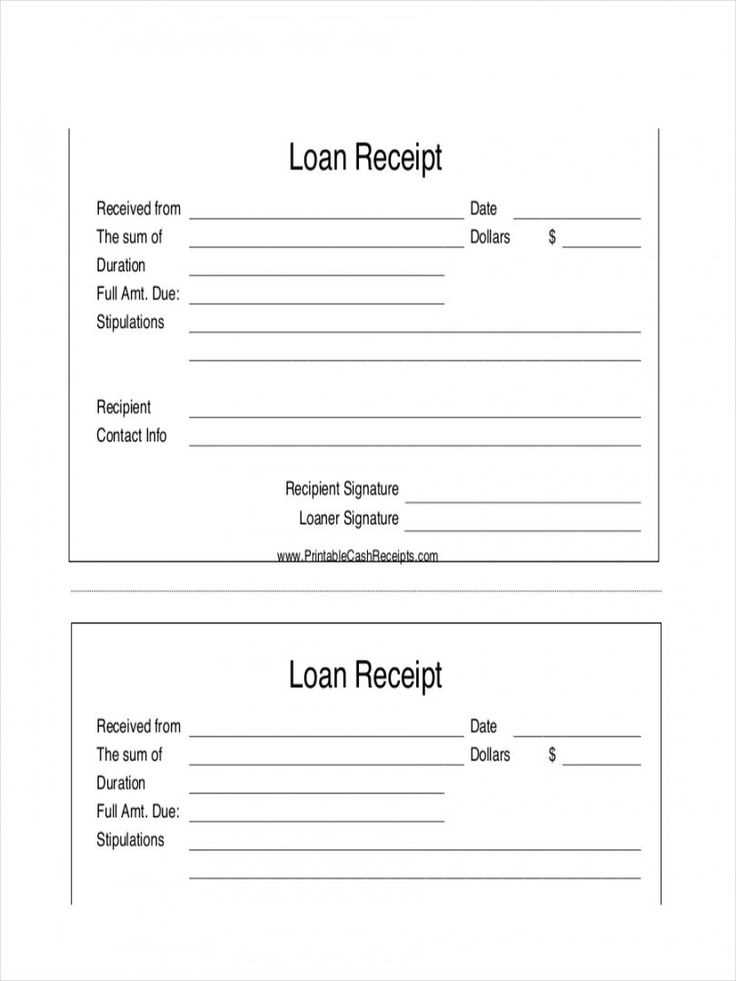
If you need a simple and clear way to document payments, a payment receipt template for Word can be a great solution. The template provides a ready-to-use structure for recording payment details, such as the amount, payer, payee, and the date of the transaction. Using a template ensures that you don’t miss any important details while maintaining a professional appearance in all your payment records.
Customizable and Easy to Use: The beauty of a Word document template lies in its flexibility. You can easily modify it to suit your specific needs, whether you are running a business or handling personal transactions. Adjust the layout, add extra fields, or change the style to fit your branding or preferences.
Key Sections to Include: Typically, a payment receipt template will have fields for the payer’s name, payment amount, payment method (e.g., cash, credit, or check), the service or product provided, and the signature of the payee. Including all of these elements ensures that both parties are clear on the transaction terms.
Convenience at Your Fingertips: With a payment receipt template for Word, you can quickly generate receipts whenever necessary. This eliminates the hassle of creating receipts from scratch or worrying about missing any important information. Simply fill in the blanks, save the document, and send it to the recipient. It’s that simple!
Customizing a Payment Receipt Template in Microsoft Word
Open your payment receipt template in Microsoft Word. Start by updating the header with your business name, logo, and contact details. This allows the recipient to immediately identify the source of the payment receipt.
Adjust the date and payment amount fields to match the transaction. Replace any placeholder text with specific details, such as the payment method and invoice number. This ensures accuracy and clarity in the document.
Editing the Payment Details Section
Modify the payment breakdown section to reflect the exact services or products provided. Add item descriptions, quantities, and rates to ensure the information is precise. If necessary, you can include taxes, discounts, or additional fees by adding new rows to the table.
Customizing the Footer
Update the footer with your return policy, terms and conditions, or a simple thank-you note. Adjust the font size to make sure the text is readable, but not overpowering. This small detail can enhance the professionalism of your receipt.
Adding Payment Details and Formatting for Clarity

Specify the exact amount paid, including the currency, directly below the recipient’s name or payment section. Use a bold font for this figure to ensure it stands out. Make sure to list both the payment method (e.g., credit card, PayPal, cash) and the relevant transaction details (like the transaction ID or reference number). Place this information in a separate line or box for clarity.
Formatting for Easy Reading
Align payment details neatly in a table format or separate sections. Create clear headings for each category: “Amount Paid,” “Payment Method,” and “Transaction ID.” Use bullet points or dividers to distinguish each section. Ensure that fonts are large enough to be easily legible, and avoid cluttering the document with excessive text.
Adding Additional Information

If there are any discounts or taxes applied, list them clearly before the final total. Make these amounts smaller in size than the total amount paid but large enough to be easily noticed. Keep the overall layout clean, avoiding unnecessary text or visual noise that could distract from key payment details.
Saving and Distributing Payment Receipts Efficiently

Store payment receipts in an organized folder structure with clearly labeled subfolders for easy retrieval. Create separate folders by date, vendor, or transaction type to avoid clutter. This method allows you to locate receipts quickly when needed for reference or financial audits.
Use cloud storage platforms like Google Drive, Dropbox, or OneDrive for automatic backups and access from any device. These platforms also support sharing links, making it simple to distribute receipts via email or messaging apps. Ensure that the file names are descriptive and include key details like transaction date and payment amount to make searching easier.
For physical receipts, consider scanning them using a mobile app or dedicated scanner. Store the scanned copies in the same cloud folder system, ensuring they are easy to locate. This also protects against the loss or damage of paper copies.
For distribution, utilize email templates or batch forwarding options to send multiple receipts at once. This saves time compared to sending individual messages. Ensure that each recipient gets the relevant receipt without delay.
If you frequently handle payments, integrate an automated system to generate and distribute receipts. This reduces manual effort and ensures consistency in the process. Many accounting or invoicing software options include this feature.


