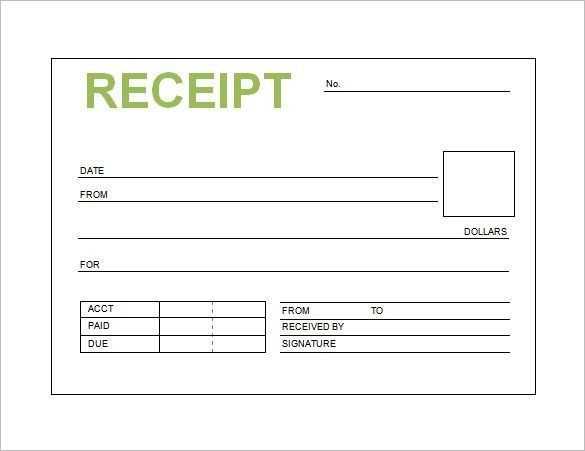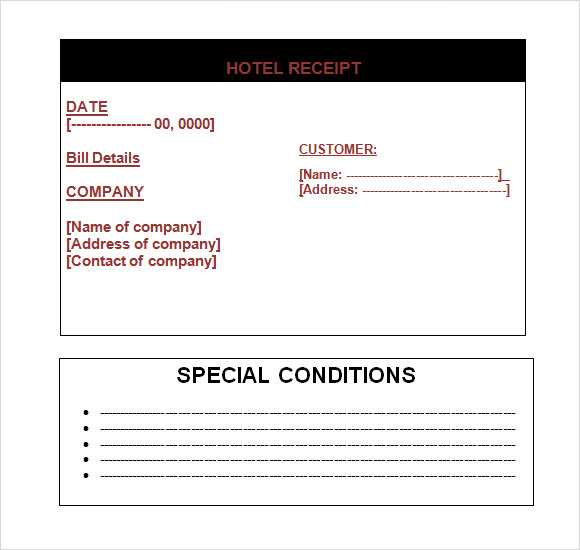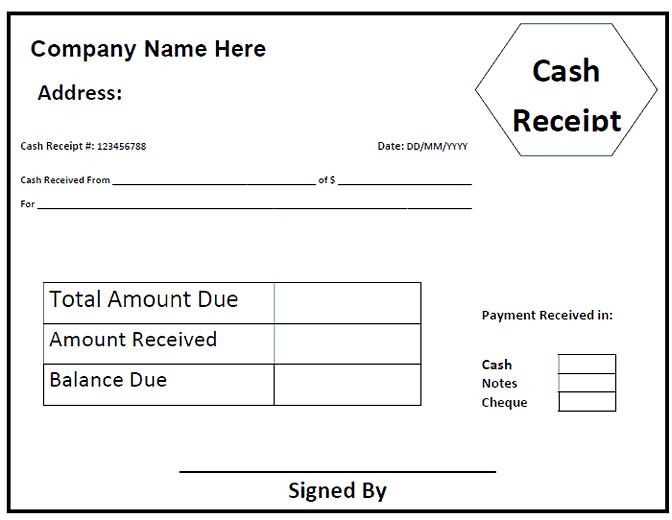
Ready-to-Use Format for Quick Customization
Create a professional receipt in Microsoft Word by using a structured template. Open Word, navigate to File > New, and search for “receipt template.” Choose one that fits your needs, then customize it with your business details, service description, and payment information.
If no suitable template appears, design one manually. Insert a table with columns for service description, rate, quantity, and total. Add your business name, contact details, and a clear payment confirmation section.
Key Elements to Include
Business and Client Details
- Your business name, address, phone number, and email.
- Client’s name and contact information.
- Receipt number and issue date for tracking.
Service Breakdown

- Detailed description of the service provided.
- Quantity, hourly rate, or fixed price.
- Subtotal, taxes (if applicable), and final amount.
Payment Confirmation

- Payment method (cash, card, bank transfer).
- Transaction ID or reference number.
- Signature or business stamp if required.
Once completed, save the document as a PDF for secure sharing and printing. This ensures clarity and prevents unauthorized edits.
Receipt for Services Template in Microsoft Word
Selecting the Best Layout for Your Document
Personalizing a Template in the Software
Entering Business and Client Details
Specifying Payment Information and Conditions
Storing and Printing the Final Version
Exporting to PDF for Easy Sharing
Choose a structured layout that clearly separates key details. A well-organized template enhances readability and ensures all necessary information is easy to locate. Use tables or well-spaced sections to distinguish business details, client information, and payment terms.
Customizing the Template
Modify fonts, colors, and spacing to align with your brand. Replace placeholder text with actual company details and adjust column widths for better formatting. Word’s built-in tools allow for quick adjustments to ensure consistency across all documents.
Adding Payment Details
Clearly specify payment methods, due dates, and any late fees. Use bold text for amount due and highlight deadlines to avoid misunderstandings. Including an itemized breakdown adds transparency and reinforces professionalism.
After finalizing, save the document in both Word and PDF formats. The PDF version prevents unauthorized edits and ensures compatibility across devices. Use the “Save As” function or the built-in “Export” feature for a seamless conversion.


