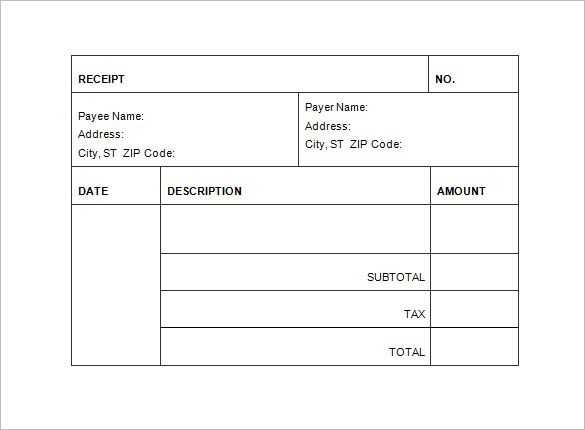
Skip the hassle of designing an invoice from scratch–Microsoft Word offers ready-to-use templates that streamline the process. Open Word, go to File > New, and type “invoice” in the search bar. Select a template that suits your needs, customize the details, and your document is ready to use.
Modify the template by adding your company logo, adjusting fonts, and including necessary fields such as invoice number, due date, and payment terms. To ensure clarity, structure the layout with distinct sections for services, costs, and taxes.
Save your invoice as a Word document for future edits or convert it to PDF for secure sharing. If multiple invoices are required, consider saving a master template to streamline future use. This approach minimizes repetitive tasks while maintaining consistency.
Receipt Invoice Template in Word
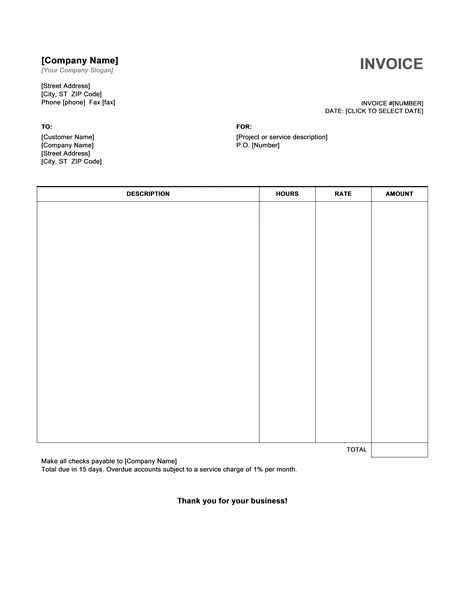
Use Microsoft Word’s built-in templates to create a receipt invoice quickly. Open Word, go to “File” > “New,” and search for “invoice” in the template search bar. Choose a design that suits your needs, then customize the details.
- Edit Business Details: Replace placeholder text with your company name, address, and contact information.
- Insert Invoice Number: Use a sequential numbering system to track payments easily.
- Add Payment Terms: Specify due dates, accepted payment methods, and late fee policies.
- Include Itemized Charges: List products or services, along with quantities, unit prices, and total amounts.
- Apply Taxes and Discounts: Use Word’s table functions to calculate applicable taxes and apply discounts.
- Sign and Save: Insert a digital signature or print the document for physical signing.
Save the file as a Word document for future edits or export it as a PDF for distribution. Automate future invoices by keeping a template copy with placeholders for quick modifications.
Choosing the Right Layout for Your Receipt Invoice
Aligning key details logically ensures clarity and quick reference. Place the business name and contact information at the top, followed by the recipient’s details. A structured format helps avoid confusion, especially in transactions requiring formal documentation.
Prioritizing Readability
Use distinct sections for itemized charges, taxes, and totals. A table layout with clearly labeled columns enhances organization, making it easier to verify amounts. Keep font sizes readable and avoid excessive styling that might obscure details.
Optimizing Space and Content
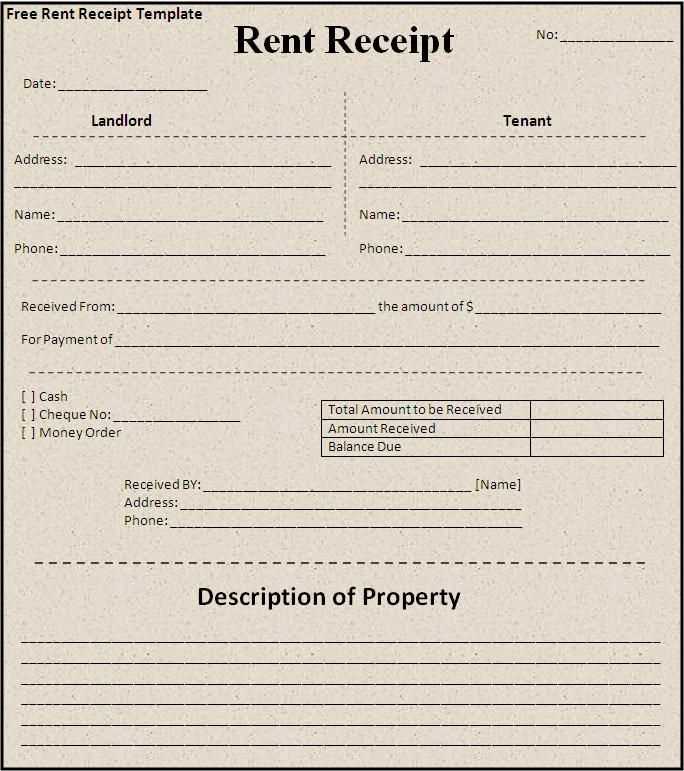
Balance information density with white space to maintain a clean look. Include payment methods, reference numbers, and applicable terms without overcrowding the page. Digital templates benefit from a structured hierarchy that adapts well to different formats, whether printed or sent electronically.
Customizing Fonts, Colors, and Logos in Word
Adjust text styles quickly using the Home tab. Select the text, then choose a font from the dropdown list or modify size and spacing. For consistent styling, use the Styles panel to save custom presets.
Refining Colors for a Polished Look
- Modify text color under the Font section.
- Adjust background shades using Design > Page Color.
- Create a custom palette via Design > Colors > Customize Colors.
Integrating Logos Seamlessly
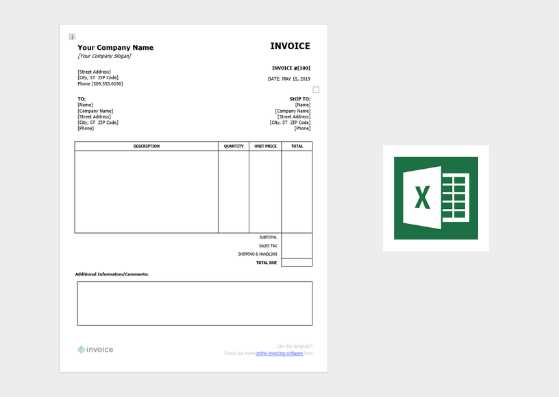
- Go to Insert > Pictures and select the file.
- Resize and position it using the Picture Format tab.
- Set it behind text with Wrap Text > Behind Text if needed.
Save the document as a template to reuse the customized format without manual adjustments each time.
Adding Automatic Date and Numbering Fields
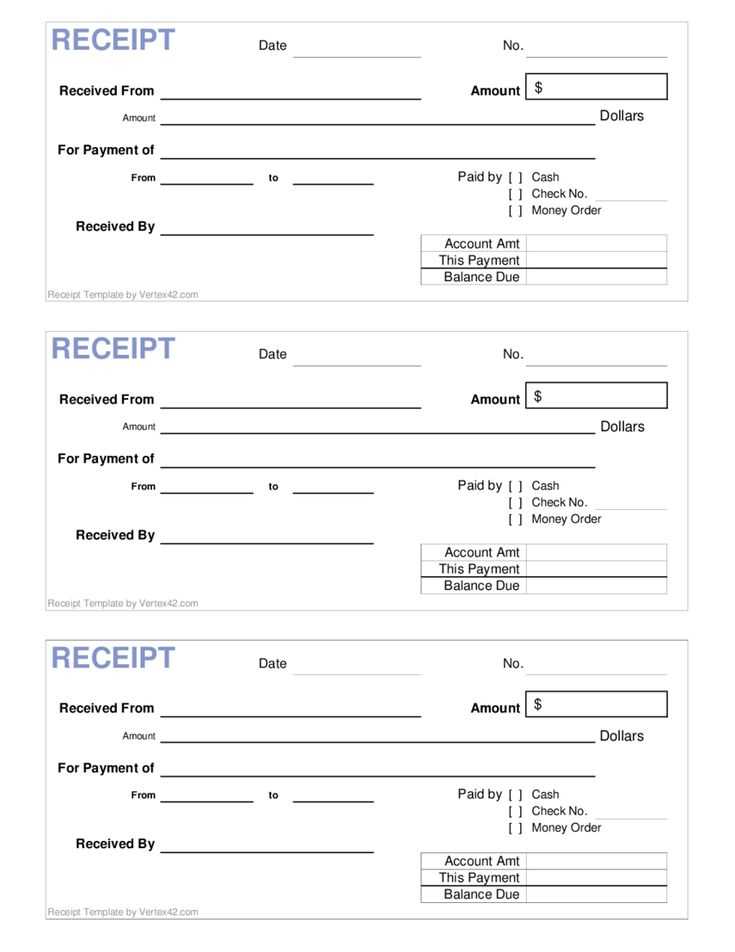
Use Microsoft Word’s built-in fields to insert a dynamic date and sequential numbering in your receipt invoice template. This ensures accuracy and eliminates manual entry errors.
| Feature | Method |
|---|---|
| Auto-updating Date | Place the cursor in the desired location, press Ctrl + F9, and type DATE between the braces. Press F9 to update. |
| Sequential Invoice Number | Use the SEQ field by pressing Ctrl + F9 and entering SEQ InvoiceNum. Update it with F9 to increment. |
To retain the latest number after closing the document, link it to an external source like an Excel file or a macro. For automation without external tools, save a template with a predefined sequence and update the number manually before saving a new copy.
Structuring Tax and Payment Details Clearly
Break down tax calculations visibly. Instead of a single amount, list each tax type separately, such as VAT, sales tax, or service charges. This ensures clarity and prevents disputes.
Specify payment terms concisely. Indicate the due date, accepted methods, and any applicable late fees. A clear timeframe avoids confusion and encourages timely transactions.
Include a subtotal before tax. This allows recipients to verify calculations easily. Display the total amount separately to highlight the final payable sum.
Use consistent currency formatting. Align symbols, decimal points, and thousands separators to match local conventions. Misalignment can lead to errors in processing.
Provide a payment reference field. This helps track transactions efficiently, especially for bank transfers or digital payments.
Clear structuring not only enhances transparency but also reduces follow-up queries, making the invoice more user-friendly.
Embedding Digital Signatures for Authentication
Use built-in tools in Word to insert a digital signature directly into the template. Open the document, click “Insert”, then select “Text” and choose “Add a Signature Line”. This enables recipients to sign electronically without modifying the file structure.
Ensuring Legality and Security
To maintain authenticity, apply a certificate-based signature. Go to “File” > “Info” > “Protect Document”, then choose “Add a Digital Signature”. A certified signature prevents tampering and verifies the signer’s identity.
Using Cloud Integration
For remote validation, integrate cloud-based signing services. Platforms like Adobe Sign or DocuSign allow secure authentication while keeping the document editable until finalized. Upload the template, assign signers, and track completion in real time.
Saving and Sharing the Document in Multiple Formats
When saving your receipt invoice template, choose the format that best suits your needs. For universal compatibility, save the document in .docx format, which preserves all content and formatting. If you require a static version that’s easy to share across platforms, export the document as a PDF. PDFs ensure that the layout stays intact regardless of the device or software used to open it.
Saving the Document
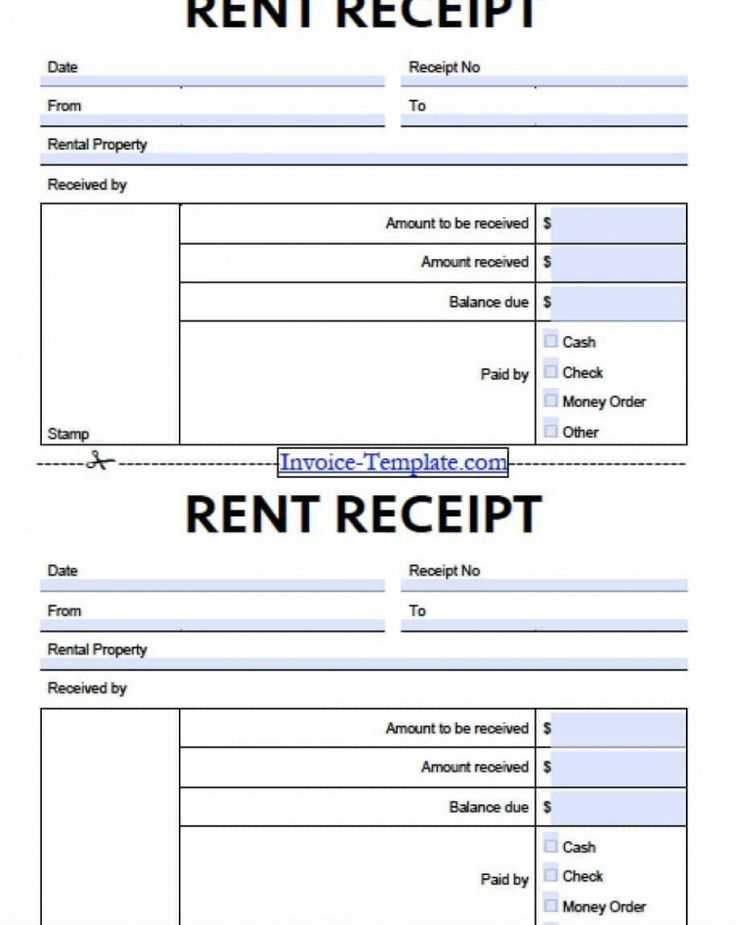
To save the file in Word, simply click “File” > “Save As” and select the desired format. For PDF, choose “PDF” from the dropdown menu under “Save as type”. You can also adjust PDF settings to optimize the file size or include additional security features like password protection.
Sharing the Document
For easy sharing, use email or cloud storage services. Upload the document to platforms like Google Drive or Dropbox, and share the link with others. If sending via email, attach the document in the chosen format and ensure that recipients can access it without issues, especially if sending a PDF to those who might not have Word installed.


