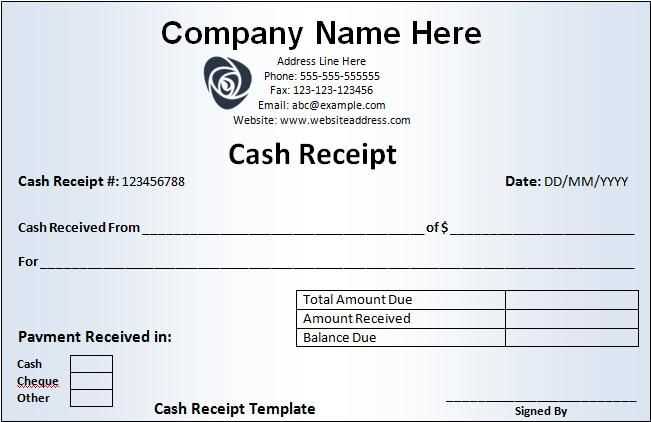
To create a receipt of payment, start by opening Microsoft Word and selecting a blank document. Using a template can save time and ensure you include all necessary details. Here’s a guide to help you create your own.
Key Elements to Include
A well-structured receipt of payment should contain specific information to avoid confusion later. The following elements are crucial:
- Title – Clearly label the document as a “Receipt of Payment” at the top.
- Date – Include the date of the transaction.
- Payee Information – Mention the name or business receiving the payment.
- Payer Information – Include the name of the person or organization making the payment.
- Amount – Specify the exact amount paid, including currency.
- Payment Method – Indicate the method used, such as cash, cheque, or bank transfer.
- Invoice or Reference Number – If applicable, provide any reference number or invoice linked to the payment.
- Signature – For official receipts, include a signature section for verification.
Step-by-Step Instructions for Creating the Template
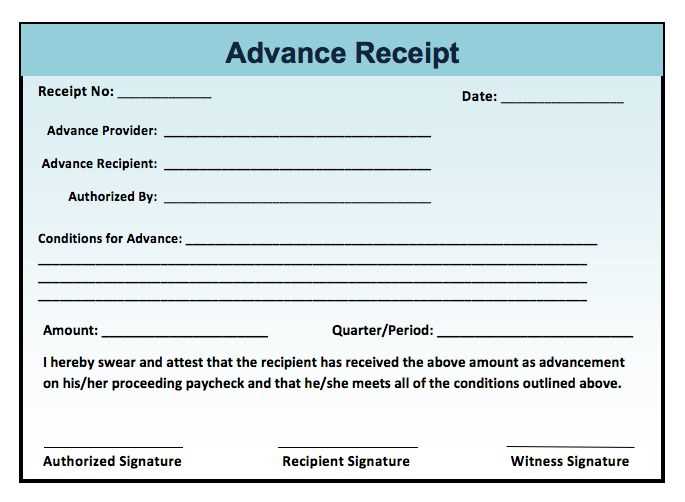
Follow these steps to create your own payment receipt template in Word:
- Open Microsoft Word and select “New Blank Document”.
- Insert a title at the top of the page. Use large, bold text for “Receipt of Payment”.
- Use a table to organize the key details. You can insert a simple 2-column table for easy formatting.
- In the left column, list the sections mentioned above: Date, Payee, Payer, Amount, Payment Method, etc. In the right column, leave spaces where this information can be filled in.
- Once you’ve added the sections, format them neatly. Align text, adjust table borders, and make sure there’s enough space for each entry.
- Save the document as a template. Choose “Save As” and select “Word Template” to make it easy to reuse for future payments.
Using the Template
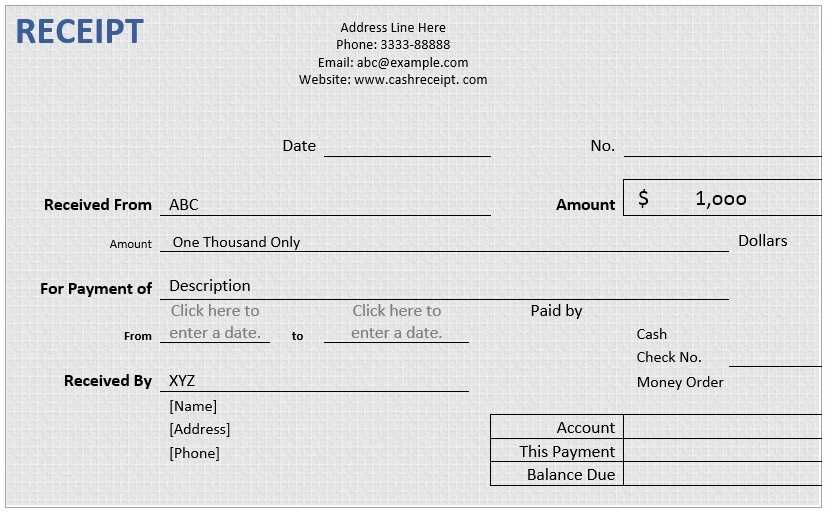
When it’s time to use the template, open the saved file, enter the specific transaction details, and save or print the completed receipt. If you need to issue multiple receipts, simply adjust the date, payee, and other transaction-specific details.
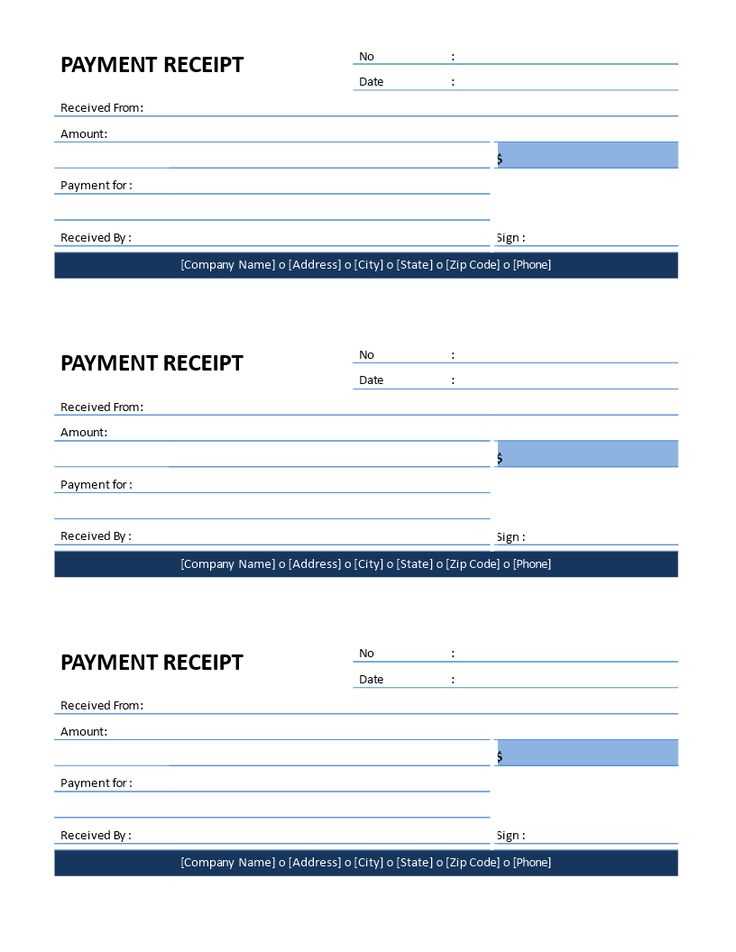
Receipt of Payment Template in Word
Selecting the Right Template for Your Business
Including Essential Details in the Template
Tailoring the Template for Branding
Editing and Saving Templates in Microsoft Word
Adding Legal Information and Terms
Printing and Distributing the Receipt
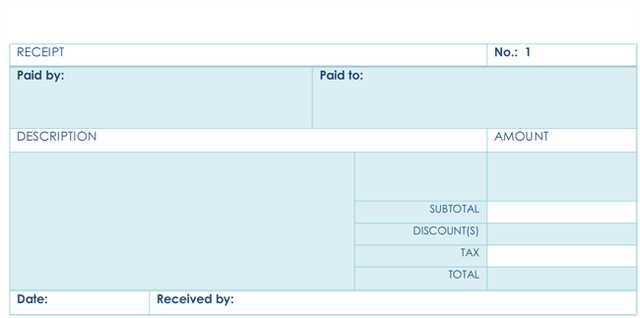
Choose a template that fits the style and needs of your business. Microsoft Word offers various options, ranging from simple to detailed designs. Look for a template that accommodates your specific transaction details, such as customer information, payment method, and items purchased. This ensures you provide clear and professional documentation.
Selecting the Right Template for Your Business
Pick a design that aligns with your brand’s identity. A clean, well-organized template works best, especially for businesses that deal with frequent transactions. It should allow easy customization, such as fields for payment amounts, tax breakdown, and service descriptions.
Including Essential Details in the Template
Ensure your template has placeholders for the transaction date, payment amount, customer information, payment method, and a description of the goods or services provided. Include a receipt number to keep track of each payment. This helps avoid confusion for both you and your customers.
Customizing the template with your business logo and contact details strengthens your branding. It’s also a way to make the receipt feel personalized and professional. Adjust fonts and colors to match your business’s visual identity while keeping readability a priority.
Editing and Saving Templates in Microsoft Word
After selecting your template, make necessary edits to ensure all fields are tailored to your business. Save the updated version as a template file in Word to reuse for future receipts. This saves time and maintains consistency across transactions.
Adding Legal Information and Terms
Incorporate relevant legal terms, such as refund policies, payment terms, or disclaimers. This ensures clarity for your customers and protects your business in case of disputes. Place legal text in a footer or a separate section at the bottom of the receipt.
Printing and Distributing the Receipt
Once the template is ready, print receipts in a format suitable for your customers–either on paper or via email. If you’re using email, save the document as a PDF before sending to maintain formatting. Always ensure you keep a digital or physical copy for your records.


