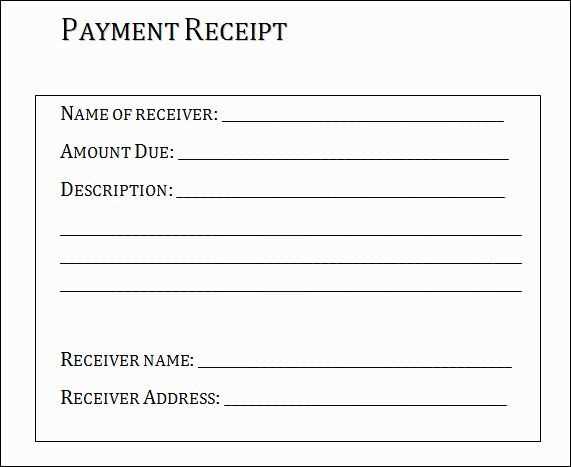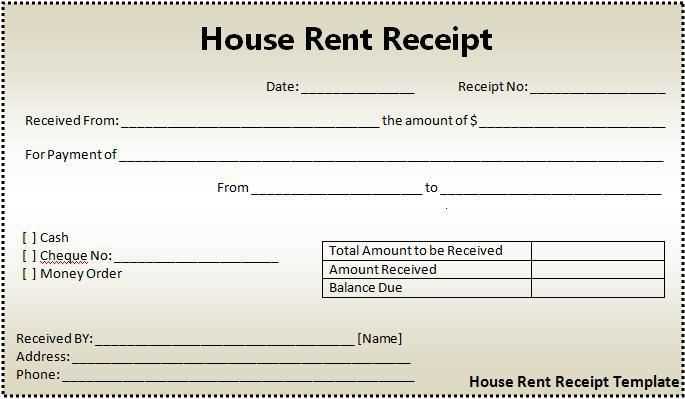
Creating a payment receipt using a Word template simplifies the documentation process. With an organized template, you can quickly generate receipts for customers, ensuring accuracy and professionalism in your transactions. This method eliminates the need for manual formatting, saving both time and effort.
A reliable template includes fields for the payer’s name, amount paid, payment method, and transaction date. Customize it to match your business’s specific requirements, whether you need to include tax details, invoice numbers, or additional terms and conditions. A standardized format keeps records consistent and easy to track.
By using a Word template for payment receipts, you not only streamline the administrative work but also maintain a clear, professional appearance for your clients. This ensures transparency and helps both parties stay on the same page, particularly in case of any future queries or disputes.
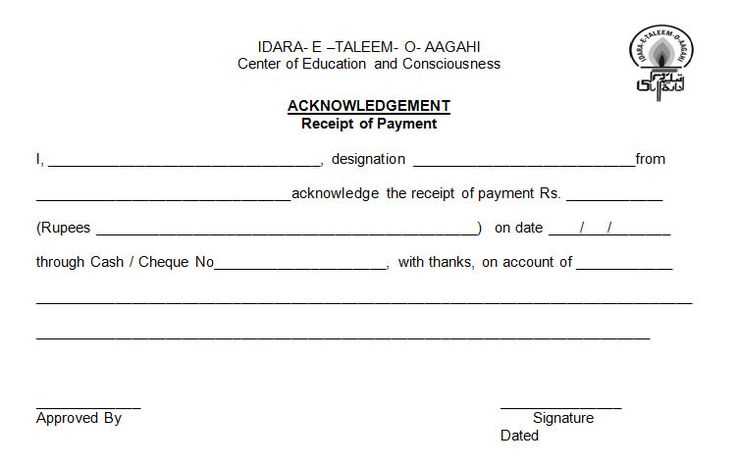
Receipt of Payment Word Template

Creating a “Receipt of Payment” template in Word is straightforward. Begin by including the key details: the date of payment, the name of the payer, the recipient’s name, and the amount received. A clear structure enhances readability and ensures all relevant information is captured.
For the header, include the term “Receipt of Payment” in a bold, large font. Below it, list your company or personal information, including contact details. Make sure to include the transaction date for clarity.
Include a section for the payment description. Specify the goods or services paid for, along with any applicable invoice number. A short breakdown of the total amount, including taxes or discounts, is helpful for full transparency.
Use a clean, easy-to-read font like Arial or Times New Roman, ensuring that the font size is appropriate (typically 12-14 pt). Consistency in the layout creates a professional look.
Don’t forget to leave space for a signature at the bottom to confirm the receipt. If needed, add a small area for payment method (e.g., cash, credit card, bank transfer), ensuring every transaction detail is documented. This structure helps maintain clear records for both the payer and recipient.
Creating a Custom Receipt Template for Business Transactions

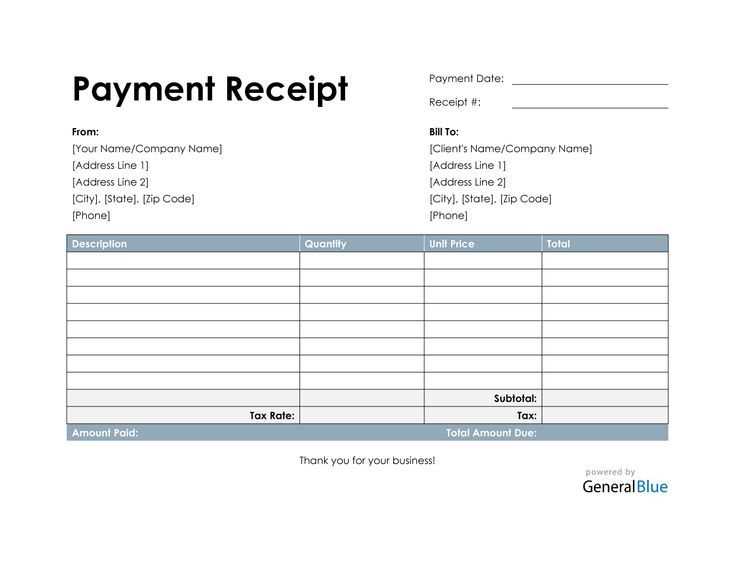
Design a clear, concise, and functional receipt template that suits your business needs. A well-organized receipt template not only builds trust but also simplifies tracking of financial transactions.
Start by including the following key components:
- Business Information: Include your company name, logo, address, phone number, and email. This ensures customers can easily contact you if needed.
- Receipt Number: Assign a unique number to each transaction to ensure proper tracking and reference.
- Date and Time: Add the exact date and time of the transaction for record-keeping.
- Customer Information: Depending on the transaction, consider adding customer name, address, or email for more detailed records.
- Itemized List of Products or Services: Clearly outline the purchased items or services with their respective prices and quantities. Include any applicable discounts.
- Tax Information: If applicable, display the sales tax or VAT, ensuring transparency about the total price breakdown.
- Total Amount: Provide a clear total amount paid, including taxes, discounts, and any additional charges.
- Payment Method: Specify whether the payment was made via cash, credit card, or another method.
- Terms and Conditions: Include any return policies or warranty information if relevant to the transaction.
Make the layout user-friendly by using a grid or table format. This makes it easy for both you and the customer to read and understand the details at a glance.
Incorporate space for additional notes or promotions at the bottom of the receipt. This is a great spot for thanking your customers or providing future discounts.
Finally, test your template for clarity and consistency. Print a sample receipt to ensure that the layout works properly on both digital and paper formats.
Formatting Payment Details in Word for Clear Documentation

Align payment information clearly by using consistent formatting techniques. First, use tables to organize key details such as payment amount, date, and method. Set borders to distinguish between rows and columns for easy readability. You can choose a simple table format with bold headers for each category like “Payment Amount,” “Date,” and “Method.” This will enhance the structure and make it easier for anyone reviewing the document to find the information quickly.
For dates, apply a uniform date format (e.g., “DD/MM/YYYY”) throughout the document to avoid confusion. Using a bold font for critical data, like the amount, ensures it stands out. If you are listing multiple payments, consider numbering them for easy reference. Use bullet points or numbered lists to break down additional details if necessary, such as payment references or notes about the transaction.
Highlight key terms like “Total Due” and “Payment Received” in bold or a larger font size. This makes the most important details easily identifiable. If you want to emphasize any part of the payment, such as discounts or adjustments, apply italics or a different color to those figures.
Leave enough white space between sections to avoid visual clutter. Proper alignment is crucial for neatness; align text to the left or center, but avoid full justification, which can cause uneven spacing. Use a legible font, such as Arial or Times New Roman, at an appropriate size, like 11 or 12 points, for easy reading.
For additional clarity, consider adding footnotes or references to explain specific payment terms or conditions. This helps to ensure that all parties involved are on the same page. Always keep the layout consistent throughout the document to create a cohesive and professional presentation of payment details.
How to Include Legal Information in a Payment Receipt Template
Include the following legal elements in your payment receipt template for compliance and transparency:
Business Name and Contact Information: Always include the legal name of the business, address, phone number, and email. This ensures clarity on who issued the receipt and how to contact them for further questions or disputes.
Transaction Terms: Clearly state the nature of the transaction, including payment terms. Specify whether the amount is for goods, services, or another type of transaction. Include any applicable tax information or reference to sales tax codes.
Payment Method: Mention the specific method used for payment–cash, credit card, bank transfer, or other. If relevant, provide the last four digits of the card number or payment reference number to trace the transaction if necessary.
Refund and Cancellation Policy: Clearly outline your refund or cancellation policy. If there are any conditions or restrictions regarding refunds, include them in the receipt so the payer is aware of their rights.
Legal Disclaimers: If required by local laws, include any necessary disclaimers. These could cover liability, guarantees, or limitations of the business. Be specific about any legal language necessary for your jurisdiction.
Signature or Authorization: If applicable, include a section for a signature or an electronic authorization for the transaction. This may be required in certain legal environments to confirm that the transaction was made with consent.
Incorporating these elements ensures your payment receipt is legally sound and protects both your business and the customer.


