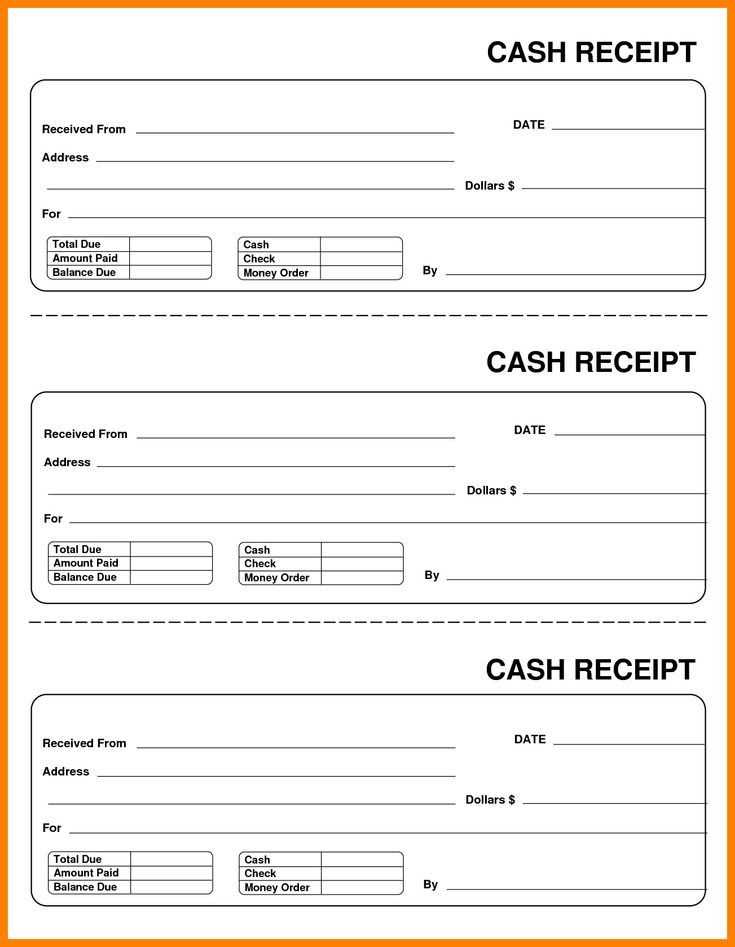
How to Create a Simple Receipt Template in Word
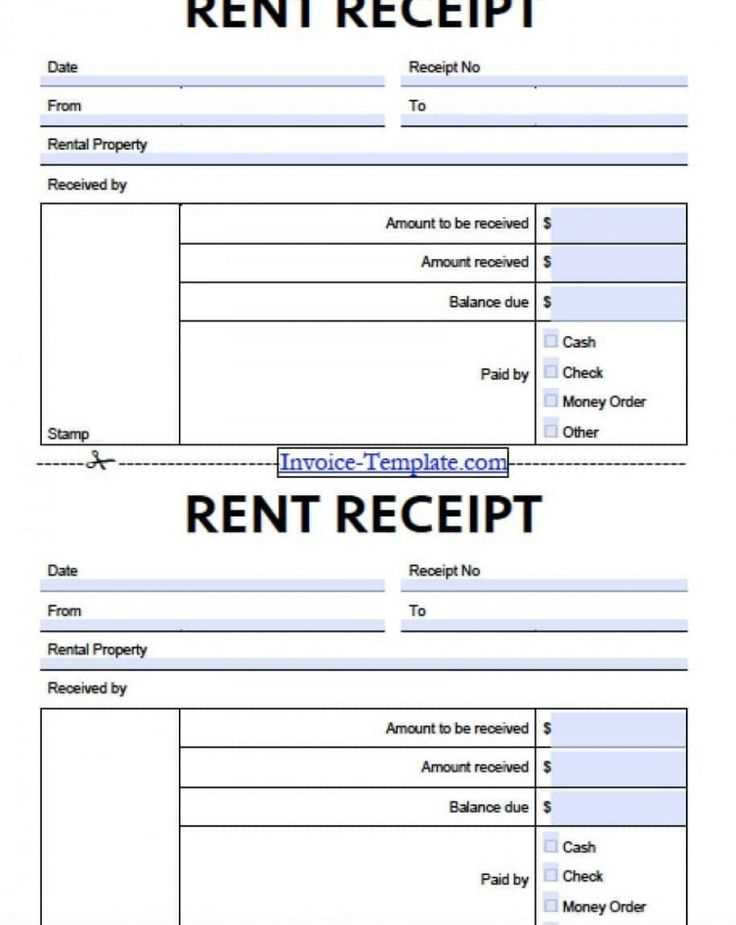
If you’re looking for a fast and easy way to create receipts, Microsoft Word is a great option. Here’s a straightforward guide to set up a receipt template that fits your needs.
1. Set Up the Document
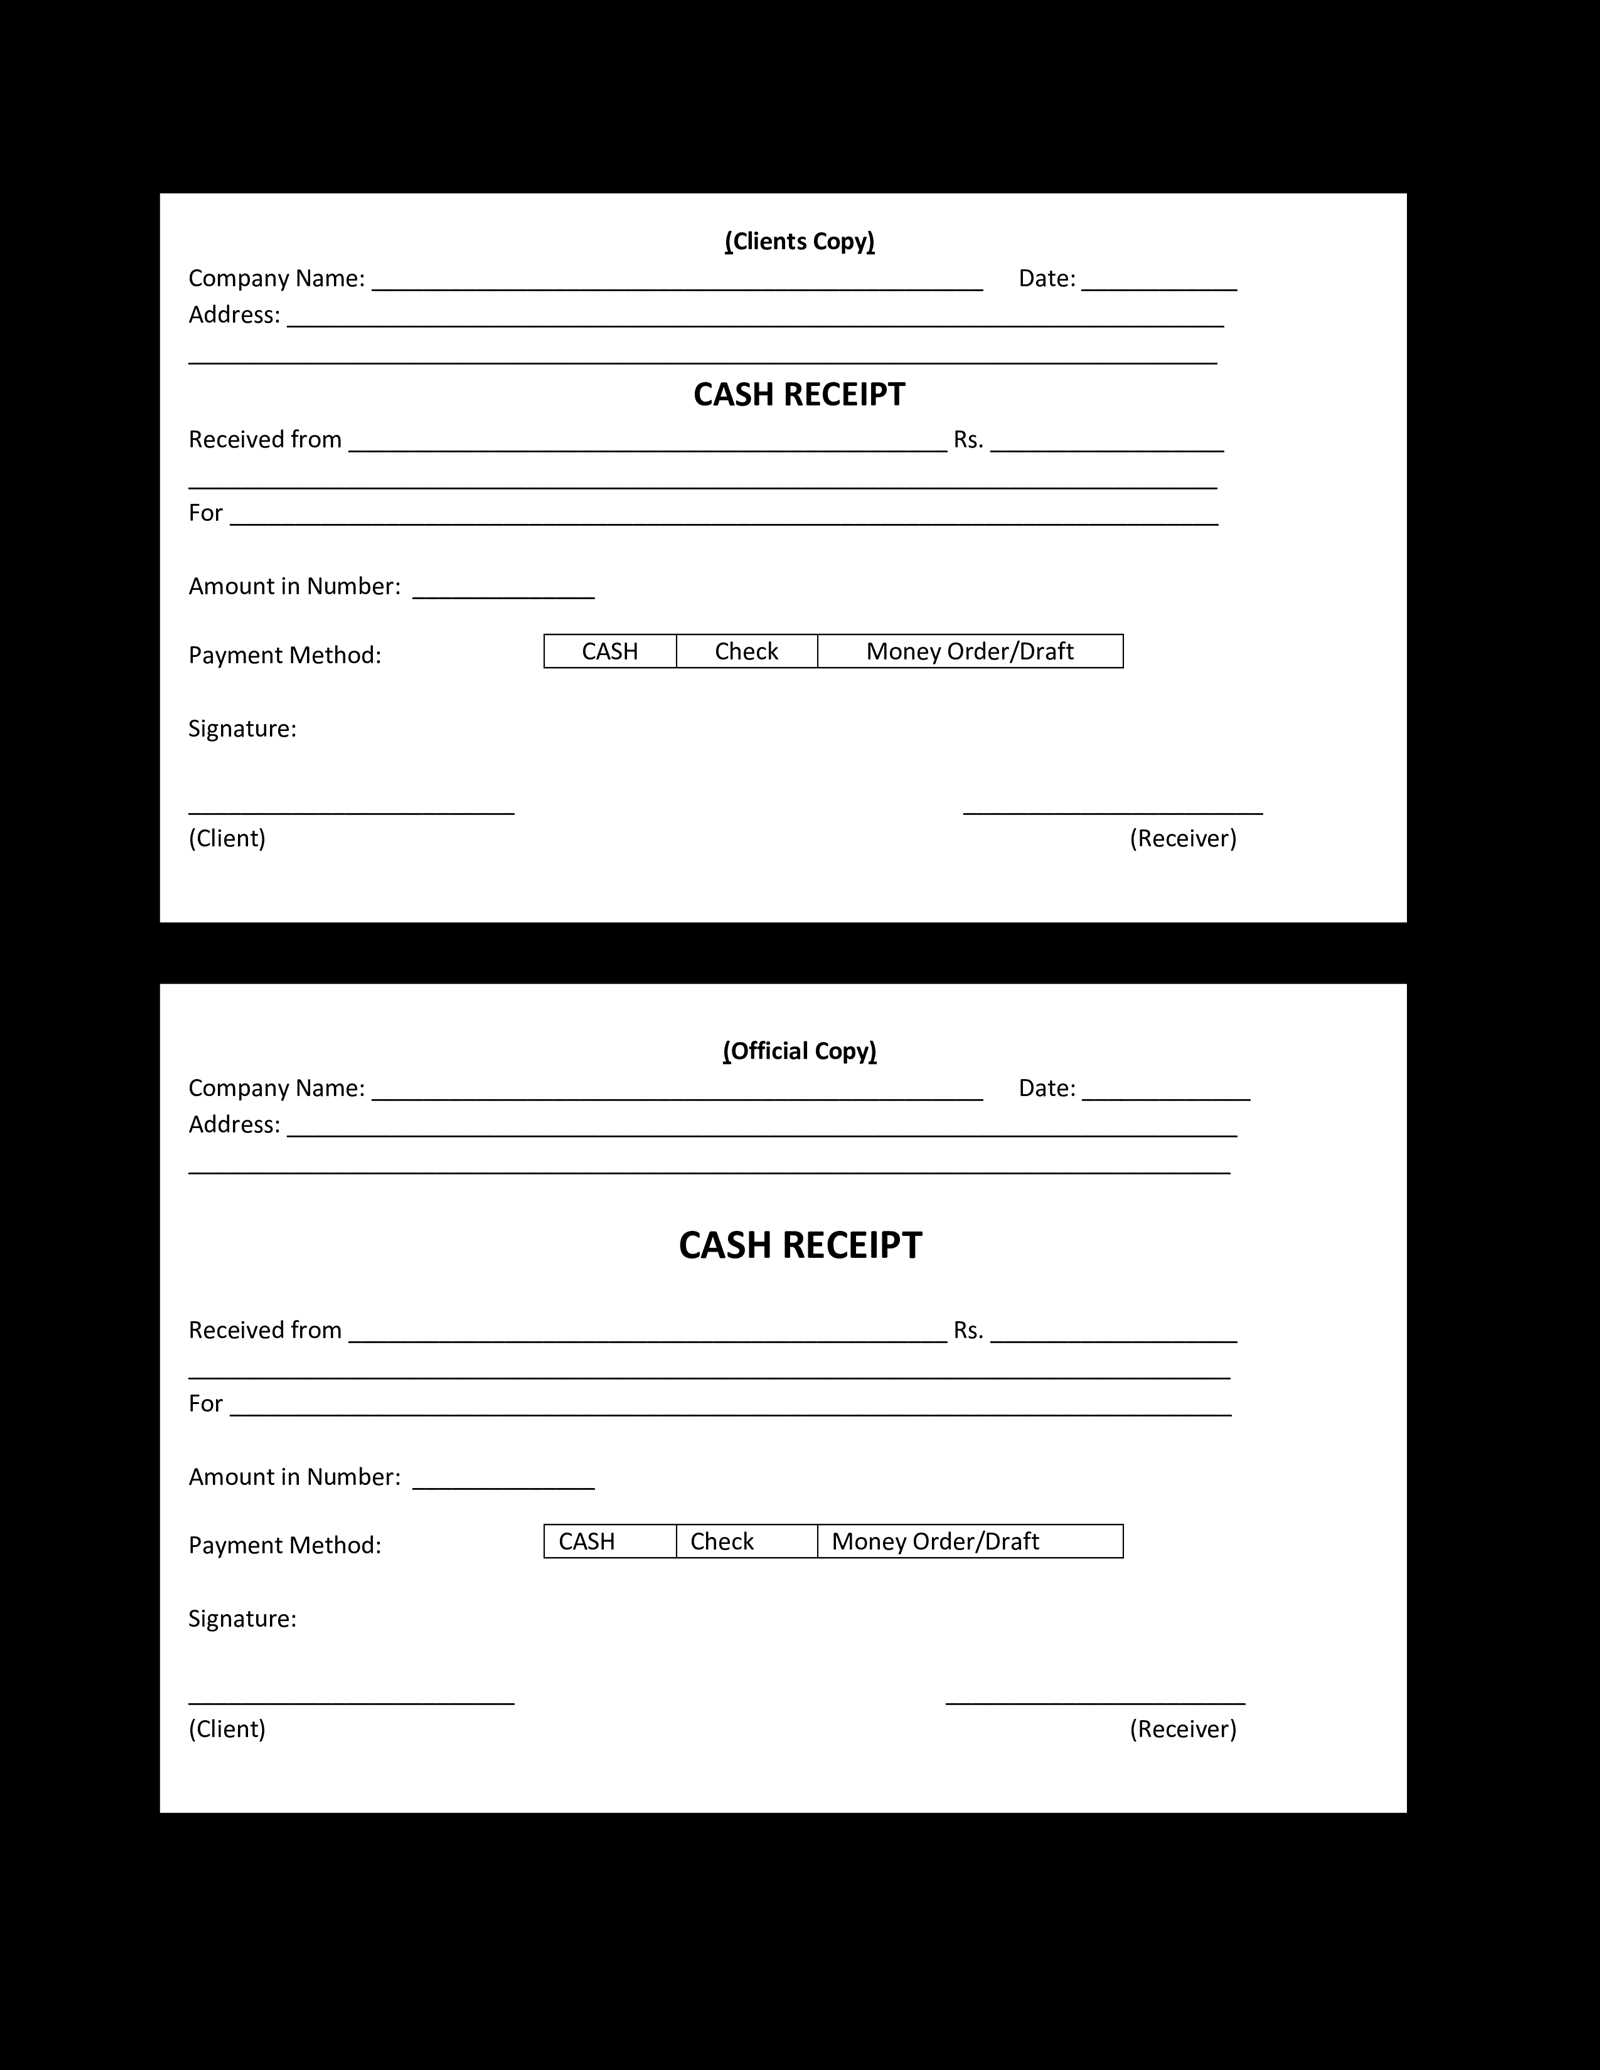
Open Microsoft Word and start with a blank document. Set your page size to the standard letter size (8.5 x 11 inches) unless you need a different format.
2. Add Your Business Details
At the top of your receipt, include your business name, address, phone number, and email. You can use the header section of the document to keep this information consistent on every receipt.
3. Include Date and Receipt Number
Make sure to have a space for the date of the transaction and the receipt number. These are key details for both you and your customer to track payments. You can insert these manually or set up fields to auto-generate the number and date for each new receipt.
4. List Items or Services Purchased
Underneath your business information, create a table with columns for item descriptions, quantity, price, and total. You can adjust the table to fit your needs, ensuring the receipt is clear and easy to read.
5. Total and Payment Method
At the bottom, make sure to include the total amount due. Leave space for payment method (cash, card, check, etc.). If you want to include tax, add a section for tax calculations before the total.
6. Additional Notes
Optional sections can include terms of service or a thank-you note to your customers. These add a personal touch to the receipt and enhance your customer’s experience.
7. Save as Template
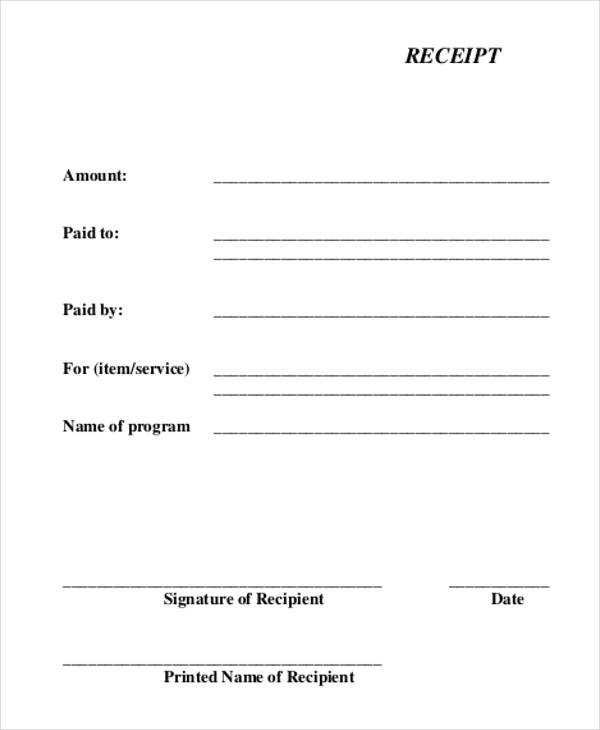
Once your receipt is set up, save the document as a template. This allows you to reuse it with minor changes, such as updating the date, item details, and payment information.
Key Tips:
- Use clear, readable fonts like Arial or Times New Roman.
- Ensure the receipt layout is simple, with plenty of white space to avoid clutter.
- Consider adding your logo for a more professional look.
With these steps, you can quickly create a functional and professional receipt template in Word. Modify it as needed to fit your business style and customer requirements.
Receipt Template for Word: A Useful Guide
If you need to create receipts quickly and efficiently, using a template in Microsoft Word is a great option. Microsoft Word offers a wide range of customizable templates that can be easily adapted to suit your specific needs. Here’s how you can customize a receipt template:
How to Customize a Receipt in Microsoft Word
Start by opening Microsoft Word and searching for “receipt templates” in the template section. Choose one that fits your purpose, then modify it by adjusting the text fields and design elements. For a more personalized look, change the font style and size, update the company logo, and add additional fields like tax or discounts. You can also adjust the layout to match your branding, ensuring that the receipt is both professional and aligned with your business style.
Best Free and Paid Receipt Templates
Free receipt templates are available directly within Microsoft Word, as well as from third-party websites. Many websites like Template.net and Vertex42 offer free templates that you can download and customize. If you’re willing to invest in a paid template, you’ll often get more design options and advanced features. Paid templates on platforms such as Envato Elements offer premium designs, additional functionalities, and more comprehensive customization tools that may suit businesses requiring specific details or a higher level of professionalism.
Whether free or paid, make sure that the template you choose includes the necessary fields such as item description, amount, taxes, date, and payment method. These details ensure that the receipt is complete and serves its purpose efficiently.
Printing and Sharing Digital Receipts
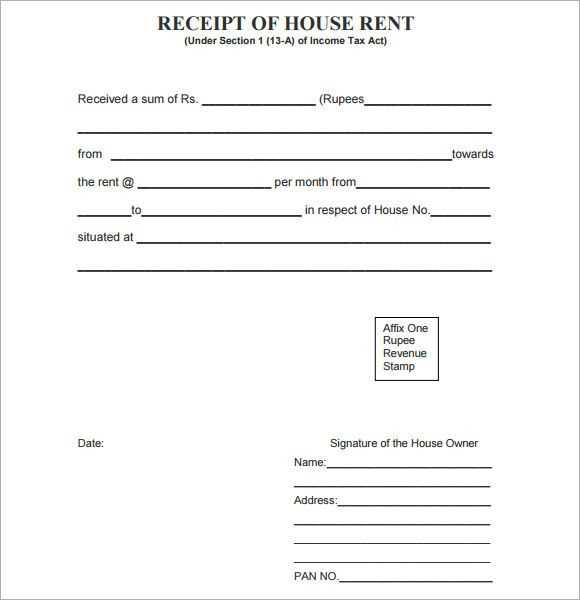
After customizing the receipt template, you can easily print it or save it as a PDF for digital sharing. To print the receipt, simply go to the “File” menu and select “Print”. If you want to send the receipt digitally, saving it as a PDF is a good option. This format ensures the receipt is easy to read and keeps its layout intact. You can then email the PDF or share it via cloud storage links.


