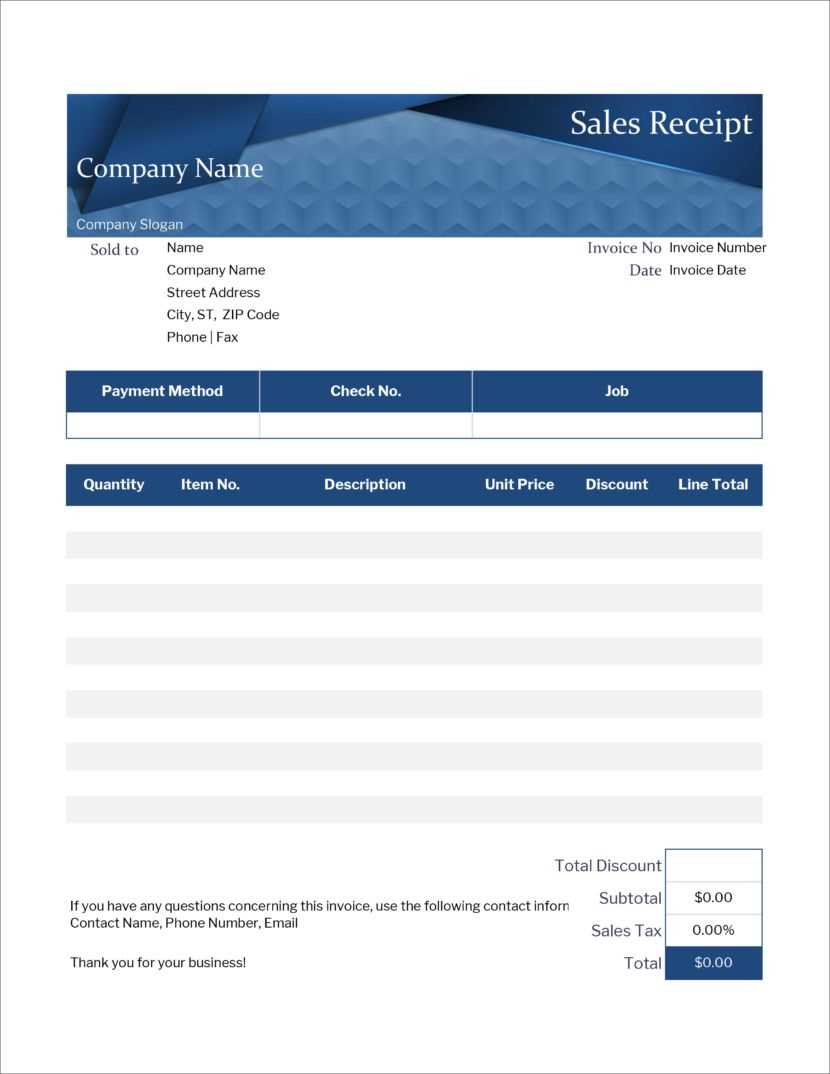
If you need to create a rent receipt, using a Word template makes the process simple and fast. It ensures consistency and saves time compared to starting from scratch. A basic template should include the tenant’s name, property address, the rental period, the amount paid, and the payment method.
To start, open your Word application and search for “rent receipt templates” in the template gallery. Select a style that fits your needs, or use the default template to customize it further. Be sure to adjust fields like tenant name, rent amount, and date paid for each new receipt.
Additionally, consider adding fields for late payment fees or security deposits if applicable. This can help keep your records detailed and transparent. Once completed, you can save the template to reuse for future payments, ensuring you always have an up-to-date record for both you and your tenants.
Here’s the corrected version:
If you’re creating a rent receipt template in Word, ensure that all necessary fields are included to provide clarity and accuracy. Below is a structure to follow for a simple and clear rent receipt template:
| Field | Description |
|---|---|
| Landlord Name | Include the full name of the landlord or property owner. |
| Tenant Name | Enter the full name of the tenant making the payment. |
| Address | Provide the address of the rental property for clarity. |
| Payment Amount | Clearly state the total amount paid for the rental period. |
| Payment Date | Include the exact date when the payment was made. |
| Period Covered | Specify the rental period for which the payment applies (e.g., January 2025). |
| Payment Method | Note how the payment was made (e.g., cash, bank transfer). |
| Signature | Include space for both landlord and tenant signatures if required. |
By following this structure, you’ll ensure that the rent receipt is straightforward, professional, and easy to understand for both parties.
Rent Receipt Template in Word
Creating a rent receipt in Word is straightforward. Use a template to save time and ensure consistency. The following key elements should be included in your rent receipt:
- Tenant Information: Include the tenant’s full name and contact details.
- Landlord Information: Your name, address, and contact details should be clearly stated.
- Payment Details: Specify the amount paid, payment method, and the payment date.
- Rental Period: Clearly state the rental period for which the payment was made.
- Property Address: The address of the rented property should be listed.
- Receipt Number: Assign a unique receipt number for organization and reference.
- Signature: A signature line for both the tenant and landlord can add formality to the document.
How to Customize the Template
Start by downloading a basic rent receipt template from a trusted source. Open the file in Word and customize it according to the details above. Replace placeholders with the relevant information. Add or remove sections if necessary. Save the document as a Word file for future use or convert it to PDF for easy sharing.
Additional Tips

- Check for Accuracy: Double-check all details, especially payment amounts and dates, to avoid errors.
- Use Clear Fonts: Choose simple, legible fonts for clarity.
- Consider Electronic Signatures: For convenience, electronic signatures can be used instead of physical ones.
To create a receipt in Word, use the built-in templates or start from scratch. A simple and clear layout is key to ensure all necessary information is included and easily readable.
Using Word Templates
Search for “receipt” in the template section of Microsoft Word. Select one that fits your needs. These templates usually have predefined sections such as “Date,” “Amount,” “Service,” and “Payment Method,” which you can fill in. Customize the font, layout, or logo if necessary to match your style.
Creating a Receipt from Scratch

Begin with a blank document. Insert the header with your business name and contact details. Then, add the following sections: receipt number, date, recipient details, a description of the service or product, payment method, and total amount. Format the text with bold for headings and regular font for the body to keep it clear. Use tables for aligning the content neatly.
Include the following details for a complete receipt:
1. Rental Information
Clearly state the rental property’s name or address and include the rental period. Specify the start and end dates to avoid confusion.
2. Tenant and Landlord Details

List both parties’ full names and contact information, including phone numbers or email addresses.
3. Payment Amount
State the total amount paid by the tenant. Be sure to include any taxes or additional charges, with a breakdown if necessary.
4. Payment Method

Indicate how the payment was made, whether by cash, check, or digital transfer.
5. Receipt Number
Include a unique receipt number for record-keeping. This helps with tracking and verifying payments.
6. Signature

Include spaces for both the tenant’s and landlord’s signatures to confirm the transaction.
To tailor your rent receipt template, focus on details that matter most to you and your tenants. Begin with the header section: clearly display your name or business name, address, and contact information. This establishes a professional identity and ensures the tenant knows how to reach you if needed.
Next, customize the receipt number format. Use a sequential numbering system that’s easy to follow. This will help keep your records organized and make referencing specific receipts simpler in case of disputes or queries.
Adjust the payment breakdown section. Include the rent amount, date of payment, and any additional charges, such as late fees or utility costs. Make sure the payment method is noted (cash, cheque, or bank transfer), which helps avoid confusion down the line.
Consider adding a section for both the tenant’s and landlord’s signatures. While not mandatory in every jurisdiction, this small addition can provide extra assurance for both parties. Ensure the date and location fields are included, too, as they are essential for legal purposes.
Finally, incorporate a thank-you note or a reminder for the next payment. This adds a personal touch and can help improve communication with tenants. Make sure all elements are well-organized and aligned, maintaining clarity throughout the document.
Use a numbered list to organize the rent receipt details in a structured and clear way. Start with the tenant’s name at the top of the list, followed by the rental period and the amount paid. Include the property address and the payment method used. Ensure to indicate any applicable late fees or discounts separately to maintain transparency. Keep the list concise, focusing only on the key details relevant to the transaction.