If you’re looking to create a return receipt in Word, using a template can save you time and ensure accuracy. A return receipt is often used to confirm the delivery or receipt of goods, making it a valuable document in business transactions. You can find ready-to-use templates in Microsoft Word, allowing you to customize the content according to your needs.
Start by searching for “return receipt” templates in the Word application. Once you open a template, you’ll notice pre-formatted sections that you can fill with relevant details like item description, recipient name, and return date. Make sure to personalize it by adding your company’s logo and contact information. This small touch can make your receipt look more professional.
After filling out the template, you can easily save or print the document. If you plan to send it electronically, consider saving the return receipt as a PDF file to maintain formatting and prevent any alterations. This step ensures the document remains clear and intact during transmission.
Here are the corrected lines:
Check these details when updating your return receipt template. Correct any errors in the structure and content to ensure clarity and professionalism:
- Ensure that the recipient’s address is aligned with the company format and accurately reflects their current location.
- Update the subject line to reflect the return receipt specifics, avoiding generic terms like “Received” or “Acknowledgement”.
- Use proper spacing between sections to enhance readability and maintain a clean layout.
- In the body, include a specific description of the item or service being returned, including any tracking or reference numbers if applicable.
- Verify that the date and time stamps are consistent with the return process timeline.
- Confirm that the recipient’s signature section is clearly marked and easy to sign.
Make sure to double-check these key areas:
- Adjust the wording in the “Reason for Return” section, specifying return policies or conditions.
- Ensure that the return shipping details are clearly stated, including any prepaid labels or instructions.
- Review the legal disclaimers or return terms to make sure they are up-to-date with current regulations.
- Return Receipt Template in Word
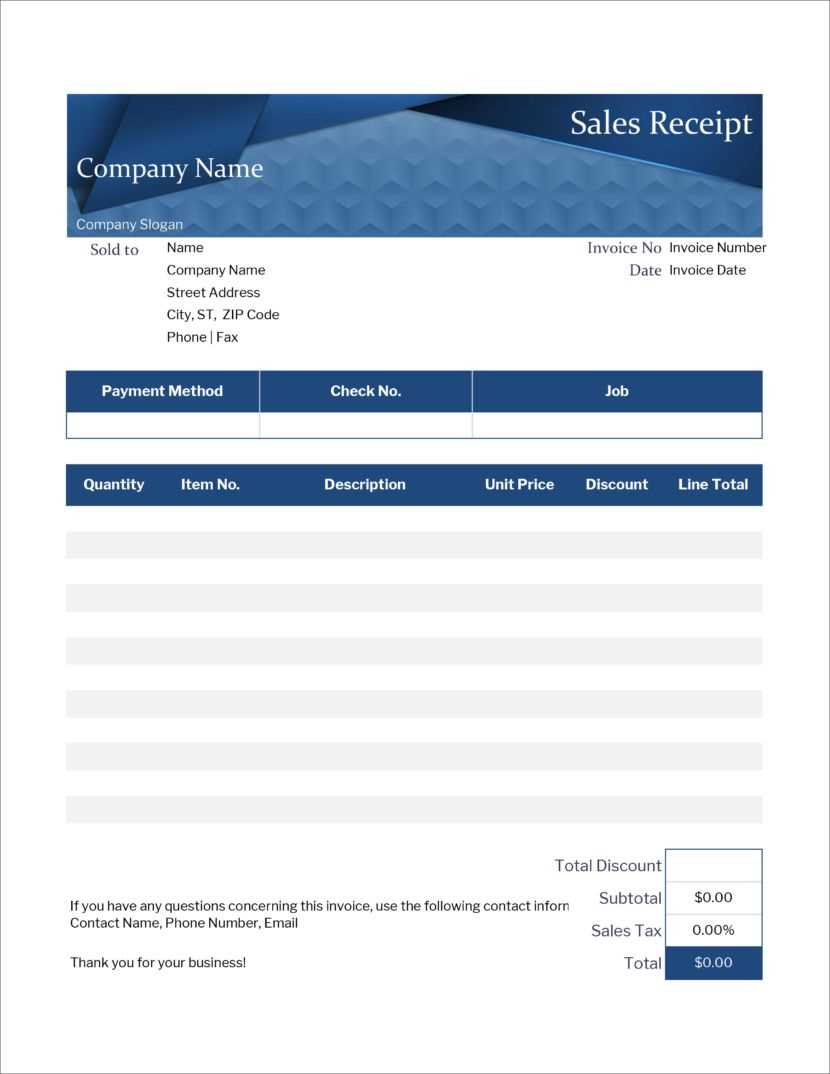
Creating a return receipt template in Word helps streamline the process of confirming the return of goods or services. To get started, open Microsoft Word and choose a blank document. First, set up the layout with a clean, professional structure. Include the date of return at the top, followed by fields for the customer’s name, address, and contact information. Below that, list the items being returned with a brief description and quantity.
Use tables for item details. This ensures clear alignment and easy readability. Include columns for item number, description, and condition. Add a space for the reason for return if necessary. The receipt should also include a return authorization number and the method of return (e.g., in-store, by mail).
Signature lines are important for both the customer and the store representative to sign, confirming the return. Finally, add a thank-you note or any instructions regarding the return process, such as refund timelines or exchange options. This template can be easily customized for different return policies or specific company branding needs.
Open Microsoft Word and create a new blank document. Start by setting the page layout to your preferred size, typically 8.5″ x 11″ for standard documents. This can be adjusted under the “Layout” tab, selecting “Size,” and then choosing “Letter” or another option if needed.
Next, add a title at the top of the page, such as “Return Receipt” or any title that fits your purpose. Center the title to give it a clear, professional appearance. You can adjust the font style and size from the “Home” tab to match your preferred format.
Insert a table to organize the details of the return. A simple 2-column table works well. In the first column, include labels for necessary fields like “Item Returned,” “Quantity,” “Condition,” “Return Date,” “Customer Name,” and “Reason for Return.” The second column should be left blank for filling in the specific details. Customize the table’s borders and shading to enhance readability, using the “Table Design” tab.
For added clarity, add a space at the bottom for both the customer and the company representative to sign, along with a “Thank you” note or any additional message if needed. You can use text boxes to neatly position signature lines.
Finally, save the document as a template. Go to “File,” then “Save As,” and select “Word Template” as the file type. This will allow you to easily use the template for future return receipts without starting from scratch each time.
To create a receipt that suits your particular needs, start by adjusting the layout. For businesses that deal with inventory, include product descriptions, quantities, and prices clearly. This ensures both the customer and your team have accurate records. If the receipt is for a service, remove product details and focus on labor hours or consultation fees, along with any taxes that apply.
For Retail Transactions
In retail settings, displaying itemized products along with prices, discounts, and total amounts ensures transparency. Add a section for promotional codes or loyalty program rewards if applicable. This provides a clear breakdown of the purchase, useful for future reference and returns.
For Donations or Charitable Contributions
For donations, your receipt should highlight the donor’s name, amount donated, and the organization’s tax-exempt status. It’s also helpful to include a brief statement about how the donation will be used, offering the donor an understanding of their contribution’s impact.
Customize fonts, colors, and logos to match your branding, while keeping the text legible and the overall design professional. Adjusting the size of certain sections like discounts or taxes can also help ensure the most important information stands out.
Use clear fonts with enough space between characters. A font size between 10 and 12 points improves readability without overwhelming the page. Stick to common fonts like Arial or Times New Roman for easy legibility.
Line Spacing and Margins
Adjust line spacing to 1.15 or 1.5, providing enough white space between lines. This reduces visual clutter and makes the receipt easier to read. Margins should be set to at least 0.5 inches on all sides to avoid text crowding at the edges.
Bold and Italics for Key Information
Highlight important details like totals or payment methods with bold text. Use italics for less critical information, such as optional items or payment options. This visual distinction guides the reader through the receipt quickly.
To incorporate your company branding into your receipt template, begin by adding your company logo at the top of the receipt. This is the most straightforward way to make your brand instantly recognizable. Place the logo in a space that doesn’t overcrowd the rest of the receipt but is still visible to the customer.
Choose the Right Colors and Fonts
Next, adjust the color scheme and fonts of the template to match your company’s branding. Use your brand’s primary colors for text and background elements. Stick to the fonts that reflect your company’s identity, ensuring readability while staying on-brand. This consistency creates a professional and cohesive look.
Include Contact Information
Make sure your company’s contact details are clearly visible. Add the business name, phone number, website, and physical address if applicable. Position this information near the footer of the receipt to make it easy for customers to reach out if needed.
| Branding Element | Recommendation |
|---|---|
| Logo | Place at the top, without cluttering the layout. |
| Colors | Use primary brand colors for text and highlights. |
| Fonts | Choose fonts that align with your brand’s visual identity. |
| Contact Information | Display clearly at the footer of the receipt. |
By integrating these elements into your receipt template, you reinforce your company’s identity while maintaining a professional and functional document for your customers.
Begin by specifying the exact reason for the return. Clearly describe the issue, whether it’s due to defects, incorrect items, or dissatisfaction with the product. This helps both parties understand the context.
Next, include details about the condition of the item being returned. Mention if it’s unused, unopened, or if it shows signs of wear. If applicable, note whether the original packaging is intact or missing.
Include the date of the return request. This adds clarity and can help track timelines for returns in case of disputes.
If there’s a restocking fee or other charges associated with the return, state the amount explicitly. This ensures transparency between the seller and buyer.
Make sure to indicate whether the refund will be issued to the original payment method or as store credit. Be clear about any refund processing timelines.
If there are any special instructions regarding the return process, such as where to send the item or any forms to complete, include them in this section. Providing clear directions prevents confusion.
Finally, provide contact information in case the buyer has further questions. Include a phone number or email address for support, ensuring the return process runs smoothly.
To save and share your receipt template in Word, follow these simple steps:
- Save the Document: Click on “File” in the top-left corner of Word, then select “Save As”. Choose a location on your computer or cloud storage (e.g., OneDrive) to save the file. Pick a descriptive name for easy identification later.
- Choose the File Format: Word documents are typically saved in .docx format, but if you need to share it with others who may not have Word, you can save it as a PDF. To do this, select “PDF” from the “Save as type” dropdown menu when saving your document.
- Sharing the File: To share your receipt template, you can either send the saved Word or PDF file via email or upload it to a cloud storage service, such as Google Drive or Dropbox. For email, simply attach the file and send it to the recipient’s address. For cloud storage, create a shareable link and send it to others.
- Collaborating: If you need to make edits with others, consider uploading the file to a platform like Google Drive, where multiple users can access and edit the document in real time.
- Secure the File: If your template includes sensitive information, consider adding a password to protect it. In Word, you can set a password by going to “File” > “Info” > “Protect Document” > “Encrypt with Password”.
Steps for Creating a Return Receipt in Word
To create a return receipt template in Word, follow these steps:
1. Start with a Blank Document

Open Microsoft Word and select a blank document to begin. This gives you full control over the layout and design of the template.
2. Add Contact Information
Include sections for the sender’s and recipient’s names, addresses, and contact details. Align them in a way that makes it easy to spot both parties quickly.
3. Insert a Header

Insert a clear heading at the top, such as “Return Receipt” or “Acknowledgement of Return.” This should be bold and easy to read.
4. Include Return Details

List the items being returned, along with any relevant details like quantity, description, and reason for the return. This ensures both parties agree on what is being returned.
5. Add a Signature Section
Leave space for both the sender and the recipient to sign. You may want to include a field for the date to clarify when the receipt was issued.
6. Format for Clarity
Ensure the template has a simple layout with clearly defined sections. Use bullet points or numbered lists to organize the content, making it easy for both parties to follow.
7. Save and Use the Template
Once you’re satisfied with the template, save it as a Word template file (.dotx) for future use. You can easily update it for each transaction.