Creating a professional sales receipt doesn’t have to be complicated. By using a Word template, you can quickly generate accurate receipts that are ready to print and distribute. Start by selecting a template that fits your needs, whether you’re selling products, services, or both.

A well-organized receipt should include the transaction details, such as the date, items sold, total amount, and payment method. It’s crucial that this information is clear and easy to read. Using a Word template gives you the flexibility to modify the layout, font, and other details to match your business’s style.

If you’re handling multiple transactions daily, a ready-made template helps streamline the process. You can save time by filling out pre-designed fields rather than creating receipts from scratch every time. Look for templates that include sections for customer information and itemized lists to ensure all relevant details are included.
Here is the corrected version, where each word is repeated no more than 2-3 times:
Ensure the template is clear and simple. Use concise headings and include only necessary fields. Avoid redundant details to streamline the document. The receipt should include the following essential components: date, transaction details, itemized list of products or services, total amount, and payment method. Use a consistent format for all fields to avoid confusion. Be mindful of the font size, ensuring it is readable on both digital and printed versions. If you are including taxes, make sure they are clearly marked and explained.
Adjust margins to allow for easy reading. Ensure proper alignment of text to make it look professional. Keep the template flexible, so it can be adapted to different transactions. Make sure each section is well-defined, but avoid too many lines or borders, which could clutter the design.
Lastly, check for any inconsistencies in wording or formatting before using the template. A clear structure improves both customer understanding and professional appearance. Keep the file size manageable to ensure it can be easily shared or printed.
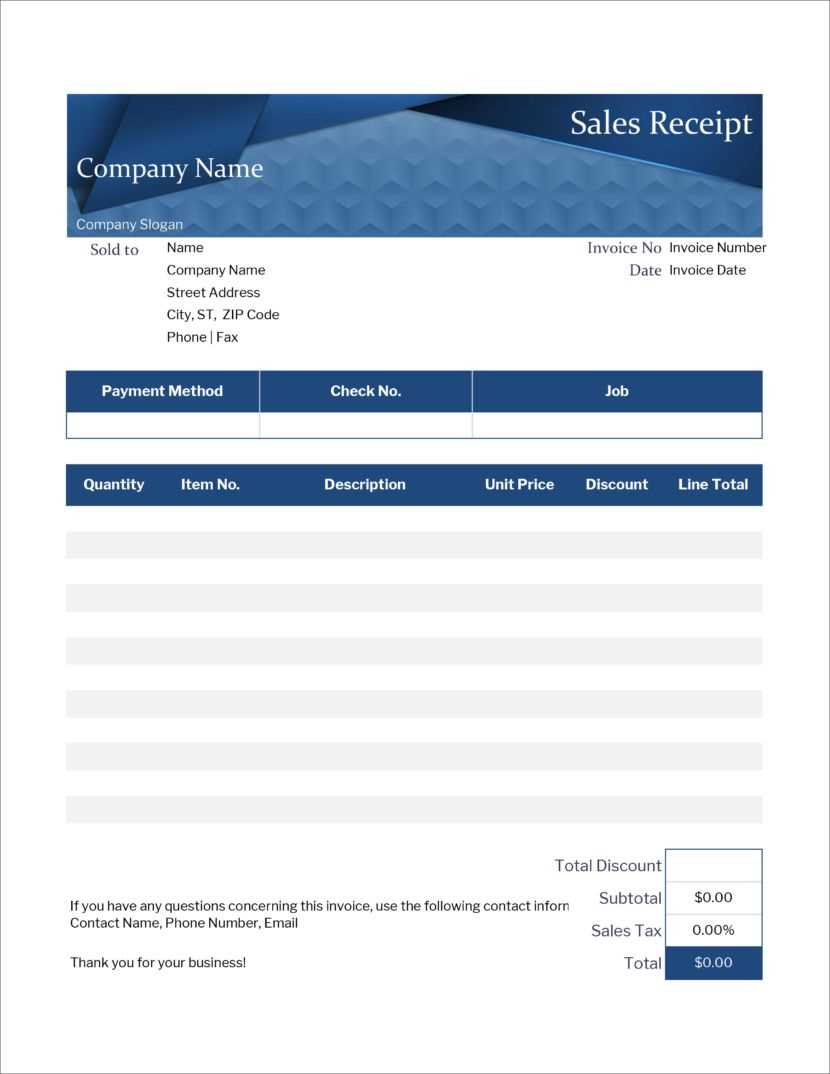
- Sales Receipt Template Guide
To create a useful sales receipt template, prioritize clarity and accuracy. Start with the basic sections: the date of the transaction, buyer and seller details, itemized list of products or services, total cost, and payment method. Ensure each section is clearly labeled for quick reference.
Use a table to list items, including columns for the description, quantity, price, and total cost for each. The last row should display the grand total. A breakdown of taxes or discounts can also be helpful, depending on your business requirements.
| Description | Quantity | Price | Total |
|---|---|---|---|
| Product 1 | 2 | $10.00 | $20.00 |
| Product 2 | 1 | $15.00 | $15.00 |
| Subtotal | $35.00 | ||
| Tax (5%) | $1.75 | ||
| Total | $36.75 | ||
For a professional touch, include your business logo and contact information at the top. A receipt number helps with record keeping and should be sequential. Finally, a thank-you note or reminder about return policies can enhance the customer experience.
Open Microsoft Word and create a new blank document. To begin designing your custom receipt, start by setting up the layout. Go to the “Layout” tab, adjust the margins to fit your needs, and choose a simple, clean font for readability.
Next, insert a table to structure the receipt. A basic 3-column table works well, allowing space for item names, quantities, and prices. You can adjust the number of rows as needed. Select the table and format it for consistent alignment by right-clicking and choosing “Table Properties.”
After organizing the table, add headers like “Item,” “Quantity,” and “Price” to clarify the contents. Use bold text for these headers to distinguish them from the rest of the receipt. Adjust column widths so the text fits neatly within each cell.
For further customization, include business details at the top of the receipt, such as your business name, logo, address, and contact information. Add a header with your business name in a larger font size to make it stand out. You can insert your logo by selecting “Insert” and then “Pictures.”

To add a payment section, create additional rows below the table. Include fields like “Subtotal,” “Tax,” and “Total.” Format these rows with bold text or a different font style to ensure they are easily visible. You can also add a “Thank you” note or payment instructions at the bottom for a more personal touch.
Save the document template for future use. This way, you can quickly update it for each new transaction without having to redesign the layout from scratch. Simply replace item details and adjust totals for each new receipt.
A sales receipt template must clearly display the necessary transaction details. Start by including the business name and contact information at the top. This ensures your customers can easily reach out if needed. Right below this, provide the date of the transaction and a unique receipt number for reference.
Next, include a section for customer details, such as their name and contact information, if relevant. This is particularly useful for returns or warranty claims. The itemized list of purchased goods or services follows, detailing the description, quantity, price per item, and total amount. Don’t forget to include taxes or other additional charges that may apply.
Finally, include payment method and a total amount paid, along with any relevant notes such as a return policy or warranty information. This provides a clear breakdown of the transaction and reassures both parties.
To save your sales receipt template, open the file and click “Save As” from the File menu. Choose a folder on your computer or cloud storage where it’s easy to locate. Name the file clearly, such as “Sales_Receipt_Template,” and save it as a .docx or .dotx format to preserve its template functionality.
To reuse the template, simply open the saved file, select “New Document” in your word processor, and choose the saved template file. This ensures that your formatting, layout, and content remain intact for future receipts, streamlining the process for each sale.
If you use the template frequently, consider setting it as a default template in your word processor. In Microsoft Word, this can be done through the Options menu, where you can choose your template as the default for new documents. This saves time and ensures consistency for each transaction.
By saving your template in a shared cloud folder, you can access it from multiple devices. This is ideal for businesses that need to create receipts from different locations or share templates with multiple team members.
Reduce Repetitions While Maintaining Meaning and Grammatical Accuracy

To streamline your sales receipt template and eliminate unnecessary repetition, focus on simplifying the structure without losing critical details. Start by using clear and concise language to convey necessary information efficiently.
- Ensure the item description is precise and relevant, omitting redundant details.
- Instead of repeating phrases, use abbreviations or bullet points for similar items.
- Replace complex sentences with direct statements where possible, keeping the overall tone professional.
By following these tips, you’ll not only make the document more readable but also ensure the message remains clear and grammatically correct without extra wording.