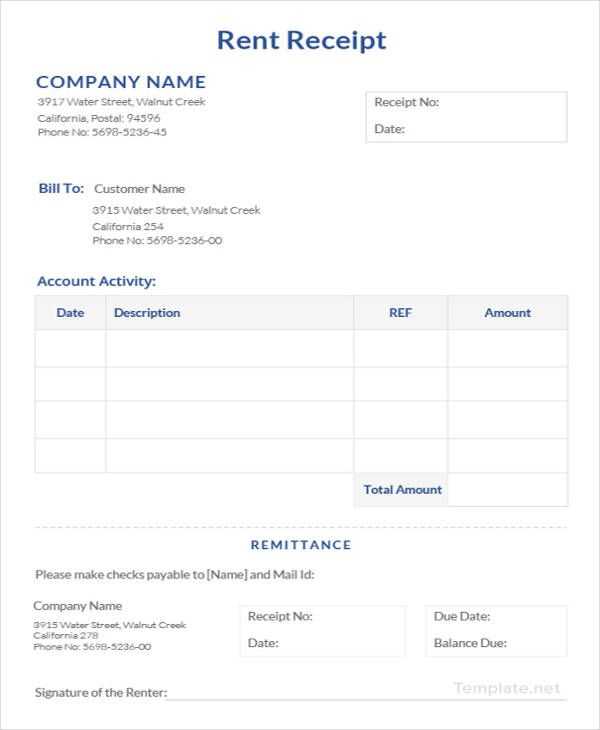
Creating a Rent Receipt in Word
Start by opening a new document in Microsoft Word. A simple table with two to three columns can serve as the backbone for the receipt layout. Use the first column for the item descriptions, the second column for the details, and the third column for any additional notes or adjustments.
Key Elements to Include
- Shop Owner’s Name and Address: Clearly display your business name and contact details at the top.
- Tenant’s Information: Include the tenant’s name, address, and contact details.
- Payment Details: Mention the rental amount, the payment period (e.g., monthly, quarterly), and payment method (cash, bank transfer, etc.).
- Receipt Number: Assign a unique number to every receipt for easy tracking and record-keeping.
- Signatures: Leave space for both the shop owner and tenant to sign, confirming the transaction.
- Date: Include the exact date of the transaction.
Formatting Tips
- Use bold for headings to distinguish each section clearly.
- Align the content: Use left or center alignment to make the document easy to read.
- Keep it neat: Adjust the spacing to ensure the information is presented in a structured, easy-to-read format.
Benefits of Using a Template
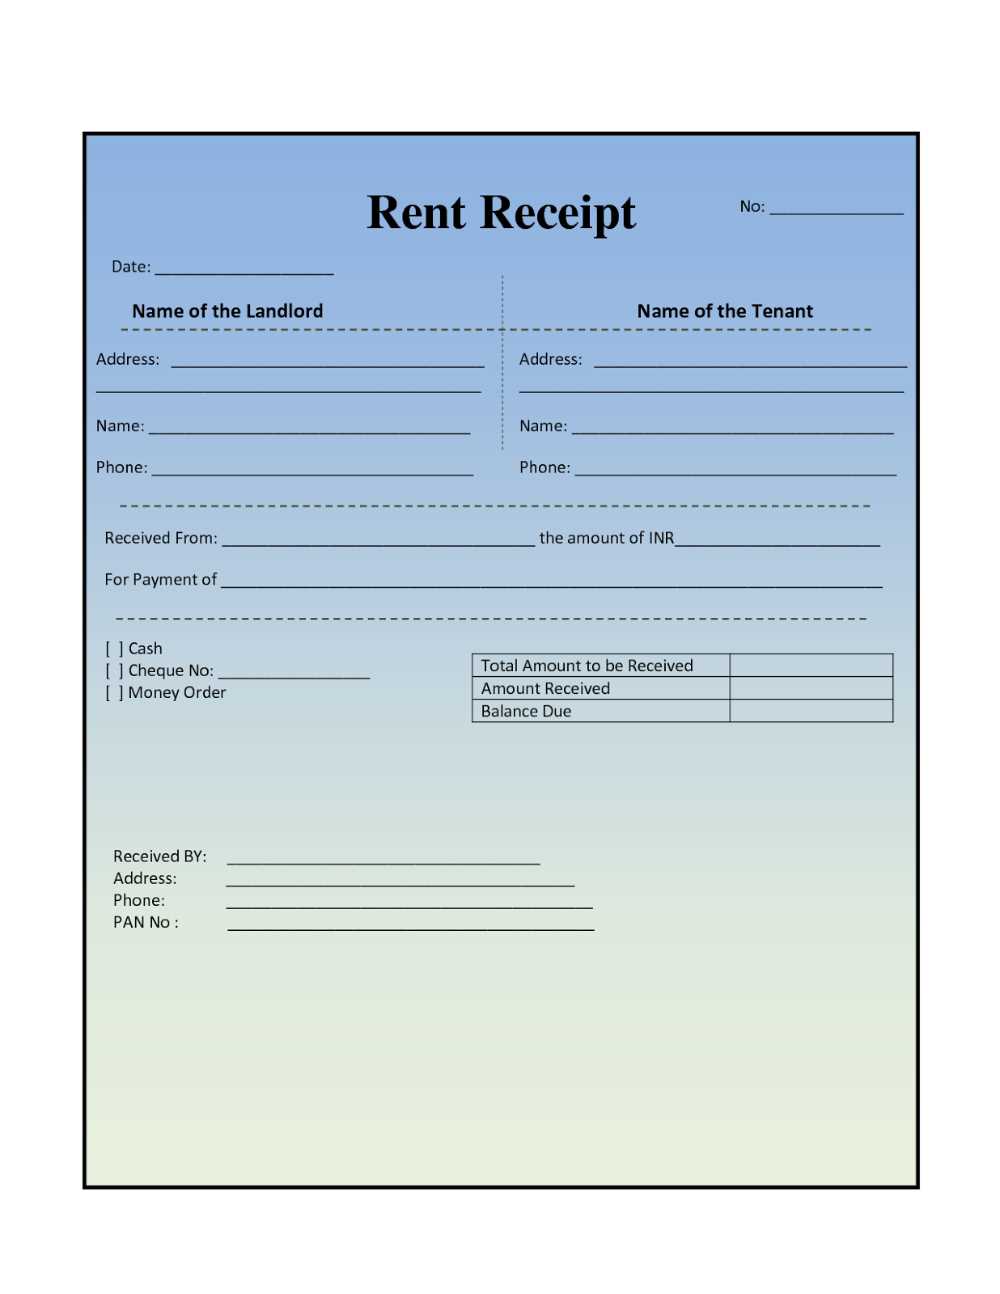
A ready-made shop rent receipt template in Word simplifies the process and ensures all necessary information is included every time. You can easily customize it with your business details and adapt it to various payment arrangements. Additionally, using a template ensures consistency in your receipts, making them more professional and easier to manage for accounting purposes.
Shop Rent Receipt Template in Word: A Practical Guide
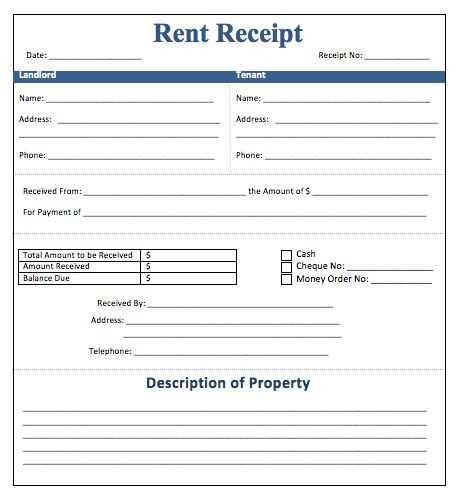
Creating a rent receipt template in Word is straightforward and helps streamline transactions. To begin, open Microsoft Word and start a new document. Choose a clean layout with clear sections to keep the receipt readable and professional.
How to Create a Rent Receipt Template in Word
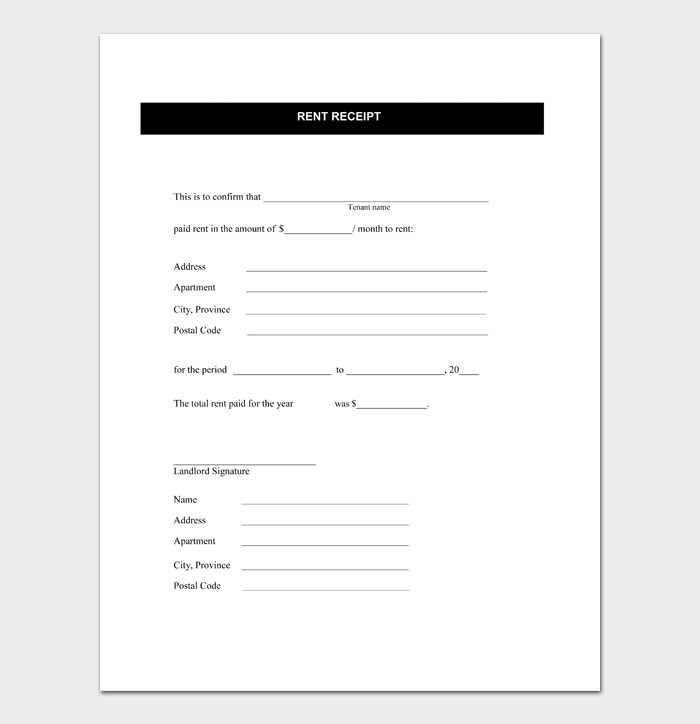
To set up your template, use a table with borders to organize the key sections. Include the following fields: landlord’s name, tenant’s name, address of the property, rental period, payment amount, and the payment date. Insert a signature line for the landlord and a “paid” stamp to mark completed transactions. Save the document as a template so you can easily reuse it for future receipts.
Essential Details to Include in a Rent Receipt
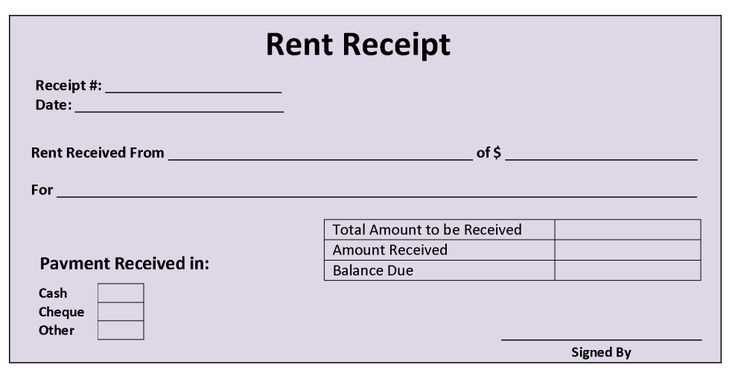
Include the date of payment and a breakdown of the payment if necessary (e.g., rent, maintenance, utilities). Clearly state the rental period (start and end dates). The receipt should also include any payment method used, whether by cash, cheque, or bank transfer, to avoid confusion.
How to Customize and Apply the Template for Your Business
Tailor the template with your business logo, contact details, and any legal information related to your rental agreement. This ensures consistency and professionalism. Update the template to reflect specific clauses or charges in your rental contracts, such as late fees or deposits. Apply the template consistently for all transactions to maintain clear records for both you and your tenants.


