Step-by-Step Guide to Creating a Payment Receipt
A payment receipt is essential for tracking transactions and providing proof of payment. Follow these clear instructions to create a simple yet functional receipt in Word:
- Open Word: Launch Microsoft Word and start with a blank document.
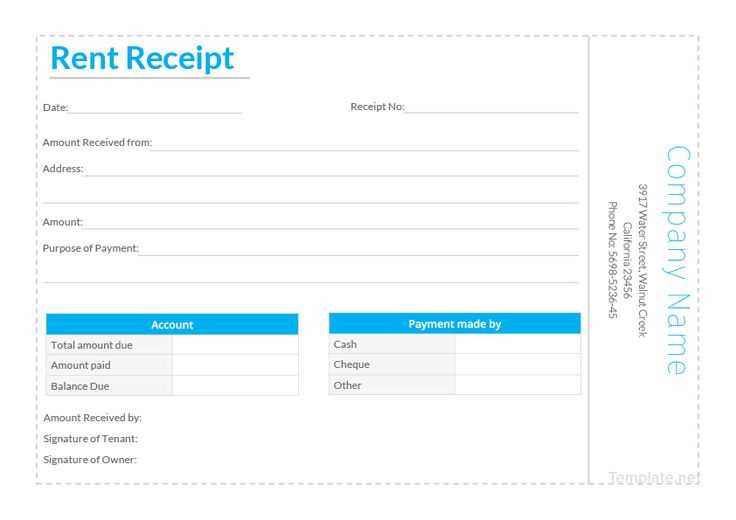
- Insert Header Information: Include the name and contact details of your business at the top of the page.
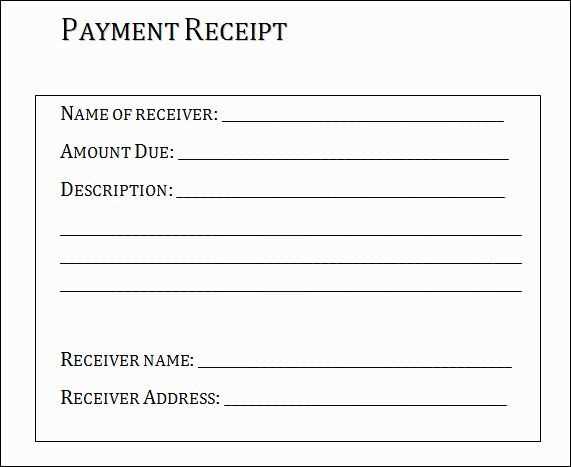
- Add Receipt Title: Center a bold title, such as “Payment Receipt,” directly below the header.
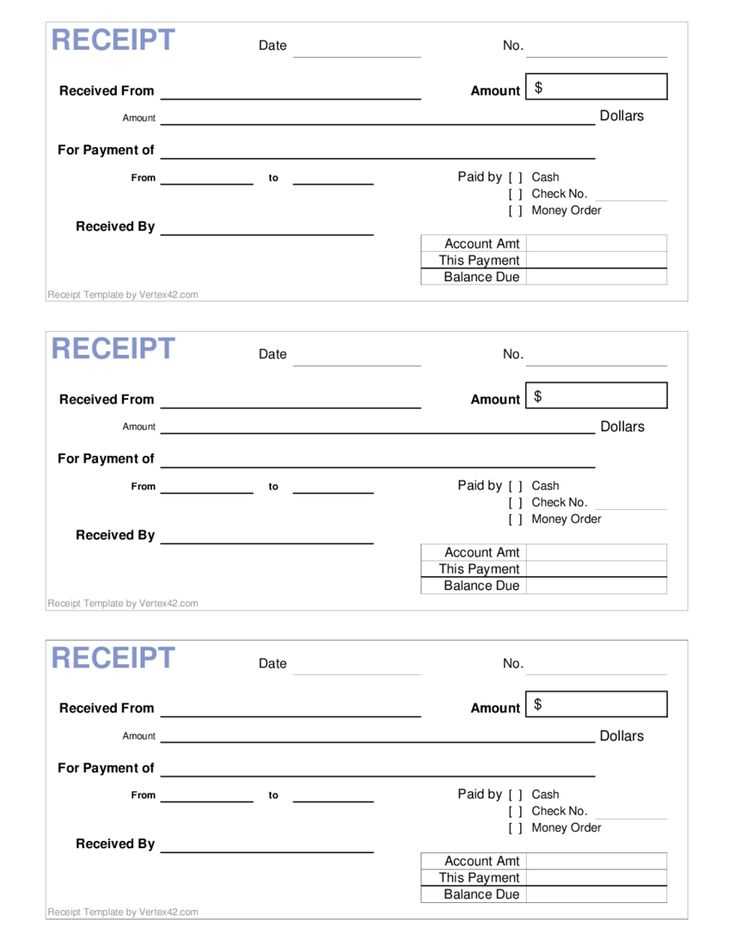
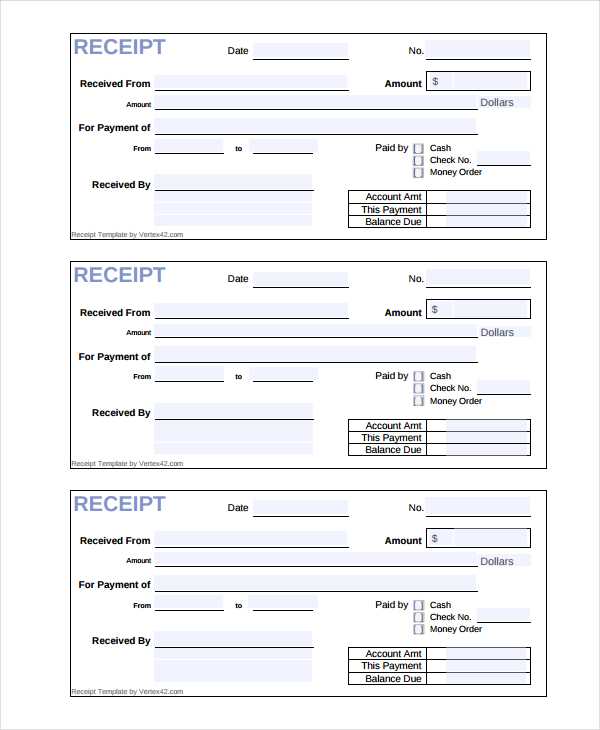
- Date and Receipt Number: Place the date and a unique receipt number on the right side for proper record-keeping.
- Recipient Information: List the payer’s name and contact information below the date.
- Payment Details: Provide a clear table with fields for the payment amount, description of the service or product, and payment method.
- Total Amount: Highlight the total amount received by using bold formatting.
- Signature Line: Leave space for a signature or electronic confirmation.
Tips for Formatting
- Use tables to organize payment information neatly.
- Ensure font size and style are professional and readable.
- Include a footer with additional terms if necessary.
By following these straightforward steps, you’ll have a polished and professional payment receipt ready for any transaction. Save the template for reuse to save time and ensure consistency.
Simple Payment Receipt Template Word: Comprehensive Guide
How to Create a Receipt Template in Word from Scratch
Key Elements to Include in a Receipt Template
Formatting Tips for a Professional Receipt Layout
Customizing Fonts, Colors, and Layout in Word
Saving and Exporting Receipts as PDFs
Common Mistakes to Avoid When Designing Receipts

How to Create a Receipt Template in Word from Scratch

Open Microsoft Word and choose a blank document. Set the page layout to match your preferred receipt size, typically A4 or Letter format. Insert a table to organize essential information, such as the date, receipt number, payment amount, and payer details.
Use headers to label each section clearly. Include a field for payment descriptions and payment methods (e.g., cash, card, or bank transfer). Adding your company logo and contact details at the top can help brand the receipt and build professionalism.
Key Elements to Include in a Receipt Template

Ensure the receipt covers essential components, including:
- Receipt Number: A unique identifier for each transaction.
- Date: The day the payment was made.
- Payment Amount: Clear and formatted consistently with the local currency.
- Payer Information: Name and contact details of the payer.
- Description: What the payment covers (e.g., service or product).
- Payment Method: Indicate the method used.
- Signature Field: Optional but useful for confirming authenticity.
Save the completed template as a Word document and export it to PDF when ready to issue receipts electronically. Double-check all elements for accuracy before sharing with clients to maintain a professional appearance.


