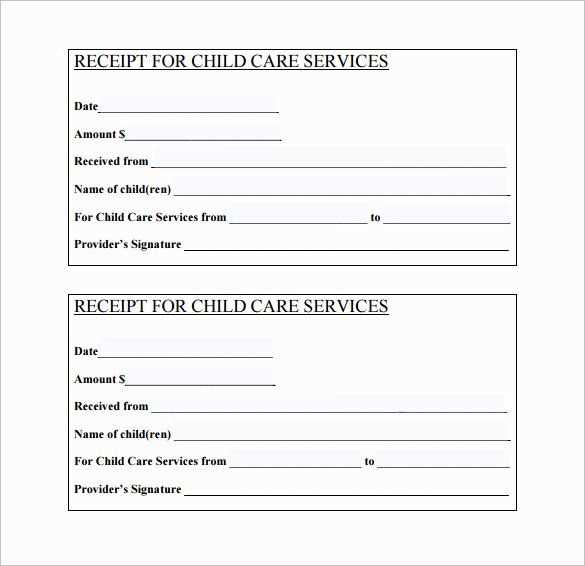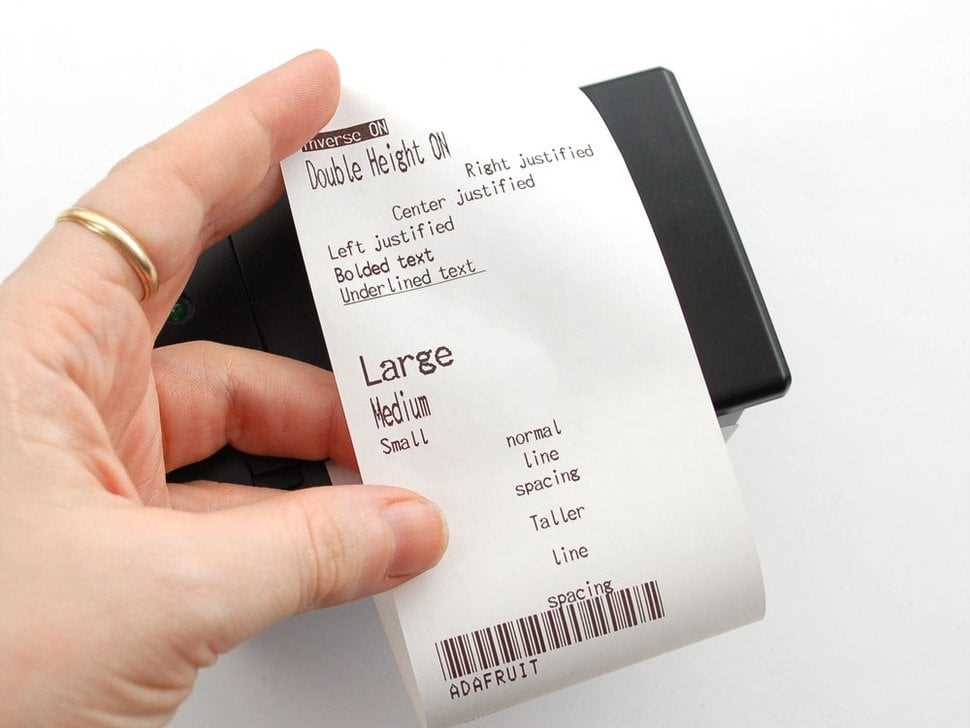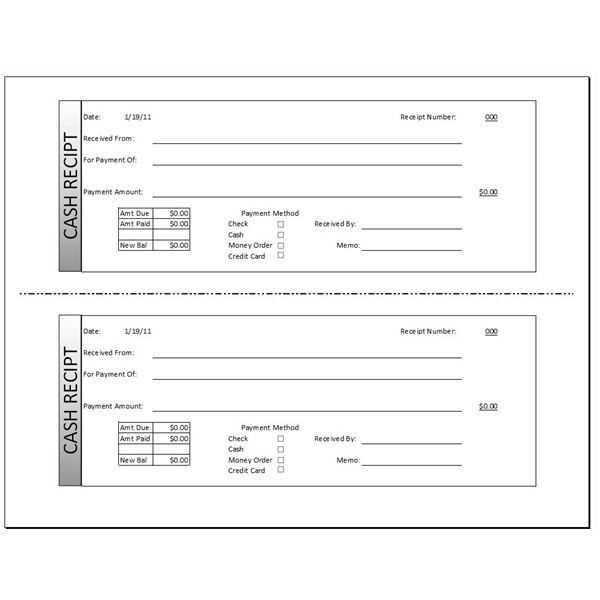
Use a pre-formatted template to create clear and professional receipts for thermal printers in Word. Adjust margins to fit the specific paper width, usually 58mm or 80mm, and set the font to a monospaced type like Courier New for optimal alignment.
Enable table formatting to maintain structure. Set column widths according to receipt content, such as item names, quantities, and prices. Use bold text for headings and simple line separators for readability.
To avoid printing issues, disable automatic page breaks and use a custom paper size matching your printer’s specifications. Save the document as a template for quick access, and ensure compatibility with different thermal printers by testing before finalizing.
Thermal Printer Receipt Template in Word
To create a thermal printer receipt template in Word, open a new document and set the page size to match the dimensions of your thermal paper. Typically, thermal paper is 80mm wide, so adjust the margins accordingly to fit this width. Use a simple font like Arial or Helvetica for clear, easy-to-read text. Set the font size to around 10 or 12 pt, ensuring that all necessary information fits comfortably on the page.
Incorporate key elements such as the business name, contact details, date, items sold, and the total amount. Align this information neatly using tables or text boxes for structure. To make the receipt more professional, include a footer with terms of service or a thank-you message to the customer. For a cleaner design, avoid excessive text or unnecessary graphics.
Once the layout is set, save the document as a template. This allows you to reuse the same format for future receipts without starting from scratch. Simply open the template, update the necessary fields, and print it on your thermal printer. If needed, adjust the text size or spacing to ensure it prints correctly on your device.
Setting Up Margins and Page Size for Receipts
Set the margins to 0.5 inches on all sides for a standard receipt. This ensures the text fits neatly within the printable area without being cut off. Adjust margins by going to the “Layout” tab and selecting “Margins.” Choose “Custom Margins” to enter specific values for top, bottom, left, and right margins.
Page Size
For receipts, use a page size that matches your printer’s specifications, typically 3″ x 8″ for thermal printers. To adjust, go to “Layout” and select “Size.” Choose “More Paper Sizes” and enter custom dimensions for your receipt. Ensure the page size is consistent with the roll size your printer uses.
Alignment and Formatting

Align text to the left to ensure a consistent and clean look. If necessary, adjust the font size to fit the receipt’s layout. Avoid large fonts that may cause the text to overflow, making the receipt harder to read.
Customizing Fonts and Layout for Readability
Choose clear, legible fonts to ensure the text is easily readable on thermal receipt paper. Opt for sans-serif fonts like Arial or Helvetica, which are straightforward and maintain legibility at smaller sizes. Avoid decorative fonts that could reduce clarity.
Font Size and Weight
- Set the font size between 8pt and 12pt for optimal readability.
- Use bold for headings and key information to make them stand out.
- Avoid using too many variations of font weights; this can confuse the reader.
Spacing and Alignment

- Maintain enough line spacing (1.2x to 1.5x the font size) to avoid a cramped appearance.
- Align text to the left to ensure a natural reading flow.
- Leave space between important sections like item names, prices, and totals for easy scanning.
Keep margins narrow but sufficient to avoid cutting off important details. Use short lines of text rather than long paragraphs, and ensure critical information like total amounts and contact details is placed in easily visible spots.
Inserting Logos and Barcodes in Receipt Templates
To add a logo, use the “Insert” tab in Word, select “Pictures,” and choose the image file from your device. Resize the logo by dragging the corners to fit the desired space. Position it in the header or top section of the receipt template for easy identification.
For barcodes, create one using a barcode generator online or with software. Copy the generated barcode image, return to your receipt template, and use the same “Insert” method to add the barcode as an image. Place it near the total amount or product section for better scanning accuracy.
Ensure the logo and barcode do not overlap text, and adjust margins if needed to maintain a clean, readable design. Save the template and test print it to check the alignment and clarity of both elements.


