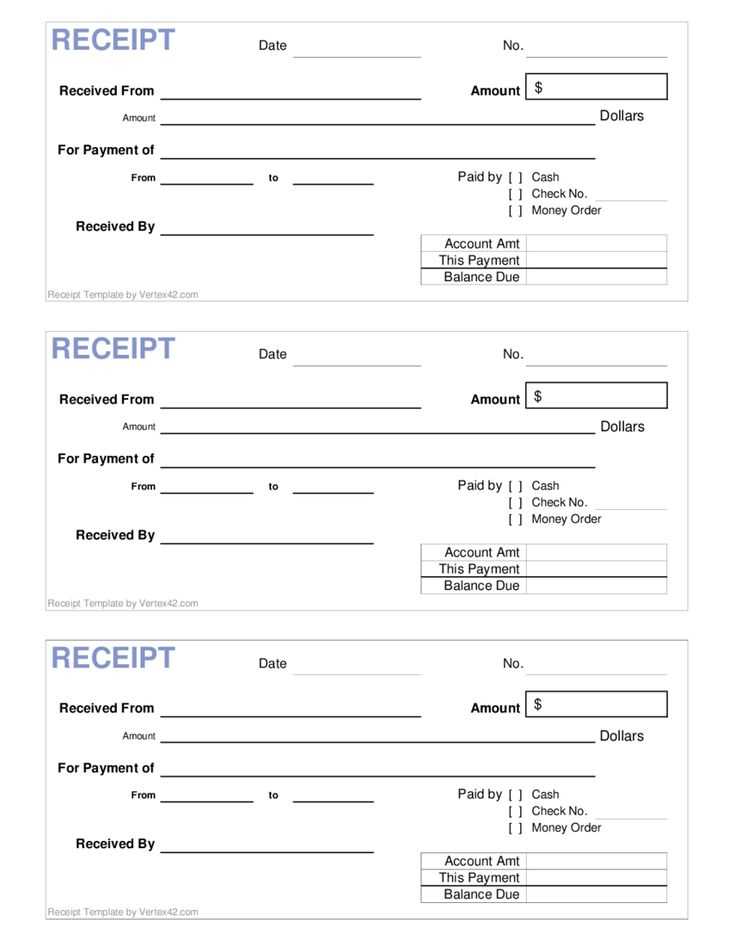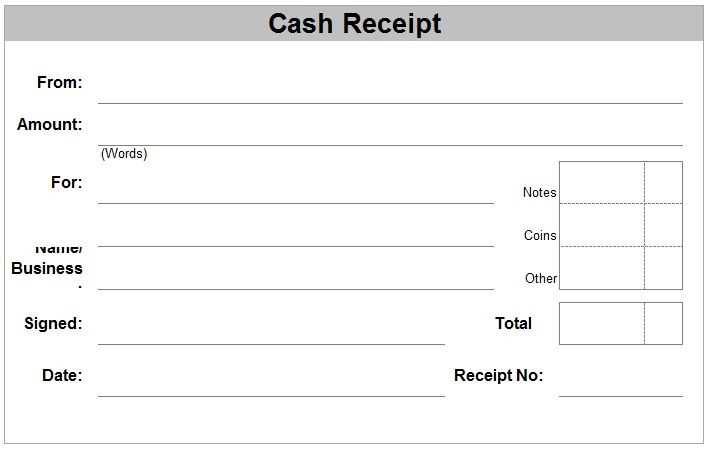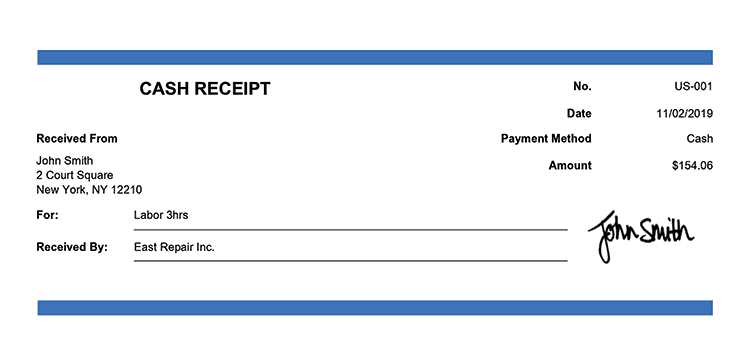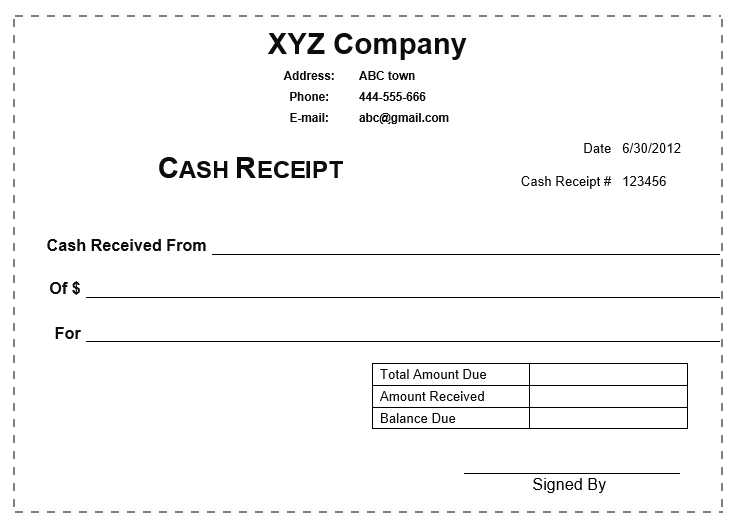
To quickly and accurately create a cash receipt using Microsoft Word, start by using a pre-made template. These templates help you structure the necessary details and ensure all critical information is captured. Fill in the payer’s name, payment amount, and the reason for the transaction to keep your records clear and organized.
Customize the template with your business’s logo or details such as address and contact information. Make sure to include the date of payment and any specific terms, such as payment methods or transaction numbers. This small step will add professionalism and clarity to your receipt.
For a more personalized touch, modify sections like payment method or the specific product/service purchased. This ensures that the receipt accurately reflects the transaction and is easy to understand for both parties involved.
How to Use Word Cash Receipt Fill-in Template

To complete a Word cash receipt template, begin by entering the date of the transaction in the designated field. Ensure accuracy, as this will serve as the reference point for the record.
Next, fill in the “Received From” section. This is where the name of the person or business making the payment is entered. Double-check spelling to avoid any confusion later.
In the “Amount Received” field, input the exact amount in both numeric and written form. This reduces errors and helps confirm the total received. Always round to the nearest cent for accuracy.
For the “Payment Method” section, select whether the payment was made in cash, check, or another form. If using a check, include the check number for proper tracking.
Indicate the reason for the payment in the “For” or “Purpose” field. This provides clarity on why the payment was made and can help with record-keeping.
Once all fields are filled out, review the document for accuracy. Check that all required information is present and correct. After this, save or print the completed template for your records.
Step-by-Step Instructions for Filling Out the Template
First, open the template in Word. Locate the designated fields where information needs to be filled in. Typically, these are highlighted or marked with placeholders like “[Name]” or “[Amount]”.
Begin by entering the date of the transaction. This is usually placed at the top or near the header of the receipt. Make sure the format matches the template’s guidelines (e.g., DD/MM/YYYY).
Next, fill in the recipient’s name or company in the corresponding section. Double-check for accuracy, as this information is crucial for clarity and proper documentation.
Proceed to enter the payment details, including the amount received. Use the correct currency format as specified in the template (e.g., $ or €). If there are multiple payments, list them separately as instructed.
For the description of goods or services, provide a clear and concise summary. Avoid overcomplicating the details, sticking to what is directly relevant to the transaction.
Once all fields are completed, review the document for any typos or missing information. Make any necessary adjustments to ensure everything is accurate.
Finally, save the completed template with a specific file name (e.g., “Receipt_01_2025”). You can now print or share it as needed.
Customizing the Template for Your Business Needs
Adjust the template layout to match your specific workflow. Modify fields such as customer name, date, and payment details to align with your business operations.
1. Add Custom Fields

If you need more information than the default template provides, create additional fields for things like order number or sales representative. Tailor these fields based on your accounting requirements.
- Click on the section where you want to add a new field.
- Choose “Insert Table” or “Text Box” based on your preference.
- Label the new field with a clear description for easy reference.
2. Modify the Footer for Tax and Payment Info
Include necessary tax rates or business-specific payment instructions in the footer. This section may need updates based on region-specific regulations or business preferences.
- Navigate to the footer section in your template.
- Insert tax information or additional instructions under a “Notes” section.
- Adjust text size or font style to ensure it’s readable and professional.
These simple changes will allow you to streamline your financial documentation and ensure it reflects the unique needs of your business.
Tips for Storing and Managing Completed Cash Receipts
Store completed cash receipts in a clearly labeled folder or binder, ensuring they are easy to locate. Use separate sections for different types of transactions or dates to enhance organization. For digital storage, scan each receipt and save it in a cloud-based system, categorizing files by date or vendor for quick retrieval.
Use of Digital Tools
Leverage receipt management software or apps to scan, store, and categorize receipts electronically. This reduces the risk of losing physical copies and allows for easy tracking. With these tools, you can set up automatic backups and track receipt data for accounting purposes.
Regular Maintenance

Review stored receipts regularly to ensure all are accounted for and in good condition. Shred or dispose of unnecessary receipts after confirming that they’re no longer needed for tax or business purposes. Keeping a schedule for this review will prevent clutter and streamline future access.


