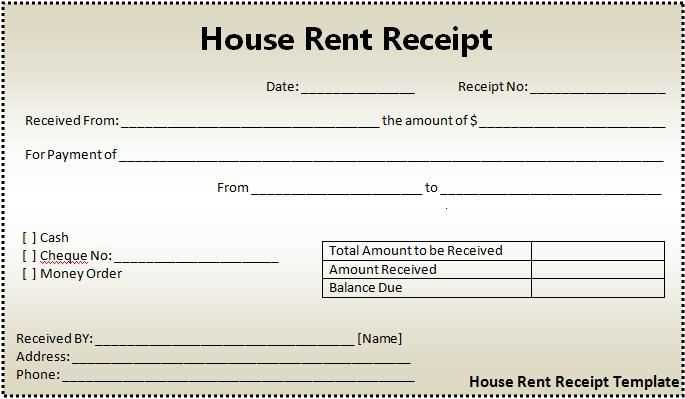
To create a professional and clear rent receipt, begin by including all the necessary details. Start with the tenant’s full name, followed by the address of the rental property. The amount paid should be highlighted along with the date of payment. Clearly indicate whether the payment is for rent, utilities, or a combination of both. This will help both you and the tenant keep accurate records for future reference.
Include a payment method section to avoid confusion. Whether the payment was made by cheque, bank transfer, or in cash, this section ensures transparency. It’s also beneficial to include a receipt number for better organization. If you are using a Word template, make sure it has clear placeholders for all these details, allowing you to quickly fill in the information for each transaction.
Lastly, consider adding your contact information at the bottom of the template. This helps the tenant reach you if there are any questions about the payment. By keeping the document straightforward and concise, both parties can easily reference the receipt in case of any future disputes or accounting needs.
How to Design a Rent Receipt in Word
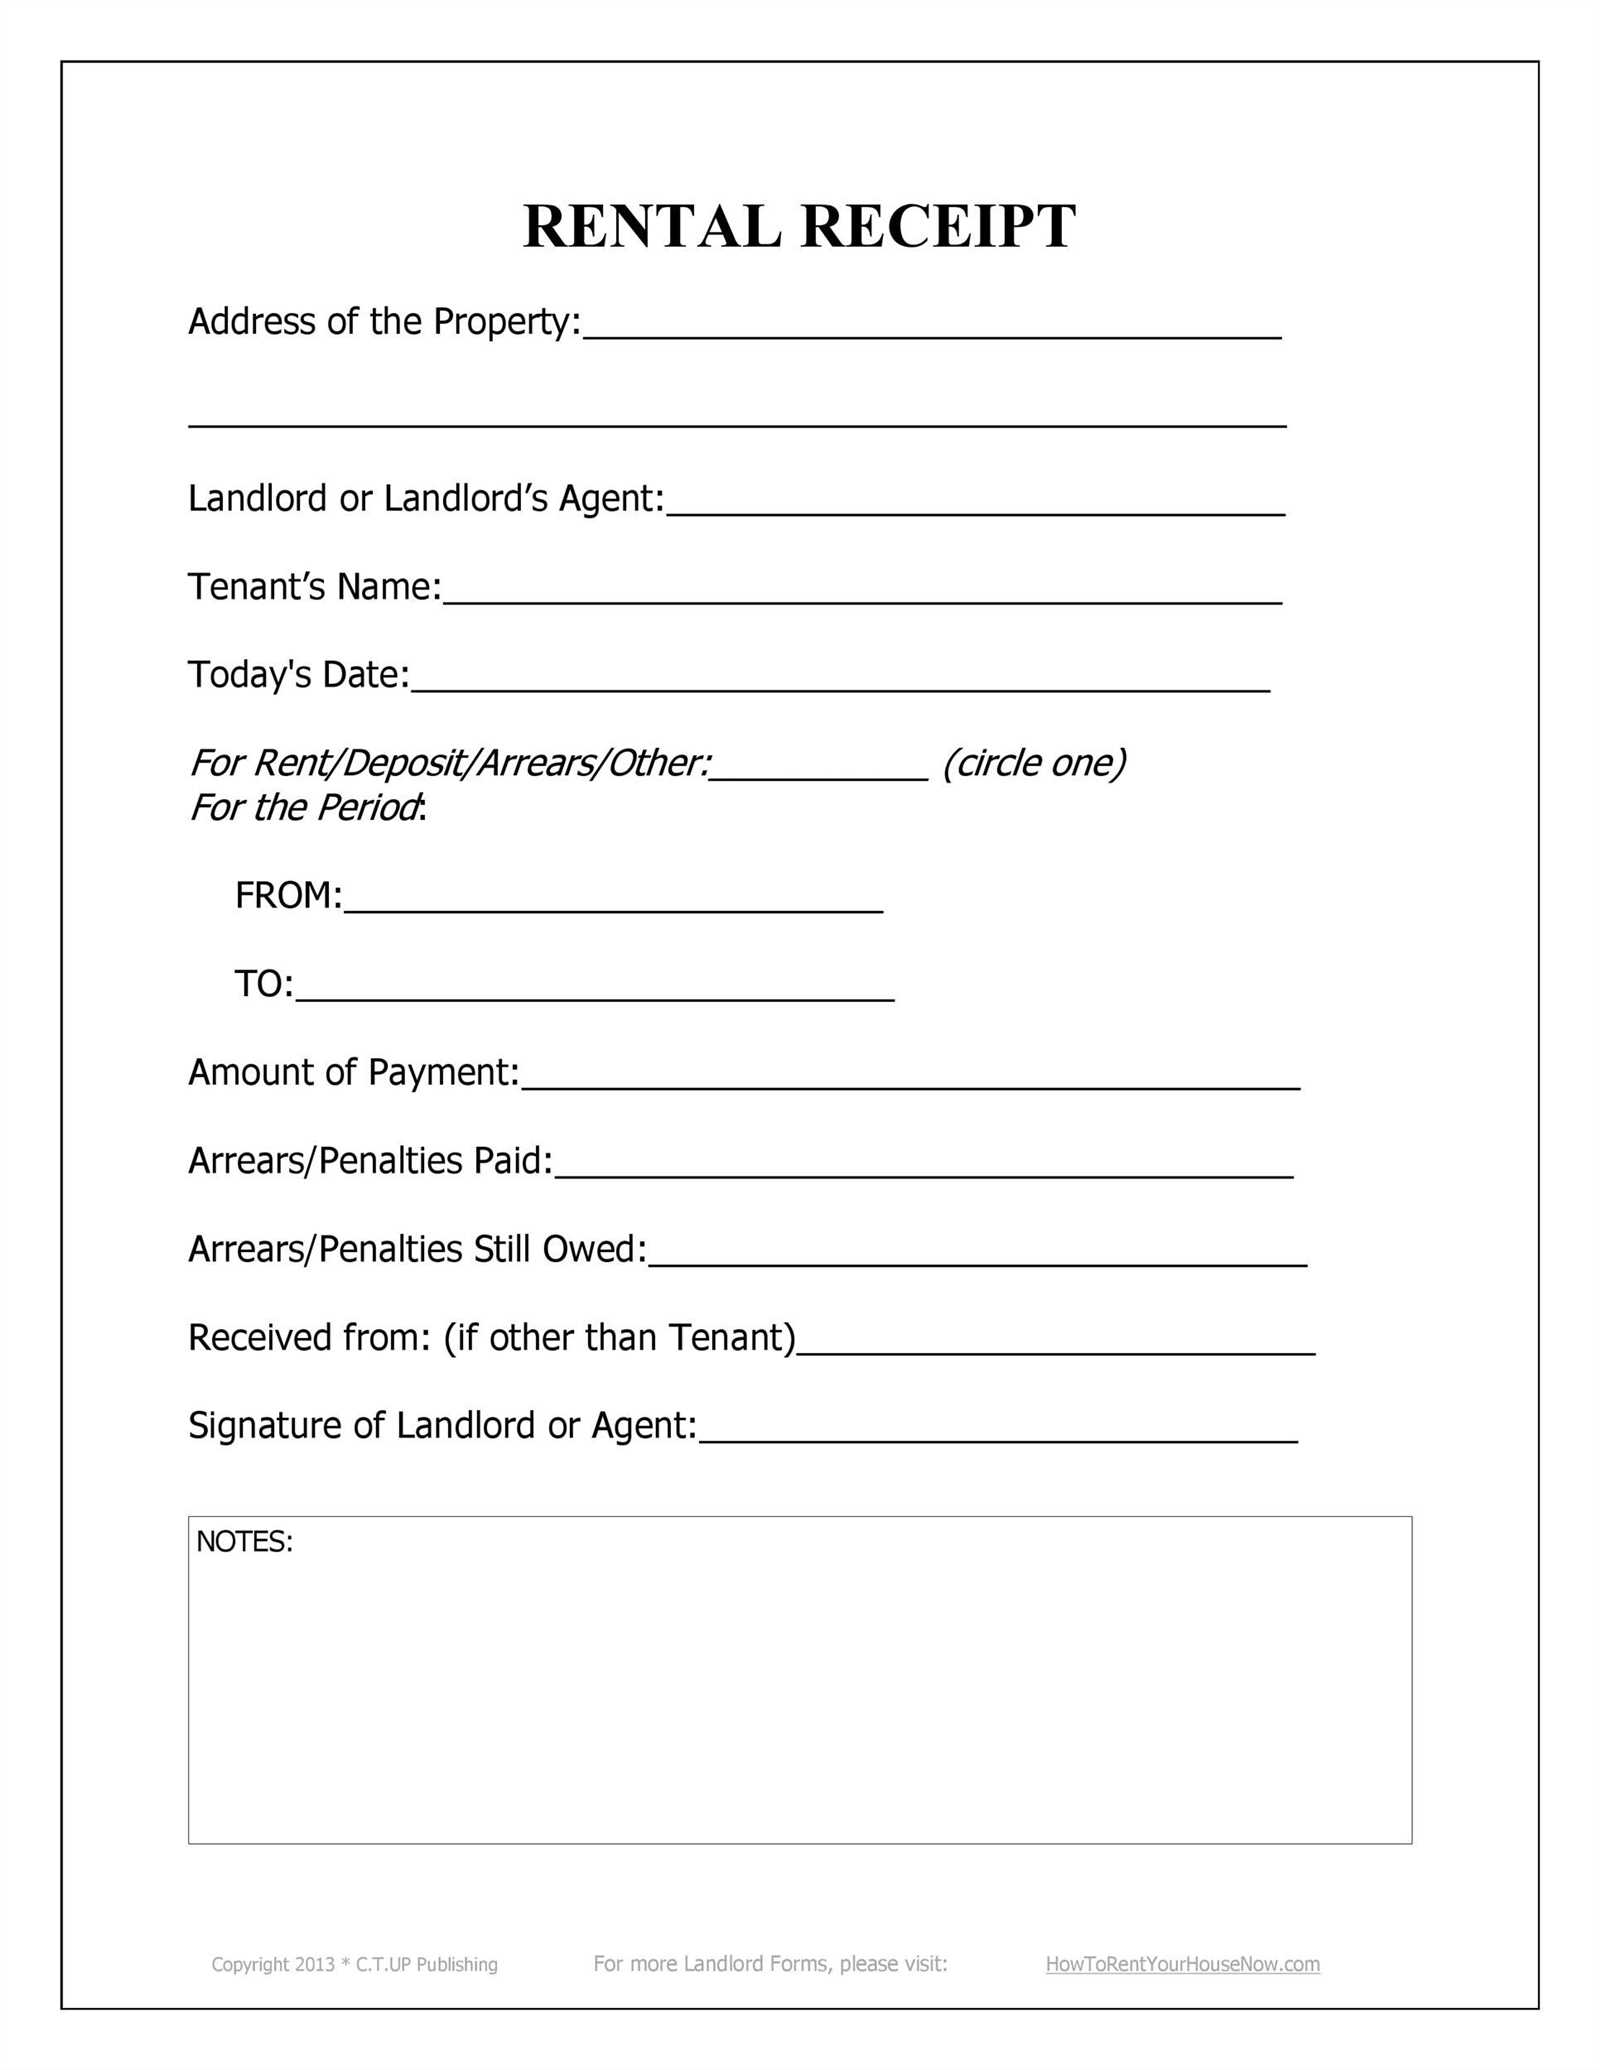
Begin by opening Microsoft Word and selecting a blank document. Set up your page layout to ensure the receipt looks professional. Choose a clean, simple font like Arial or Times New Roman, with a font size of 12pt for clarity.
Include Basic Information
At the top, add the name and address of the landlord or property management company, followed by the tenant’s name and rental address. Below, list the receipt date, payment amount, and the rental period covered by the payment. Make sure to format this information clearly, using bullet points or a table for neatness.
Provide Payment Details
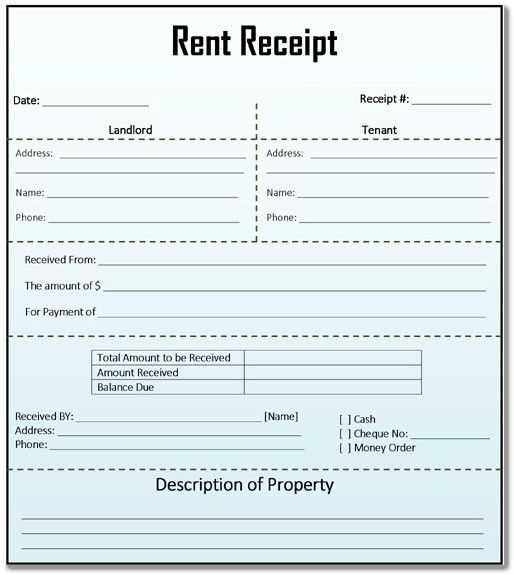
Indicate the payment method (e.g., cash, check, online transfer) and reference number if applicable. This adds transparency and confirms the transaction. Include any additional details, such as late fees or deposits if they apply.
End the document with a thank you note or an optional signature line for further authenticity. Save the file as a template for future use, making sure to update the necessary fields for each transaction.
Key Elements to Include in a Rent Receipt
Include the full names of both the tenant and the landlord. This ensures clarity on who is involved in the transaction. Next, specify the rental property’s address. It’s important to clearly define the location to avoid confusion.
State the amount of rent paid. This is a critical detail that verifies the payment made. Also, indicate the payment date. A specific date helps both parties track the transaction accurately. If the payment covers multiple months, break it down for transparency.
Include the method of payment, whether it’s cash, check, or another form. This adds an extra layer of verification and prevents misunderstandings later. If there are any late fees or deductions, list them clearly to avoid disputes.
Clearly mention the rental period being covered by the payment. For instance, specify whether it covers one month, several months, or any other time frame. This helps both parties confirm the exact coverage of the rent payment.
Lastly, ensure that the receipt has a unique receipt number for record-keeping purposes. This can help both parties track the document if needed later.
Customizing and Saving Your Rent Receipt Template
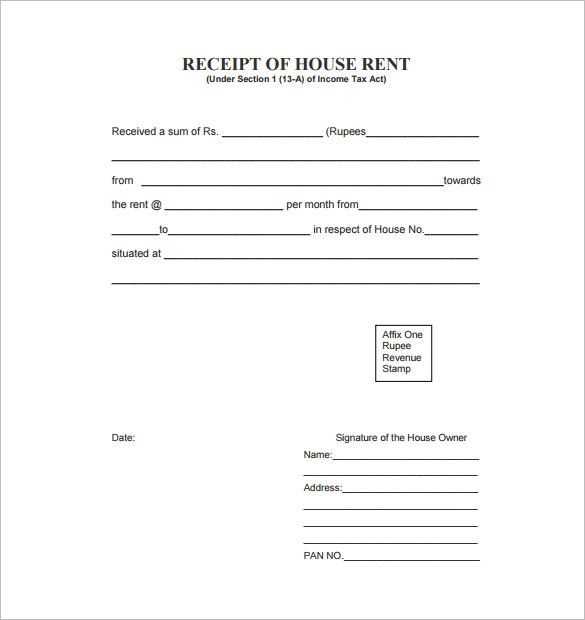
Adjust the fields in your template to reflect the specific details of your rental agreement. Replace default text with the tenant’s name, address, rental amount, and payment date. Ensure the currency symbol matches your region’s standard.
Update the Header and Footer
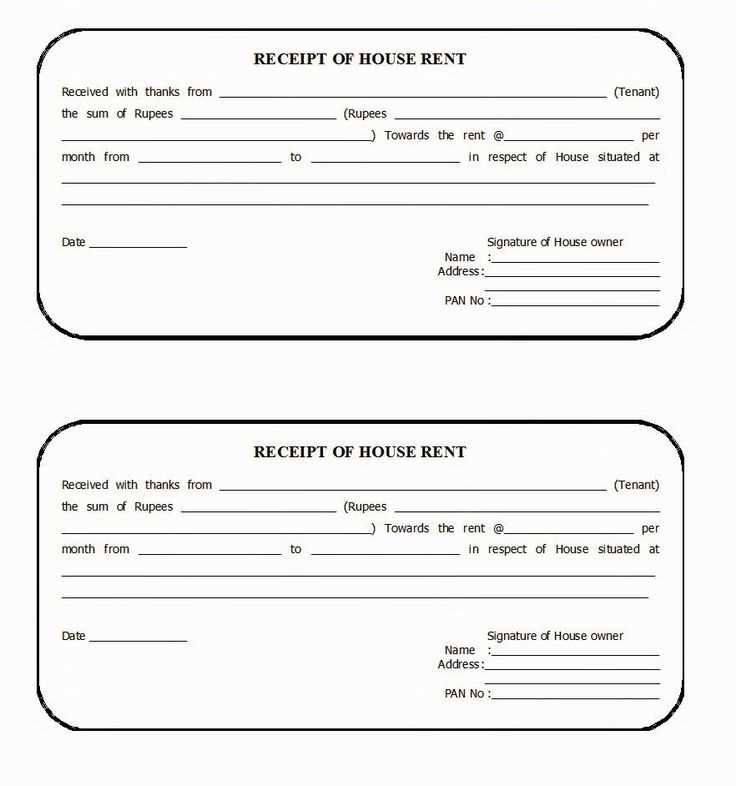
Edit the header to include your business or personal information, such as your name, address, and contact details. In the footer, add any necessary terms, policies, or reminders that apply to the rental transaction.
Choose the Right Formatting
Customize the font style, size, and color for clarity and professionalism. Stick to simple, legible fonts, and avoid cluttering the document with excessive styles. Adjust spacing to ensure the receipt is easy to read.
Once you’re satisfied with the layout and content, save the document in a convenient format, like Word (.docx) or PDF (.pdf), for easy sharing and printing. Make sure to keep a backup of your template for future use.


