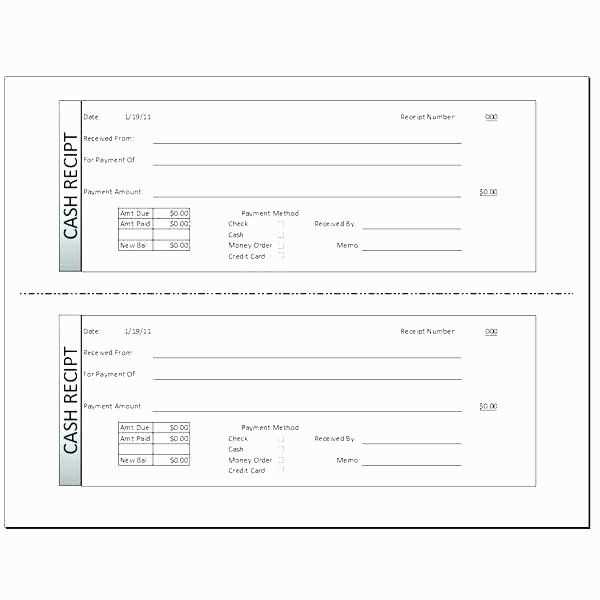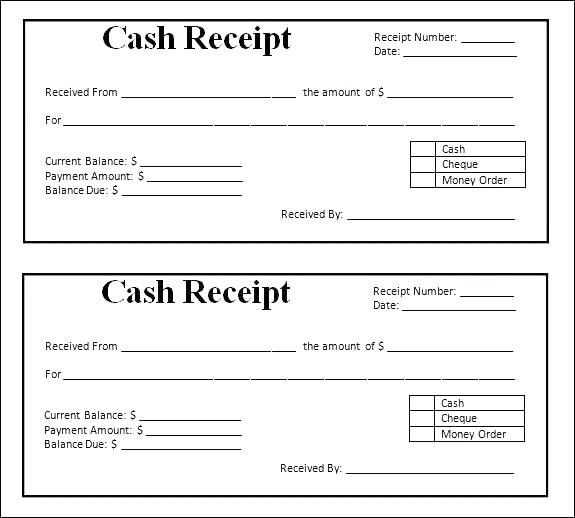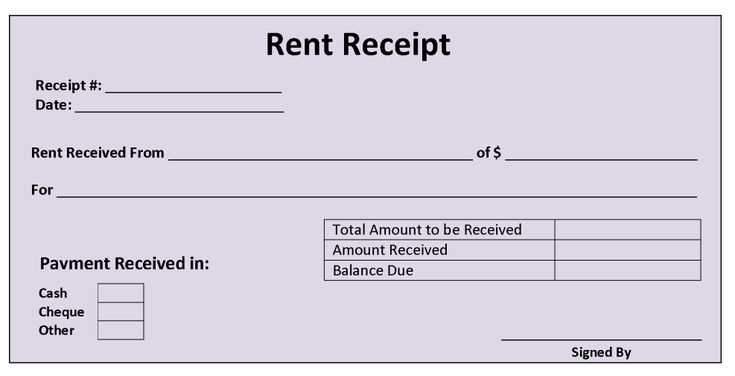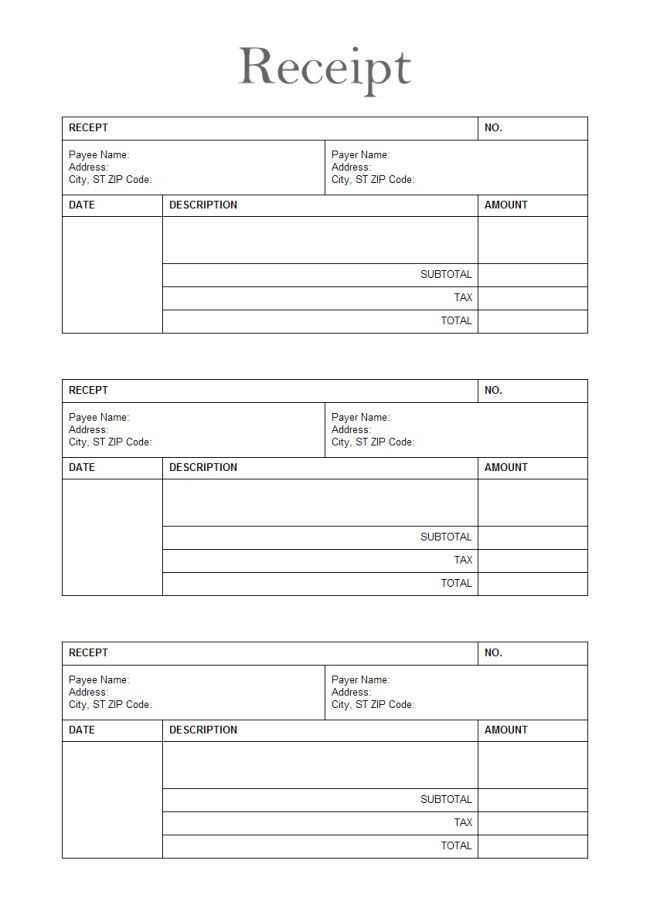
Creating a year-end tithing receipt is straightforward with a customizable Word template. This receipt allows churches and organizations to issue clear and professional statements for tax purposes. It should include details such as the donor’s name, the total amount donated, the dates of donations, and any specific instructions or disclaimers regarding the contributions.
Start by choosing a template that suits your needs. Microsoft Word offers a variety of pre-designed templates, or you can create your own from scratch. Make sure to include the name of your organization, contact details, and a statement acknowledging the donation as tax-deductible if applicable. Organize the donations by date to ensure clarity for both the giver and the recipient.
Once you’ve selected or created your template, personalize it by adding your organization’s logo, fonts, and colors. This gives a professional touch while maintaining consistency across your documents. Ensure the receipt is formatted to be easy to read, with clear sections for the donor’s information, the donation total, and any other important notes.
By using a Word template, you simplify the process and ensure that the receipt is accurate and complies with tax regulations. Keep track of donations throughout the year, so when tax season arrives, issuing receipts is a quick and easy task.
Year-End Tithing Receipt Word Template

To create a clear and professional Year-End Tithing Receipt using Microsoft Word, follow these steps:
Steps to Create Your Year-End Tithing Receipt

- Open a New Document: Launch Microsoft Word and start with a blank document.
- Include the Church or Organization’s Information: At the top of the receipt, add the name, address, phone number, and email of the church or organization receiving the donation.
- Title the Receipt: Use a simple heading like “Year-End Tithing Receipt” or “Annual Donation Receipt” in bold and centered.
- Include the Donor’s Information: Add a section where the donor’s name, address, and contact details are listed. This ensures the receipt is personalized.
- List the Donation Details: Clearly state the total amount donated over the year. If applicable, break it down by individual donations with dates.
- Include a Statement for Tax Purposes: Add a sentence like: “No goods or services were provided in exchange for this donation,” if applicable. This clarifies the tax-deductible nature of the gift.
- Add a Thank-You Message: Include a brief note of appreciation for the donor’s contribution to the organization.
- Signature: Leave space for the signature of the church or organization’s representative at the bottom of the receipt. You can also include the position of the person signing the document.
Formatting Tips
- Use Clear Fonts: Choose legible fonts like Arial or Times New Roman, sized between 10-12 points.
- Use Tables for Layout: Organize the information in a clean, easy-to-read format using a table with clearly defined rows and columns.
- Highlight Key Information: Bold the donation amounts and the title of the receipt to make important details stand out.
- Save the Document: Once completed, save the document as a Word template or PDF for easy access and printing next year.
This template will help ensure a well-structured and professional receipt that will be useful for both the donor and your organization.
How to Customize a Year-End Tithing Receipt Template in Word
Open a new Word document and search for a “Year-End Tithing Receipt” template in the template gallery. Choose one that fits your church’s style and needs. Once the template is loaded, you’ll begin by editing the header section.
Edit the Header
Replace the placeholder text with your church’s name, address, and contact details. You can adjust the font size and style to match your branding. Consider including the church logo in the header to make the receipt more professional. If you prefer a clean design, keep the header minimal, but ensure it includes all key contact info.
Personalize the Donor’s Information

Next, update the donor’s name, address, and donation details. Word allows you to create fields for automatic date and year input, making this process faster for future use. Ensure the donation amounts are clearly listed, breaking them down by date and donation type if needed. Adding a thank you note at the bottom of this section can make your receipts more personable.
To further streamline the process, you can save the template with placeholders for recurring details, like donation amounts or dates, that you fill out for each donor.
Finally, review the formatting of the entire receipt to ensure it’s clear, with appropriate spacing between sections. Once you’re satisfied with the layout and design, save the customized template for future use.
Step-by-Step Instructions for Adding Donor Information and Contribution Details
To add donor details, first, locate the section where you input personal information. Enter the donor’s full name in the provided field. Ensure accuracy when typing the name, as this will appear on the receipt. Include their address, city, state, and zip code to ensure the information is complete for future reference.
Next, input the donation date. This field should match the exact date of the donor’s contribution. Use the date format specified, typically month/day/year, for consistency.
Then, enter the donation amount. Ensure that the amount is accurate and matches the donor’s contribution. Double-check the numerical value to avoid errors. If there were multiple donations, list each amount separately in the respective fields.
If the donor made contributions in various forms (e.g., cash, check, or online payment), specify each payment method. For example, if the donation was made by check, input the check number and the bank name. This provides clear documentation for both the donor and your organization.
For recurring donations, include the frequency and total amount given for the year. If applicable, specify the start and end dates of the recurring contribution period.
Finally, ensure that you verify all entered details for accuracy before finalizing. This will help avoid mistakes and ensure the donor receives a correct and timely year-end receipt.
Tips for Ensuring Accuracy and Compliance with Tax Reporting Requirements
Double-check all donation amounts before issuing receipts. Include the exact date of the contribution and specify whether the donation was cash or property. Clearly list the fair market value of any non-cash donations. For recurring donations, ensure that each transaction is reported accurately, with distinct amounts for each payment.
Maintain Clear Documentation
Track donations using a consistent record-keeping system. Keep a ledger or digital record of all contributions, including dates, donor names, amounts, and any special instructions attached to gifts. This makes it easier to generate accurate receipts and avoid errors when preparing tax documents.
Be Transparent About Deductibility
Specify on the receipt whether the donor received any goods or services in exchange for their gift, as this impacts tax deductibility. If applicable, include the value of any goods or services provided. This transparency ensures that your donors can accurately claim their deductions and comply with tax regulations.


